
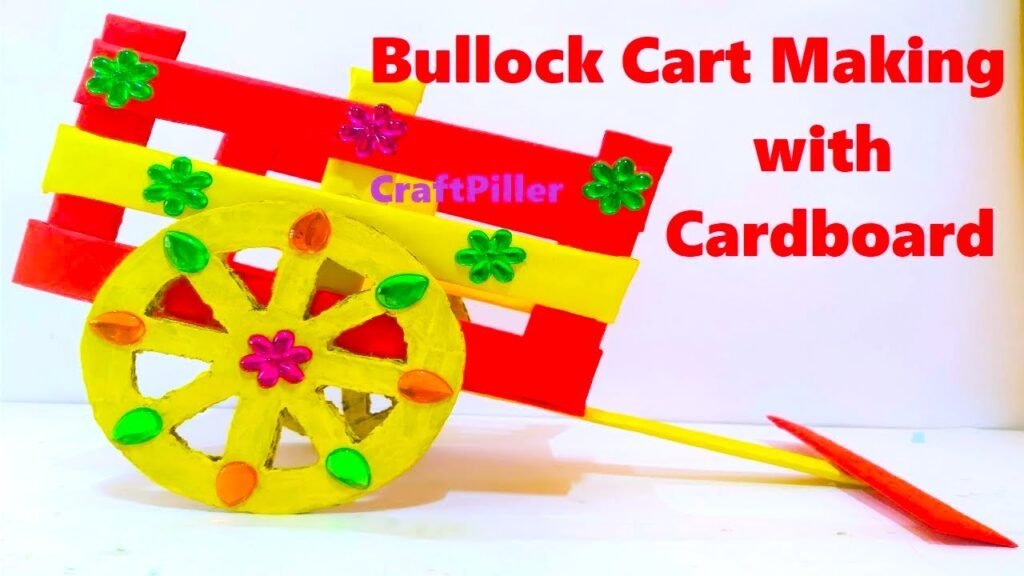
Creating a bullock cart with cardboard and colored paper can be a wonderful craft project.
Here’s a step-by-step guide to help you make it:
Materials Needed:
- Cardboard sheets (for the base and wheels)
- Colored paper (for decorating)
- Craft knife or scissors
- Ruler and pencil
- Glue or a hot glue gun and glue sticks
- Paints and paintbrushes (optional, for additional details)
- Black marker or pen
- Thin dowels or toothpicks (for axles)
- Wooden beads or cardboard circles (for wheels)
- Optional: Craft sticks (for additional reinforcement)
Video Steps by Steps on Bullock Cart:
- Design Your Bullock Cart:
- Draw a blueprint of your bullock cart on a piece of cardboard. This will include the base, sides, and wheels.
- Cut Out the Base:
- Cut out a rectangular piece of cardboard for the base of the bullock cart. This will be the foundation.
- Create the Sides of the Cart:
- Cut two long, narrow strips of cardboard for the sides of the cart. Attach them vertically on each side of the base to create walls.
- Form the Front and Back Panels:
- Cut out pieces of cardboard for the front and back panels of the cart. Attach them to the corresponding ends of the base.
- Design the Yoke:
- Create a yoke shape from cardboard, representing the wooden bar that connects the bullocks. Attach it to the front of the cart.
- Add a Support Beam:
- Cut and attach a horizontal strip of cardboard across the top of the sides for additional reinforcement.
- Form the Wheels:
- Cut out four circles from cardboard to serve as the wheels of the bullock cart. They should be roughly the same size.
- Decorate the Wheels:
- Cover the cardboard circles with colored paper to give them a more realistic appearance. You can also paint them for extra detail.
- Attach the Wheels:
- Use thin dowels or toothpicks as axles. Insert them through the center of each wheel, then attach the wheels to the sides of the cart.
- Create the Bullocks:
- Cut out two bullock shapes from colored paper. These will represent the pair of bullocks pulling the cart.
- Attach the Bullocks:
- Glue the bullock shapes onto the front of the cart, below the yoke.
- Add Details:
- Use colored paper, paint, or markers to add details like straps, reins, and facial features to the bullocks.
- Decorate and Paint:
- Use colored paper, paint, or markers to add decorative elements to the cart. This can include patterns, designs, or any additional features you’d like to include.
- Allow to Dry:
- Let the glue and paint (if used) dry completely before handling or displaying the bullock cart.
Your bullock cart crafted from cardboard and colored paper is now complete! It’s a creative representation of this traditional mode of transportation. Display it proudly or use it as a unique decoration. Enjoy your handmade creation!