A hydraulic JCB, commonly known as a backhoe loader or simply a JCB (named after the British manufacturer JCB), is a versatile construction vehicle that combines the capabilities of a wheel loader and an excavator. The term “JCB” is often used generically to refer to this type of construction equipment, regardless of the manufacturer.
The hydraulic system plays a crucial role in the functioning of a JCB, providing the power needed for various operations.
Hydraulic JCBs are valued for their versatility, as they can perform a wide range of tasks on construction sites and other work environments.
Their ability to switch between loader and excavator functions makes them a popular choice in various industries.
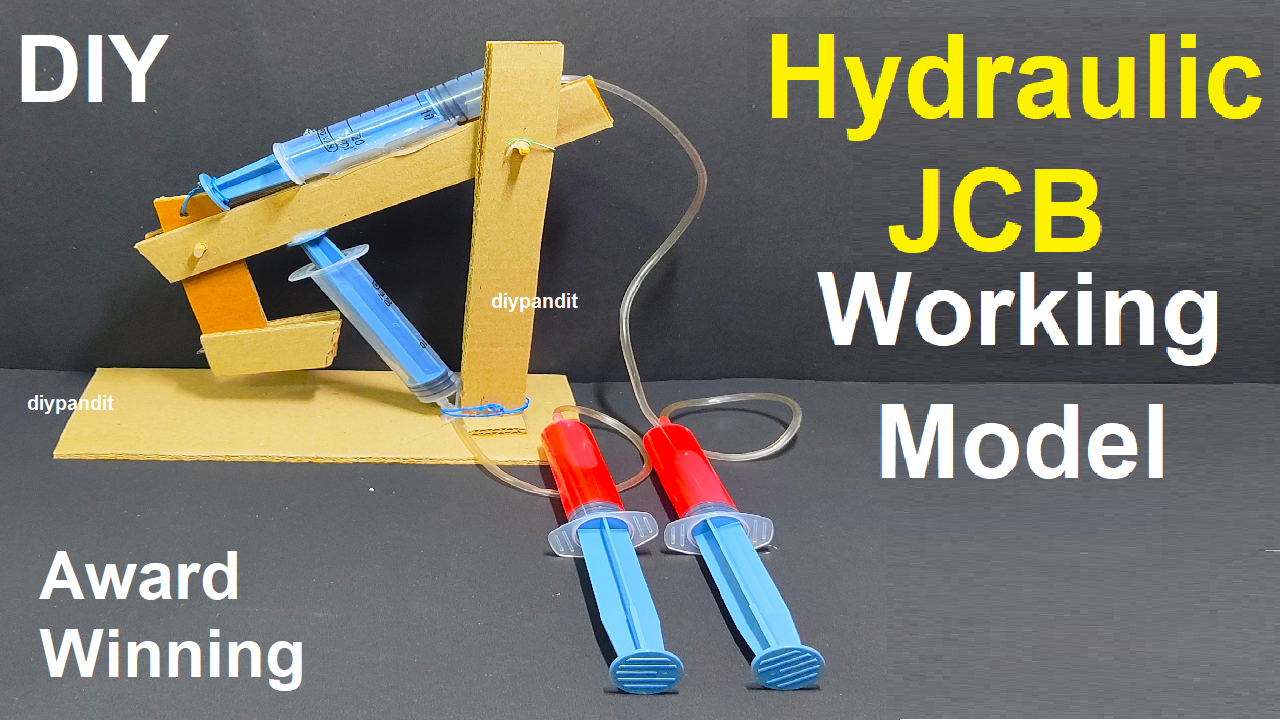
working model of a hydraulic JCB (excavator) making
Creating a working model of a hydraulic JCB (excavator) using syringes and cardboard can be an engaging science project.
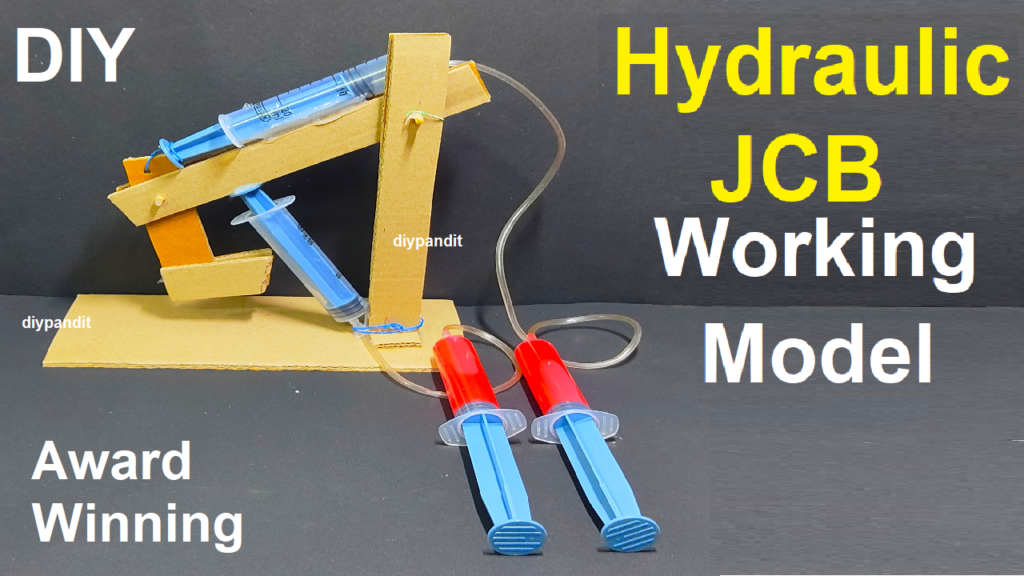
Here’s a step-by-step guide to help you build it:
Materials Needed:
- Cardboard sheets (thicker cardboard for stability)
- Syringes (various sizes)
- Flexible plastic tubing
- Hot glue gun and glue sticks
- Craft knife or scissors
- Wooden sticks or dowels
- Small containers (e.g., small plastic cups)
- String or twins
- Small pebbles or sand (for simulating excavation)
Video Steps by Steps hydraulic JCB (excavator):
- Design Planning:
- Draw a rough sketch of your JCB model, indicating where the syringes will be placed for the hydraulic system.
- Base and Arm Construction:
- Cut out the main body of the JCB (base, arm, and bucket) from the cardboard.
- Syringe Placement:
- Attach syringes to different points on the JCB to represent the hydraulic cylinders. For example, one syringe for lifting the arm, another for tilting the arm, and one for operating the bucket.
- Connect Syringes with Tubing:
- Attach flexible plastic tubing to the syringes‘ nozzles. Ensure a secure and airtight connection using hot glue if necessary.
- Construct Hydraulic Circuit:
- Connect the tubing in a way that simulates the hydraulic circuit of a real JCB. Ensure that the movement of one syringe affects the movement of others.
- Bucket Assembly:
- Create the bucket using cardboard, attaching it to the arm. It should be able to open and close.
- Stabilize and Reinforce:
- Use wooden sticks or dowels to reinforce the joints and provide stability to the moving parts.
- Test and Adjust:
- Test the hydraulic system by operating the syringes. Make any necessary adjustments to ensure smooth movement.
- Demonstration:
- Present your working model and explain how the hydraulic system works. Discuss the principles of hydraulics and how they are applied in real-world machinery.