
A renewable energy park is a specially designed area that showcases various forms of renewable energy generation and promotes awareness about sustainable energy sources.
It serves as an educational and recreational space for visitors to learn about and experience renewable technologies firsthand. Here are some key components and features commonly found in a renewable energy park
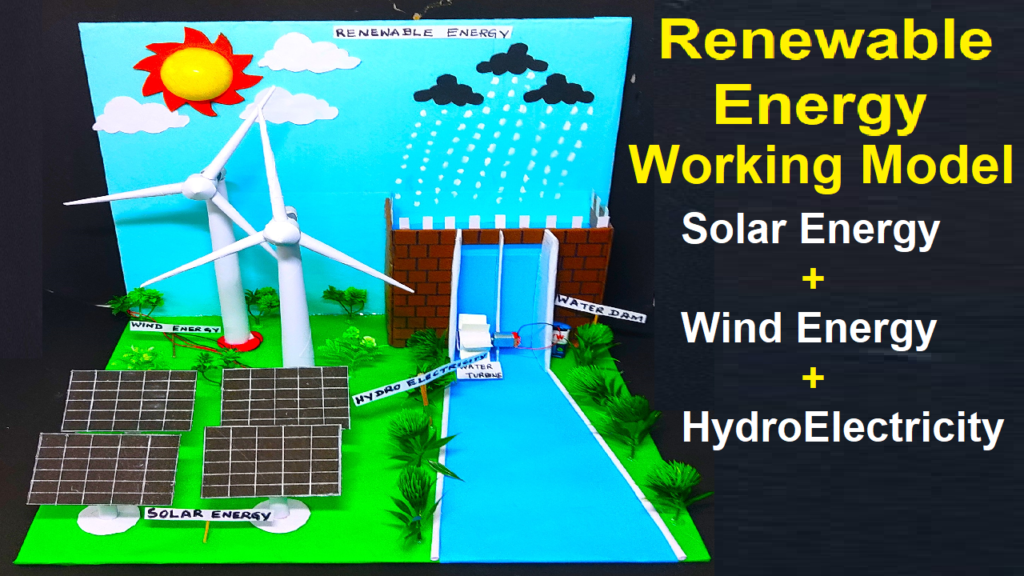
renewable energy park working model (solar – wind– hydroelectric energy working model) making for science project exhibition – diy
#renewableenergy #workingmodel #solarenergy #windenergy #hydroelectricity #howtofunda
Step by Step Video renewable energy park working model (solar – wind- hydroelectric energy)
Prepare the Base Structure:
- Cut the Base: Cut a large piece of cardboard to serve as the base of your model. A piece about 24 inches by 18 inches should work well.
- Mark Positions: Use a marker to outline where each component (dam, solar panels, wind turbine, and water turbine) will be placed.
2. Create the Dam and Water Turbine:
- Dam Structure: Use a small plastic bottle or container to represent the dam. Cut the top off to create an open container.
- Mount the Dam: Attach the dam to the base using tape or glue. Ensure it’s positioned at one end of the base.
- Water Flow: Create a pathway for water flow from the dam to the turbine using a sloped piece of cardboard.
- Water Turbine: Use a small paper cup to create a turbine. Cut slits along the sides of the cup and fold them outward to create blades.
- Attach the Turbine: Attach the paper cup turbine to the DC motor shaft.
- Position the Motor: Place the motor at the bottom of the sloped pathway, so the water flow can spin the turbine. Secure the motor with tape or glue.
3. Create the Solar Panels:
- Solar Panels: Cut rectangular pieces of cardboard to represent solar panels. Cover them with aluminum foil or shiny paper to simulate solar cells.
- Mount the Panels: Attach the solar panels to a small piece of cardboard or a structure to elevate them. Angle them to face upward, simulating sunlight exposure.
- Position the Panels: Place the solar panels on the base in a sunny position.
4. Create the Wind Turbine:
- Turbine Blades: Use a small fan or create blades from cardboard. Attach the blades to a paper straw or thin dowel.
- Mount the Turbine: Attach the straw or dowel to a small cardboard tower to elevate the wind turbine.
- Attach to Motor: Connect the wind turbine blades to another DC motor.
- Position the Turbine: Place the wind turbine on the base in a position where it can catch “wind” (you can simulate this by blowing or using a fan).
5. Wiring and Power Generation:
- Connect Wires: Connect the DC motors to a battery pack using wires. If you want to show power generation, connect an LED light to each motor circuit.
- Secure Connections: Use tape or solder to ensure secure electrical connections.
6. Final Assembly and Decoration:
- Decorate: Use markers or paint to add details to your model, such as water in the dam, labels for each energy source, and additional landscape features.
- Ensure Stability: Make sure all components are securely attached and the model is stable.
Explanation of the Science:
- Dam and Water Turbine: Water stored in the dam flows through a turbine, spinning it and generating electricity via the connected DC motor.
- Solar Energy: The solar panels convert sunlight into electrical energy, demonstrated by the connected LED.
- Wind Energy: The wind turbine blades spin when exposed to wind (or simulated wind), turning the DC motor and generating electricity.