
This tactile learning model allows users to physically interact with the keyboard shortcuts, enhancing the understanding and retention of the information.
Creating a working model of computer keyboard shortcut keys using cardboard and color paper can be an interesting and educational project.
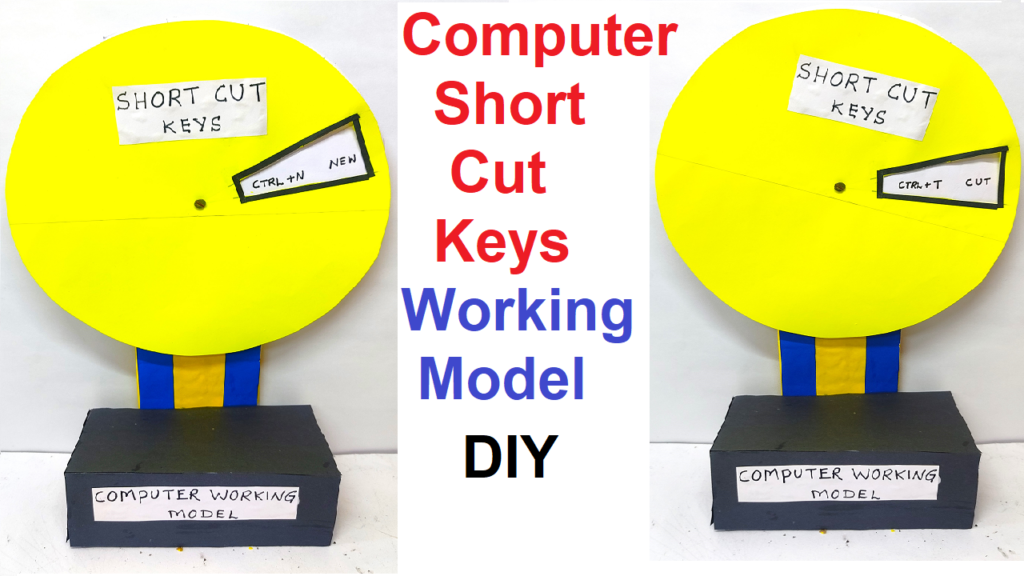
Here’s a step-by-step guide to help you build your tactile learning model (TLM):
Materials needed:
- Cardboard
- Color paper
- Marker or pen
- Small wooden sticks or dowels
- Glue
- Craft knife or scissors
- Compass or round object for tracing circles
- Ruler
Working Model Making Steps:
- Prepare the Base:
- Cut a rectangular piece of cardboard to serve as the base for your TLM. The size can vary depending on your preference, but a standard keyboard size can be a good starting point.
- Create Key Shapes:
- Use color paper to cut out individual key shapes. You can use different colors to represent various categories of shortcut keys (e.g., red for Ctrl keys, blue for Alt keys, etc.).
- Label the Keys:
- Write the corresponding keyboard shortcut keys on each paper key using a marker or pen.
- Define Functionality:
- Write the functionality or purpose of each shortcut key on the respective key. For example, Ctrl+C for copy, Ctrl+V for paste, etc.
- Attach Keys to the Base:
- Glue the paper keys onto the cardboard base in a layout that mimics a computer keyboard. Ensure that the keys are evenly spaced.
- Create Rotatable Mechanism:
- To make each key rotatable, attach small wooden sticks or dowels to the back of each key. You can do this by gluing the sticks vertically on the back of the keys.
- Attach Rotatable Keys:
- Insert the free end of each wooden stick into the cardboard base, allowing the keys to rotate freely. Make sure the keys are secured well.
- Label the Rotatable Mechanism:
- Label each wooden stick with the specific function of the corresponding key.
- Demonstrate Functionality:
- Rotate each key to showcase the specific keyboard shortcut and its functionality. Explain the purpose of each shortcut as you demonstrate.
It’s a great tool for educational purposes or as a visual aid during presentations or workshops.