
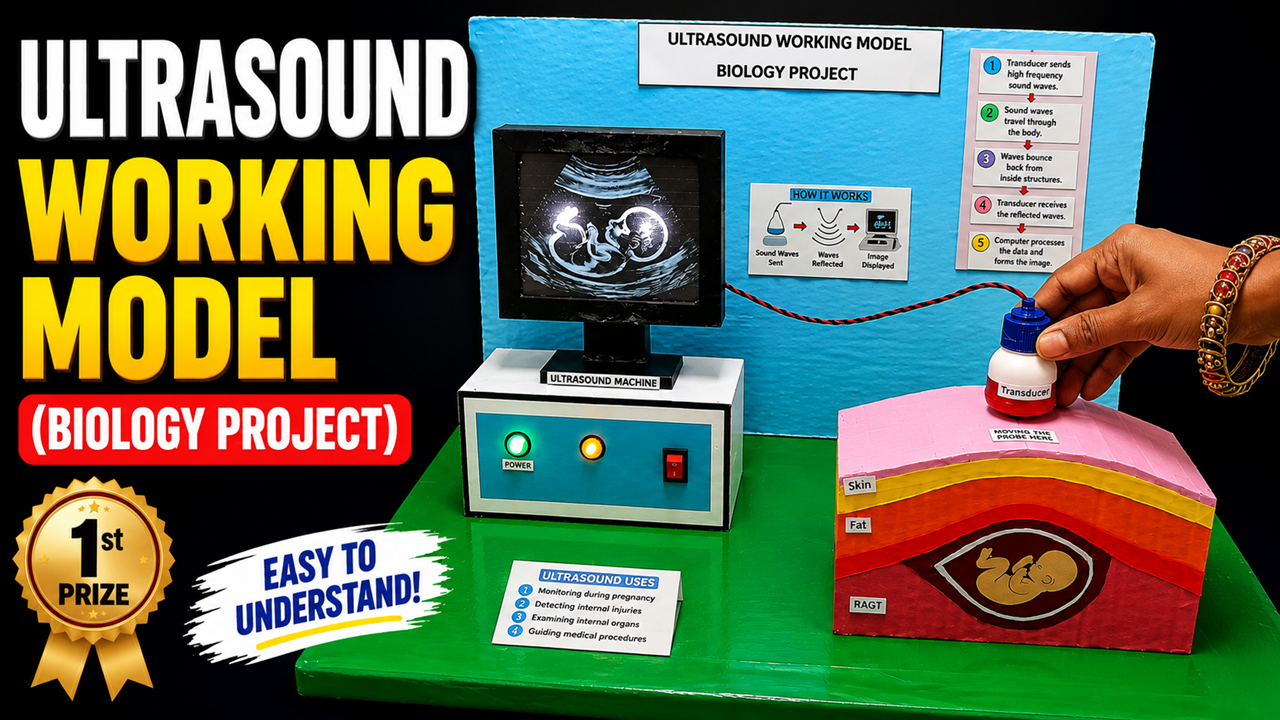
The Ultrasound Working Model is an innovative and educational science exhibition project that demonstrates how ultrasound technology helps doctors examine the inside of the human body without surgery. It is one of the most useful diagnostic techniques in modern medicine and is widely used to monitor pregnancy, examine internal organs, detect injuries, and guide medical procedures. This DIY model is ideal for school science exhibitions, biology projects, STEM activities, and medical science fairs. It can be easily built using cardboard, colour paper, LED lights, printed images, wires, and simple craft materials.
Ultrasound is an imaging technique that uses high-frequency sound waves to create pictures of organs and tissues inside the body. Unlike X-rays, ultrasound does not use harmful radiation, making it one of the safest medical imaging methods. Because of this, doctors frequently use ultrasound to examine pregnant women and monitor the healthy growth of babies inside the womb.
The main component of an ultrasound machine is the transducer, also called the ultrasound probe. The transducer works as both a transmitter and a receiver. When it is placed on the skin with the help of ultrasound gel, it sends high-frequency sound waves into the body. These sound waves travel through different tissues and organs. Whenever they strike an organ, bone, or a developing baby, part of the sound waves is reflected back as echoes.
The reflected sound waves return to the transducer, which receives them and converts them into electrical signals. These signals are sent to the computer inside the ultrasound machine. The computer processes the information and creates a detailed image, which is displayed on the monitor. Doctors study these images to examine the condition of internal organs and identify any abnormalities.
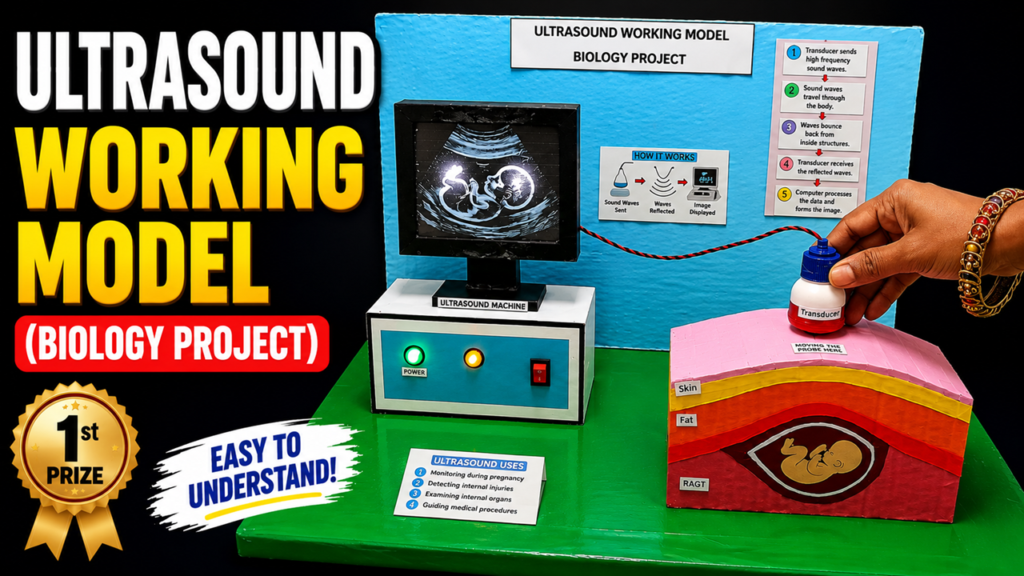
In this DIY working model, the ultrasound monitor displays an image of a baby inside the mother’s womb. The transducer is shown moving over the model of the abdomen, demonstrating how doctors perform an ultrasound scan. The colourful diagram displayed on the board explains the complete working process in simple steps: the transducer sends sound waves, the waves travel through the body, they bounce back from internal structures, the transducer receives the reflected waves, and finally the computer converts the data into an image. This sequence makes the scientific concept easy for students and visitors to understand.
The model also explains the layers of the human body, such as the skin, fat, muscle, and the uterus containing the baby. These layers help students understand how sound waves travel through different tissues before producing an image. The LEDs used in the model represent the powered ultrasound machine and make the project more attractive for science exhibitions.
Ultrasound has many important applications in healthcare. The most common use is pregnancy monitoring, where doctors check the baby’s growth, heartbeat, and position before birth. It is also used to examine organs such as the liver, kidneys, gallbladder, pancreas, thyroid gland, heart, uterus, and ovaries. Ultrasound helps detect kidney stones, cysts, tumours, infections, and internal injuries. Doctors also use it to guide procedures such as biopsies, injections, and drainage of fluids with greater accuracy.
One of the biggest advantages of ultrasound is that it is safe, painless, and non-invasive. Patients usually do not require surgery or anaesthesia. The procedure is quick, comfortable, and provides immediate results. Since ultrasound uses only sound waves, it can be repeated whenever necessary without exposing patients to ionising radiation.
This DIY project helps students understand several important scientific concepts, including sound waves, reflection of waves, echo formation, medical imaging, human anatomy, and diagnostic technology. It also introduces students to the role of biomedical engineering in modern healthcare. By presenting the model during a science exhibition, students can explain how physics, biology, and technology work together to improve medical diagnosis and patient care.
Materials Required
- Cardboard sheets
- Colour paper
- Thermocol or foam board
- Printed ultrasound image
- LED lights
- Wires, battery, and switch
- Glue and hot glue gun
- Plastic bottle cap (for the transducer)
- Paints, labels, and markers
Working Principle
- The transducer sends high-frequency sound waves into the body.
- The sound waves travel through different tissues and organs.
- The waves reflect back when they strike internal structures.
- The transducer receives the reflected echoes.
- The computer processes the signals and displays an image on the monitor.
Applications of Ultrasound
- Monitoring pregnancy and fetal development
- Examining the liver, kidneys, heart, and other organs
- Detecting stones, cysts, and tumours
- Diagnosing internal injuries
- Guiding biopsies and other medical procedures
Advantages of This Working Model
- Easy to build using cardboard and craft materials.
- Explains a real-life medical technology.
- Attractive LED lighting enhances the presentation.
- Safe and educational for students.
- Suitable for biology, medical science, and STEM exhibitions.
- Improves scientific knowledge and presentation skills.
- Demonstrates the practical application of sound waves in healthcare.
In conclusion, the Ultrasound Working Model is an excellent DIY biology project that demonstrates how high-frequency sound waves help doctors see inside the human body without surgery. It explains the complete process—from transmitting sound waves to displaying images on the monitor—in a simple and interactive way. This project not only improves students’ understanding of biology and physics but also highlights the importance of modern medical technology in saving lives and improving healthcare. It is an ideal science exhibition project that combines creativity, practical learning, and real-world applications.