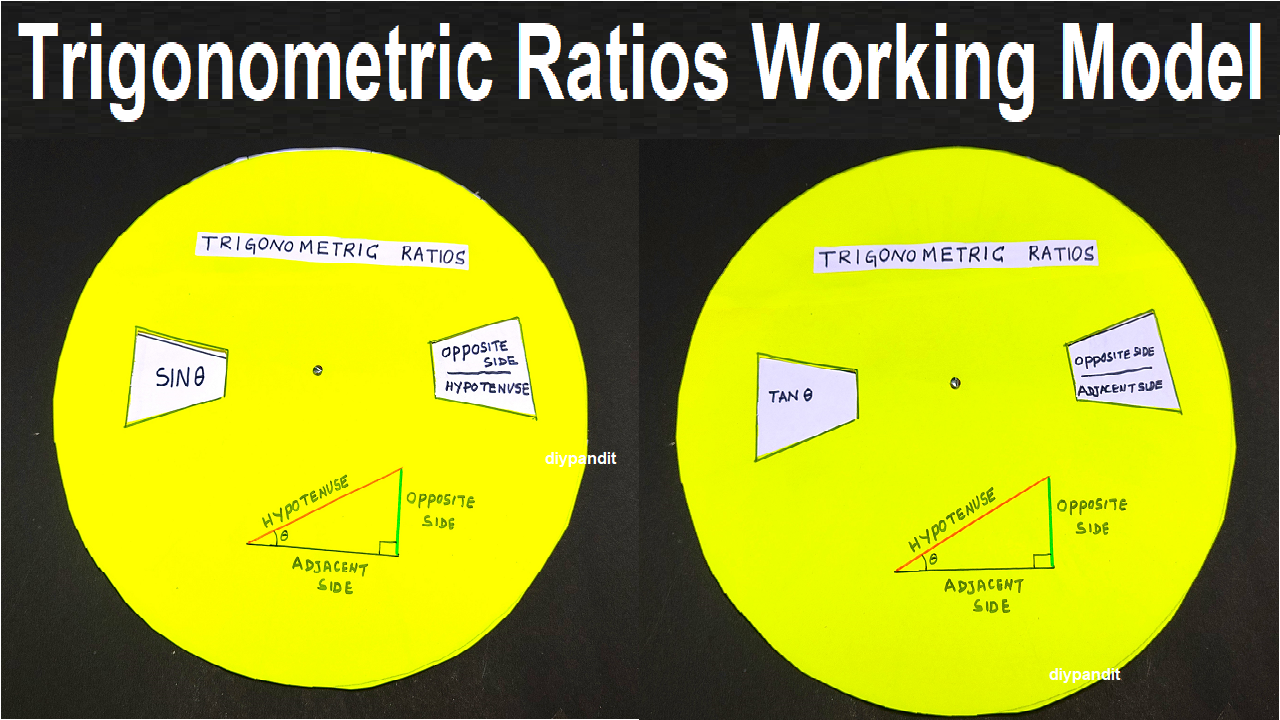
Creating a trigonometric ratios working model using cardboard and colored paper can be an engaging project for teaching and learning.

Here’s a simple DIY project with easy steps to illustrate the basic trigonometric ratios:
Materials Needed:
- Cardboard
- Ruler
- Pencil
- Colored paper
- Scissors
- Glue or tape
- Protractor
- String or yarn
- Small weight (e.g., paperclip)
Steps to Create the Trigonometric Ratios Working Model:
Step 1: Prepare the Base:
- Cut a large piece of cardboard to serve as the base for your model.
Step 2: Draw and Cut a Right Triangle:
- Use a ruler and pencil to draw a right-angled triangle on colored paper. Cut it out carefully.
Step 3: Attach the Triangle to the Base:
- Glue or tape the right-angled triangle onto the cardboard base, positioning it so that one side is parallel to the base.
Step 4: Label the Angles and Sides:
- Label the angles of the triangle as A, B, and C. Label the sides opposite these angles as a, b, and c.
Step 5: Draw Altitude and Hypotenuse Extension:
- Extend the hypotenuse (side c) using colored paper. Draw an altitude from the right angle to the extended hypotenuse.
Step 6: Create Labels:
- Cut out labels for the sides and angles (a, b, c, A, B, C) using colored paper.
Step 7: Attach Labels:
- Attach the labels to their corresponding sides and angles on the model using glue or tape.
Step 8: Create a String and Weight:
- Cut a piece of string or yarn and attach a small weight to one end (e.g., a paperclip). This will represent the plumb line.
Step 9: Attach String to the Altitude:
- Attach the other end of the string to the altitude you drew from the right angle. Ensure the plumb line hangs freely.
Step 10: Display and Demonstrate:
- Set up your trigonometric ratios working model at the exhibition table.
- Demonstrate how the plumb line corresponds to the altitude, illustrating the trigonometric ratios.
Explanation:
- During your exhibition, explain each trigonometric ratio (sine, cosine, tangent) in relation to the sides of the right triangle.
- Demonstrate how changing the angles affects the length of the sides and, consequently, the plumb line.
This trigonometric ratios working model provides a hands-on and visual representation of basic trigonometric concepts using cardboard and colored paper.
It’s a useful Teaching-Learning Material (TLM) for understanding the relationships between angles and sides in a right-angled triangle.