Creating a working model to represent different types of triangles using cardboard, colored paper, two holes, and rotation with a nut and bolt can be a hands-on and interactive project.

Here’s a simple DIY project for a rotating triangle model:
Materials Needed:
- Cardboard
- Colored paper
- Ruler
- Pencil
- Scissors
- Nut and bolt
- Hole puncher or drill
- Glue or tape
- Markers
Types of Triangles to Represent:
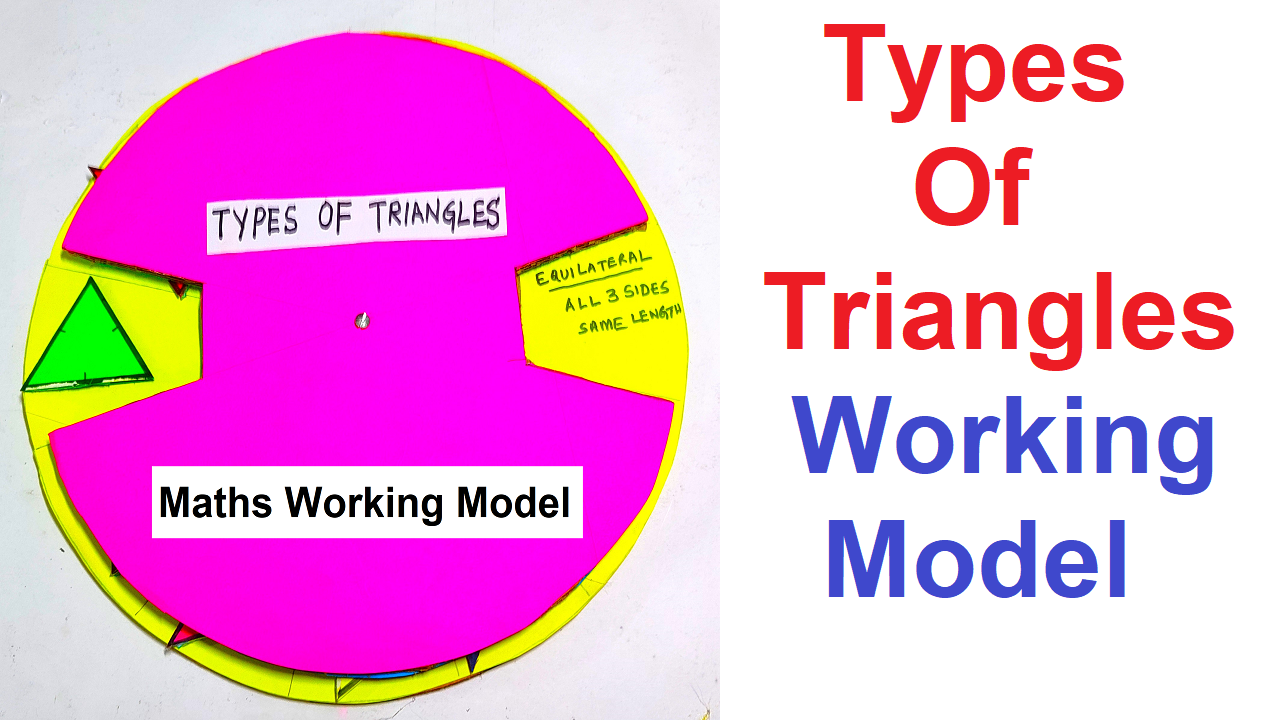
- Equilateral Triangle
- Isosceles Triangle
- Scalene Triangle
- Right Triangle
- Acute Triangle
- Obtuse Triangle
Steps to Create the Rotating Triangle Working Model:
Step 1: Prepare the Base:
- Cut a large piece of cardboard to serve as the base for your working model.
Step 2: Draw and Cut Triangles:
- Draw and cut out each type of triangle from colored paper. Make sure the triangles are large enough to be visible on the cardboard.
Step 3: Attach Triangles to Cardboard:
- Glue or tape each triangle onto the cardboard, leaving space between them.
Step 4: Create Holes:
- Use a hole puncher or drill to create a hole near one vertex of each triangle. Make sure the holes are aligned.
Step 5: Nut and Bolt Assembly:
- Assemble a nut and bolt through the holes of the triangles. Tighten the nut, allowing the triangles to rotate.
Step 6: Label the Triangles:
- Label each triangle with its respective type (e.g., Equilateral, Isosceles, Scalene, Right, Acute, Obtuse).
Step 7: Display and Demonstrate:
- Set up your rotating triangle working model at the exhibition table.
- Rotate the triangles using the bolt to demonstrate different types of triangles.
This rotating triangle working model provides an interactive and dynamic way to showcase different types of triangles using a nut and bolt mechanism.