Creating a fraction working model using cardboard and two holes can be a simple yet effective way to illustrate the concept of fractions.

Here’s a DIY project for a basic fraction model:
Materials Needed:
- Cardboard
- Ruler
- Pencil
- Craft knife or scissors
- Colored paper or markers
- String or yarn
- Two brads or paper fasteners
- Hole puncher
- Glue or tape
Steps to Create the Fraction Working Model:
Step 1: Prepare the Base:
- Cut a rectangular piece of cardboard to serve as the base for your model.
Step 2: Draw and Cut Two Rectangles:
- Draw two rectangles on colored paper or cardboard. These rectangles will represent different parts of a whole.
- Cut out the rectangles carefully.
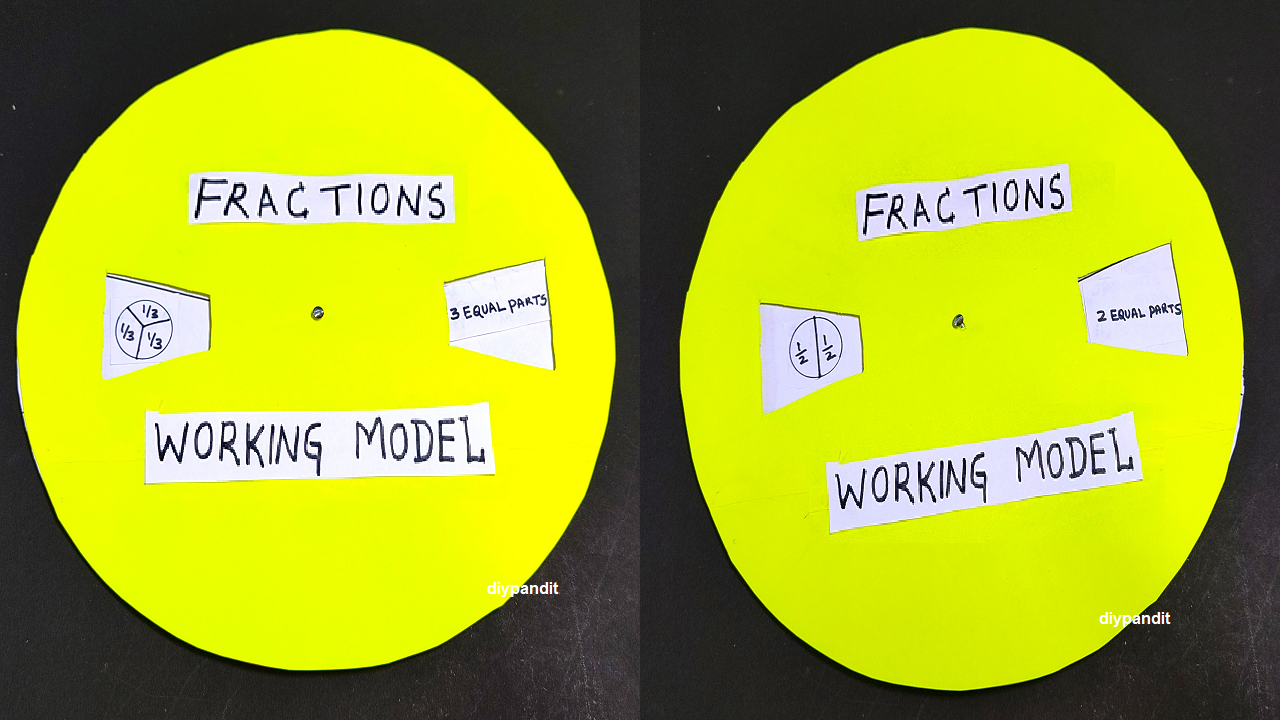
Step 3: Label the Rectangles:
- Label each rectangle with a fraction. For example, you can label one as “1/3” and the other as “2/3.”
Step 4: Attach the Rectangles:
- Attach each rectangle to the cardboard base using glue or tape. Position them side by side, leaving space between them.
Step 5: Create Holes:
- Use a hole puncher to create a hole near the top of each rectangle.
Step 6: Attach String:
- Cut two pieces of string or yarn. Thread each piece through the holes in the rectangles and tie knots at the back to secure them.
Step 7: Connect with Brads:
- Use brads or paper fasteners to connect the other ends of the strings to the cardboard base. This allows the rectangles to rotate.
Step 8: Display and Demonstrate:
- Set up your fraction working model at the exhibition table.
- Rotate the rectangles using the strings to demonstrate how changing the position of each part affects the fraction.
This simple fraction working model provides a hands-on and interactive representation of basic fraction concepts using cardboard and two holes.
It’s a great way to engage viewers and help them understand how fractions represent parts of a whole.