
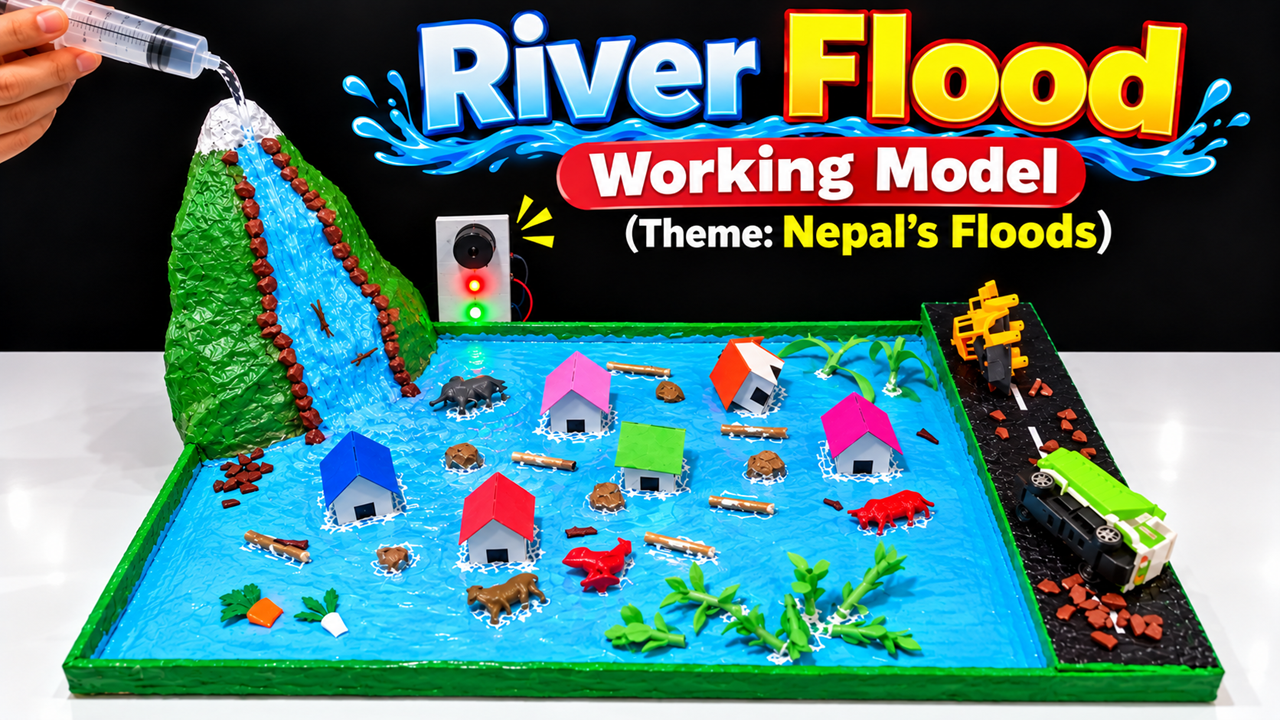
This River Flood Working Model is a simple and attractive science exhibition project that demonstrates how heavy rainfall in mountainous areas can increase the flow of water in rivers and cause flooding in nearby villages, roads, and low-lying areas. The model is especially suitable for explaining the flood situation in Nepal, where mountainous terrain, heavy rainfall, rapidly flowing rivers, landslides, and vulnerable settlements can contribute to serious flood impacts.
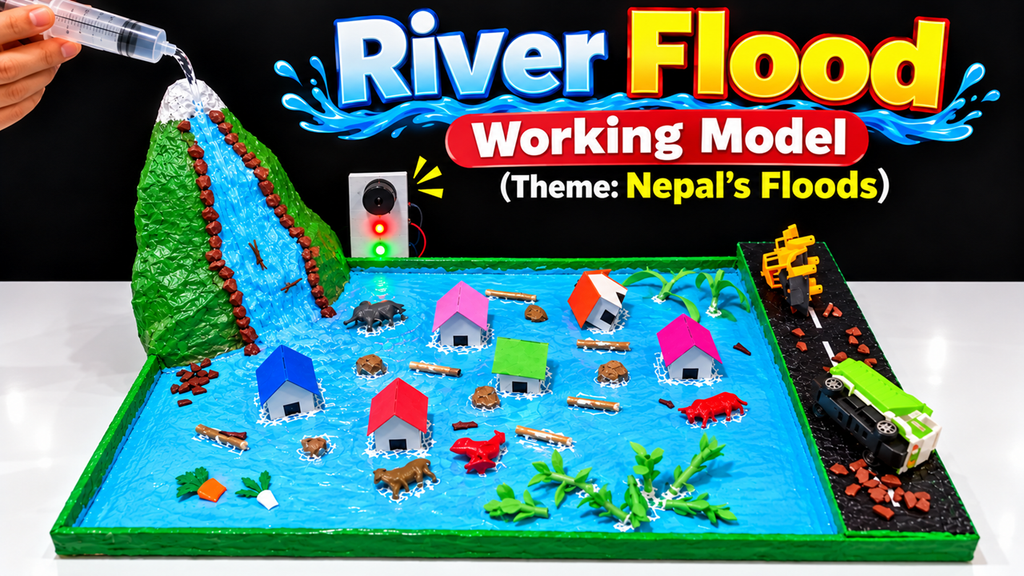
The model shown in the image is designed using simple materials such as cardboard, thermocol, coloured paper, clay, plastic sheets, small toy houses, toy vehicles, artificial plants, stones, and a small water source. The most interesting feature is that it is a working model. Water can be poured onto the mountain, and the water flows downward like rainwater entering a river. When the amount of water increases, the river level rises and eventually spreads into the surrounding area, demonstrating flooding.
1. Aim of the Project
The main aim of this project is to demonstrate:
- How rainwater flows from mountains toward rivers.
- How heavy rainfall can increase river water levels.
- How overflowing rivers can flood nearby settlements.
- How houses, roads, vehicles, animals, and vegetation can be affected by floods.
- Why early warning and proper flood management are important.
This model also helps students understand the relationship between mountains, rivers, settlements, rainfall, and floods in a visual and practical way.
2. Materials Required
You can make this project using inexpensive and easily available materials.
Main materials
- Large cardboard sheet for the base
- Thermocol or cardboard for the mountain
- Green coloured paper or green paint
- Blue coloured paper
- Transparent plastic sheet
- Blue paint or blue plastic sheet for the river
- Brown paper or small stones
- Small cardboard pieces for houses
- Coloured paper for roofs
- Small toy vehicles
- Small plastic animals
- Artificial plants or small paper plants
- Glue
- Fevicol
- Scissors
- Cutter
- Black chart paper
- White chart paper
- Small LED traffic signal
- Wires and battery, if required
- Syringe or small water container
- Small sticks
- Cotton or tissue paper
- Clay or modelling material
3. Preparing the Base
Start by taking a large and strong cardboard sheet. This will become the foundation of the entire working model.
Cover the top surface with white paper or chart paper. Then create a border around the base using green or blue coloured paper.
Divide the base into different sections:
- Mountain area
- River area
- Floodplain or village area
- Road area
The mountain should be placed toward one side of the model, preferably at the back or left side. The river should start from the mountain and continue across the model.
4. Making the Mountain
The mountain is one of the most important parts of this model.
Take several pieces of cardboard or thermocol and stack them to create a sloping mountain shape. Fix the pieces together using glue.
Cover the mountain with green paper or green paint to represent vegetation. You can add small brown stones along the sides of the mountain to make it look more realistic.
Create a blue river channel starting from the upper portion of the mountain. This represents rainwater flowing down from the mountain toward the river.
The slope is important because it allows the water poured at the top to move naturally downward.
5. Making the River
Create the river using blue chart paper, blue plastic sheet, or blue-painted cardboard.
Make the river wider toward the lower area. The river should pass through the village or settlement area so that the effect of flooding can be demonstrated clearly.
You can add small pieces of white cotton or white paper along the river edges to represent water waves and fast-flowing water.
Small brown stones can be placed along the riverbanks.
6. Making the Houses
The small houses in the model represent villages located near the river.
You can make simple houses using cardboard.
Cut cardboard into rectangular pieces for the walls and triangular pieces for the roofs. Cover the roofs using different coloured papers such as:
- Red
- Pink
- Green
- Blue
- Orange
Place the houses at different distances from the river.
Some houses should be placed close to the riverbank because these areas are more vulnerable when the river overflows.
7. Making the Road
A black strip of cardboard can be used to create a road along one side of the model.
Add a white centre line to the road using white paper or paint.
Place small toy vehicles on the road. During the demonstration, the increasing floodwater can be shown reaching the road, explaining how floods can disturb transportation and connectivity.
You can also add a small bridge using cardboard sticks if you want to make the project more detailed.
8. Adding Trees, Plants, Animals and Stones
To make the model more realistic, add small plants around the river and village.
You can make plants using:
- Green paper
- Small sticks
- Artificial leaves
- Green clay
Small toy animals can be placed around the houses and river.
Brown stones can be scattered around the mountain and riverbank.
These details make the model visually attractive and help demonstrate that floods can affect not only people and buildings but also animals, crops, vegetation, roads, and other infrastructure.
9. Making the Working Mechanism
The most important feature of the project is the flow of water.
Take a syringe, bottle, or small water container and fill it with water.
The water source should be positioned above the mountain. Slowly release the water onto the blue river channel.
The water will flow from the higher mountain area toward the lower river area.
This represents rainwater flowing down a mountain slope and entering a river.
When a small amount of water is released, the river remains within its channel.
When a larger amount of water is released continuously, the river begins to rise.
Eventually, the water crosses the riverbank and spreads into the surrounding area.
This demonstrates river flooding.
10. Demonstrating the Flood
During the science exhibition, start the demonstration by saying that the mountain region is receiving rainfall.
Slowly pour water onto the top of the mountain.
The audience can observe the water travelling down the slope and entering the river.
Now increase the amount of water.
The river gradually becomes full.
Continue adding water until the river overflows.
The water then enters the village area.
This represents a situation in which river discharge becomes greater than the capacity of the river channel, resulting in flooding.
You can point toward the houses, road, vehicles, animals, and plants and explain how each can be affected.
11. Traffic Signal and Warning System
The model shown also includes a small traffic signal/warning indicator.
This can be used to represent a flood warning system.
For example:
Green light
Normal water level and safe conditions.
Yellow light
Water level is increasing. People should remain alert.
Red light
Dangerously high water level. Evacuation or emergency action may be required.
If desired, LEDs can be connected to a simple battery-powered circuit or Arduino-based water-level detection system.
12. What the Model Demonstrates
This working model demonstrates the complete process:
Rainfall → Mountain runoff → River flow → Rising water level → River overflow → Flooding of nearby areas
The model shows why settlements near rivers and low-lying areas can be vulnerable to floods.
It also demonstrates the importance of:
- Flood forecasting
- Early warning systems
- Safe drainage
- Strong bridges and roads
- Proper land-use planning
- Riverbank protection
- Emergency evacuation
- Community awareness
13. Connection With Nepal’s Flood Situation
Nepal has many mountainous and hilly regions through which rivers flow toward lower elevations. During periods of intense rainfall, large amounts of water can move rapidly from higher areas into river systems.
This model simplifies that process for demonstration purposes.
The mountain represents the Nepalese mountainous region.
The blue channel represents a river system.
The houses represent settlements near vulnerable areas.
The road and vehicles represent transport infrastructure.
The rising water represents increasing river discharge.
The overflowing water represents flooding.
Therefore, the model provides a simple visual explanation of how flooding can affect communities and infrastructure.
14. How to Explain the Model in an Exhibition
You can explain the project like this:
“This is our River Flood Working Model based on the theme of Nepal’s floods. The mountain represents the mountainous regions of Nepal. When heavy rainfall occurs, water flows down the mountain slopes and enters the river. When the amount of water becomes greater than the capacity of the river, the river level rises and overflows its banks. The overflowing water enters nearby villages and affects houses, roads, vehicles, animals, and vegetation. The warning signal represents an early warning system that can alert people when the water level becomes dangerous. This model shows why flood monitoring, early warning, proper planning, and timely evacuation are important for reducing flood damage.”
15. Conclusion
The River Flood Working Model is an excellent low-cost science exhibition project because it converts a complex natural disaster into a simple visual demonstration.
Instead of only explaining floods through pictures or theory, the working model allows viewers to see the movement of water and the process of river overflow.
The project teaches an important message: floods are natural events, but their impact on communities can be reduced through early warnings, proper planning, safe construction, better drainage, awareness, and timely evacuation.
This model can therefore be used not only as a school science project but also as an educational tool for explaining flood causes, flood impacts, disaster preparedness, and climate-related risks in a simple and engaging way.