In this post we write about making of the maths tlm working model (number system) using cardboard – diy
#mathstlm #workingmodel #numbersystem #craftpiller #diy #mathsproject #maths
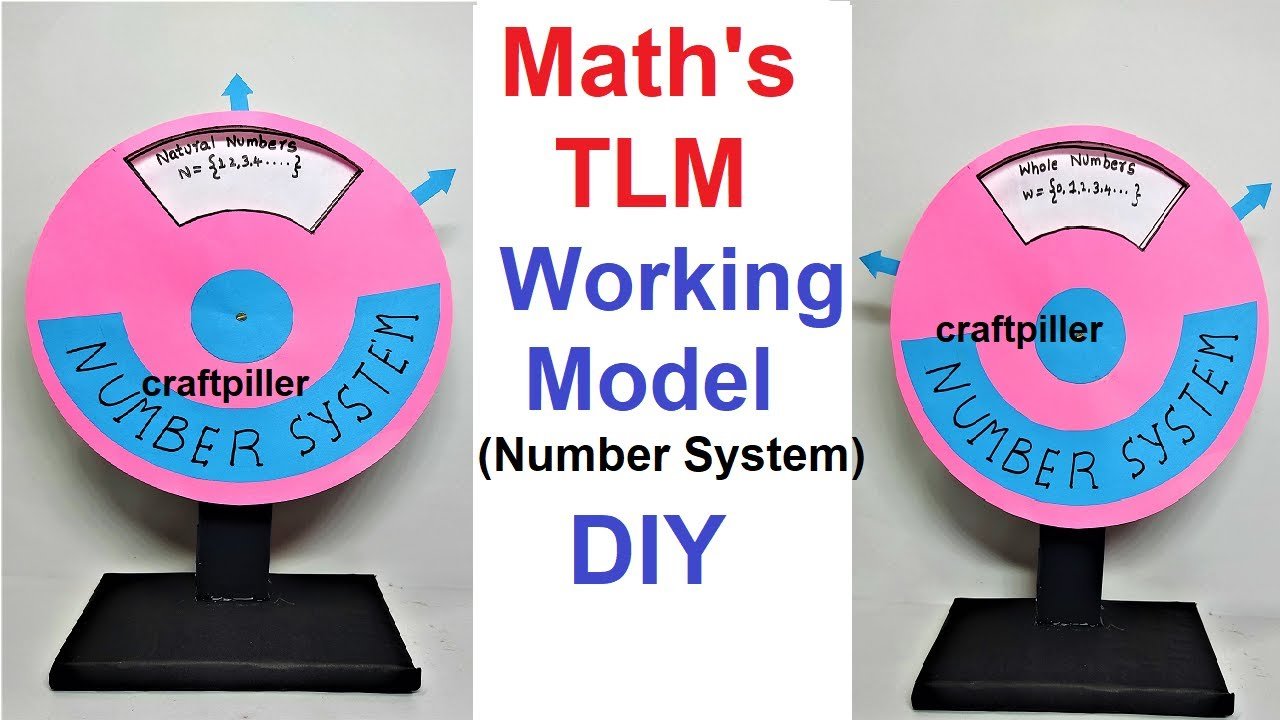
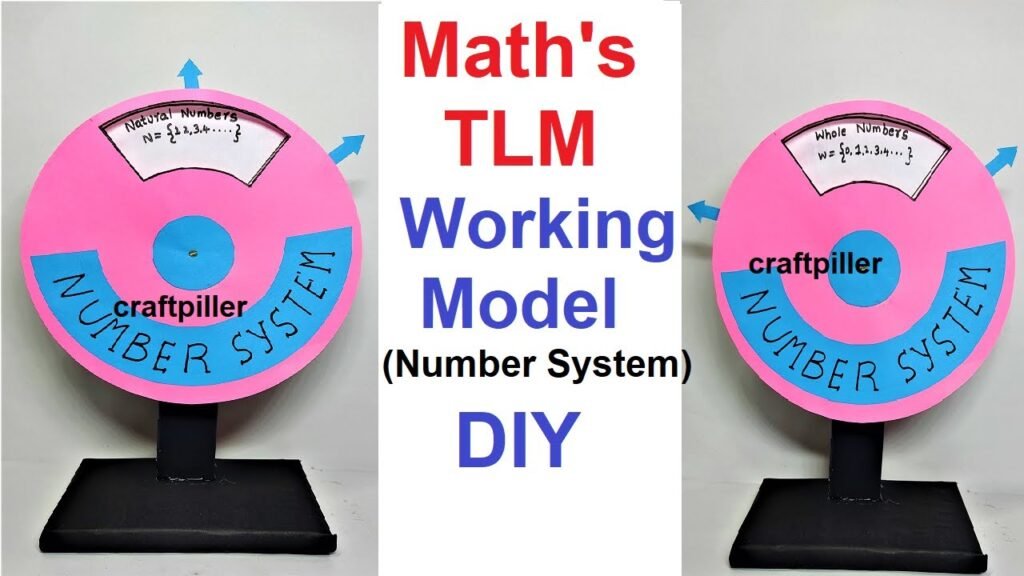
Creating a rotatable model in a circular format for teaching the number system can be an effective and interactive Teaching Learning Material (TLM). Here’s a step-by-step guide to making this model:
Materials Needed
- Cardboard
- Colored paper
- Scissors
- Glue or tape
- Compass
- Ruler
- Marker
- Brass fastener (split pin) for rotation
- Protractor (optional)
- Transparent plastic sheet (optional)
Video steps on making maths tlm working model (number system) – diy
1. Prepare the Base Circle
- Draw the Circle:
- Use a compass to draw a large circle on a piece of cardboard. This will be your base circle.
- Cut out the circle carefully.
- Divide the Circle:
- Use a ruler and marker to divide the circle into sections representing different parts of the number system: natural numbers, whole numbers, integers, rational numbers, irrational numbers, and real numbers.
- Label these sections lightly in pencil.
2. Create Rotatable Parts
- Smaller Inner Circle:
- Draw and cut out a smaller circle from cardboard that fits within the larger circle.
- This inner circle will be rotatable and will contain key examples and definitions.
- Divide the Inner Circle:
- Divide the inner circle into sections matching the divisions on the base circle.
- Ensure each section of the inner circle aligns with a section of the outer circle.
- Attach Rotatable Inner Circle:
- Poke a small hole through the center of both the base and inner circles.
- Insert a brass fastener (split pin) through the holes and spread the legs of the fastener on the back of the base circle to secure it. This will allow the inner circle to rotate.
3. Label and Decorate
- Label Sections:
- On the base circle, label each section with the categories of the number system.
- On the inner circle, write definitions, examples, and properties of each category.
- Color Coding:
- Use different colors for each section to make the model visually appealing and easier to understand.
- Add Examples:
- Write examples of numbers in each section of the inner circle, such as:
- Natural Numbers: 1, 2, 3, …
- Whole Numbers: 0, 1, 2, …
- Integers: -2, -1, 0, 1, 2, …
- Rational Numbers: 1/2, -3/4, 5, …
- Irrational Numbers: √2, π, …
- Real Numbers: A combination of rational and irrational numbers.
- Write examples of numbers in each section of the inner circle, such as:
Assembly and Presentation
- Align and Test:
- Rotate the inner circle to ensure that it aligns with the corresponding sections on the base circle.
- Make any necessary adjustments to ensure smooth rotation.
- Interactive Learning:
- Encourage students to rotate the inner circle and explore different parts of the number system.
- Use the model to explain how the number system is structured and how different types of numbers relate to each other.
By following these steps, you’ll create an interactive and educational rotatable model that effectively demonstrates the number system. This hands-on approach helps reinforce mathematical concepts in a fun and engaging way.