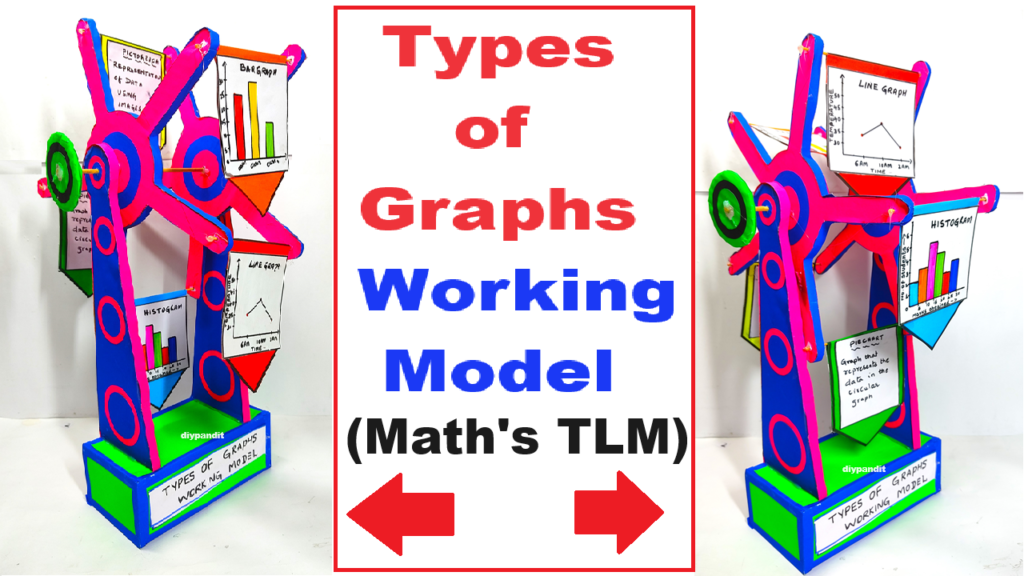
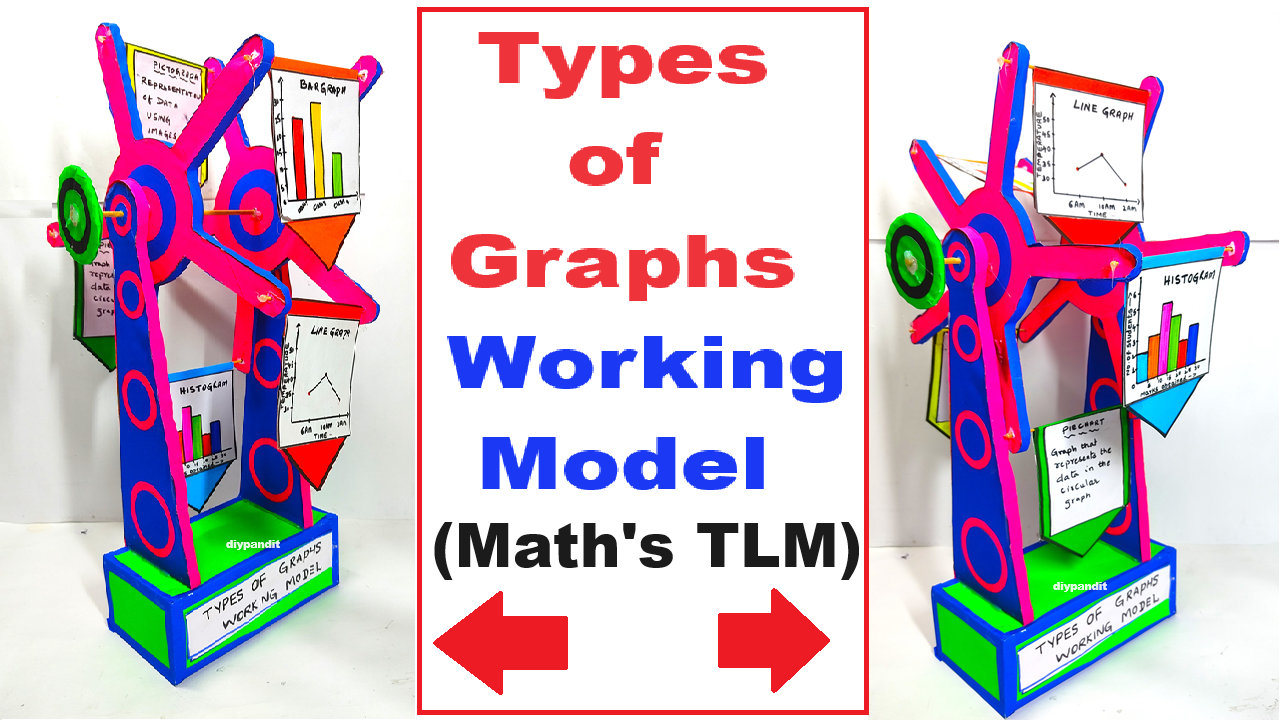
Creating a working model to display various types of graphs (line graph, pie chart, histogram, pictograph) on a rotating sky wheel can be an engaging and interactive project for teaching mathematical concepts.

Here’s a step-by-step guide to help you build this model using cardboard, color paper, and chopsticks.
Materials Needed:
- Cardboard (for the wheel and base)
- Color Paper (for graphs and decoration)
- Chopsticks (for the rotating mechanism)
- Glue or Hot Glue Gun (for assembly)
- Scissors and Cutter (for cutting cardboard and color paper)
- Markers or Paint (for labeling and decoration)
- Brass Fastener (for the pivot point of the wheel)
- Ruler and Compass (for accurate measurements)
Video Steps to Build the Types of Graphs Working Model:
- Create the Base:
- Cut a large rectangular piece of cardboard for the base. This will support the entire model.
- Cut two triangular supports from the cardboard and attach them vertically to the base using glue. Ensure they are positioned to hold the wheel in the middle.
- Create the Sky Wheel:
- Draw and cut out a large circle from the cardboard. This will be the sky wheel where the graphs will be displayed.
- Divide the circle into equal segments (like slices of a pie) to represent different types of graphs.
- Prepare the Graphs:
- Line Graph: Use color paper and markers to draw a line graph on one segment.
- Pie Chart: Cut pieces of color paper into wedges and glue them onto another segment to form a pie chart.
- Histogram: Draw and cut rectangular bars from color paper and arrange them on another segment to create a histogram.
- Pictograph: Draw symbols or shapes on color paper and arrange them in another segment to form a pictograph.
- Decorate and label each segment accordingly.
- Attach the Graphs to the Wheel:
- Glue each graph to its respective segment on the sky wheel.
- Ensure all graphs are securely attached and neatly displayed.
- Create the Rotating Mechanism:
- Poke a hole in the center of the sky wheel and the top of the triangular supports on the base.
- Insert a brass fastener through the center of the wheel and the supports. This will act as the pivot point, allowing the wheel to rotate.
- Alternatively, you can use a chopstick as the axle. Push it through the holes in the wheel and supports and secure it with glue or rubber bands.
- Create Handles for Rotation:
- Attach a chopstick horizontally at the back of the wheel, securing it with glue. This will act as a handle to rotate the wheel.
- Ensure the wheel can rotate smoothly without obstruction.
- Decorate the Model:
- Use color paper and markers to decorate the base and supports.
- Add labels and instructions for each type of graph to make the model more informative.
This model will help illustrate various types of graphs in a fun and interactive way, enhancing the learning experience for students.

