
An earthquake working model is an exciting and educational science project that helps students understand how earthquakes occur and how vibrations affect buildings and structures.
This project is simple to make at home using low-cost materials and is perfect for school science exhibitions. The model demonstrates the concept of seismic waves and earthquake-resistant structures in a practical and creative way.
Aim of the Project
The aim of this project is to show how earthquakes cause vibrations on the Earth’s surface and how different types of buildings react to shaking. It also explains the importance of constructing strong and flexible buildings in earthquake-prone areas.
Materials Required
- Cardboard or foam board
- Small cardboard boxes or toy houses
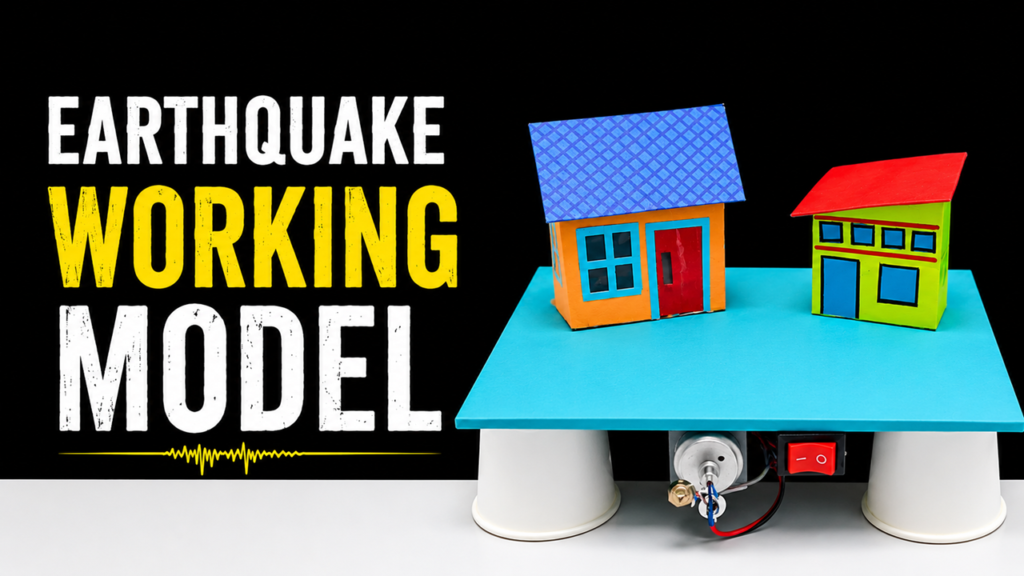
- DC motor or vibrating motor
- Battery and switch
- Plastic cups or cylindrical supports
- Glue gun or strong adhesive
- Rubber bands or springs
- Colored paper and markers for decoration
- Wires and tape
- Scissors and ruler
How to Make the Earthquake Working Model
Step 1: Prepare the Base
Take a thick cardboard or foam board and cut it into a rectangular shape. This will act as the main platform of the model. Decorate it using colored paper to make it attractive for the exhibition.
Step 2: Attach the Supports
Fix four plastic cups or cylindrical supports beneath the platform at each corner. These supports will hold the platform above the ground and provide space for the motor underneath.
Step 3: Install the Vibrating Motor
Attach a small DC motor below the platform using glue or tape. Connect the motor to a battery and switch using wires. To create vibrations, fix a small uneven metal nut or weight on the motor shaft. When the motor rotates, the imbalance creates shaking similar to an earthquake.
Step 4: Build the Houses
Make small houses using cardboard, paper, or toy blocks. Create different types of structures—some weak and some strong. Place them on the platform. You can also add roads, trees, and buildings to make the model look realistic.
Step 5: Add Shock Absorbers
Use rubber bands, sponge pieces, or springs between the platform and supports. These act like shock absorbers and reduce vibrations. This demonstrates how earthquake-resistant buildings work in real life.
Step 6: Test the Model
Switch on the motor. The platform will start vibrating like an earthquake. Observe how weak buildings collapse easily while stronger and flexible structures remain stable. This clearly explains the effect of seismic vibrations on buildings.
Scientific Principle
Earthquakes occur due to the movement of tectonic plates beneath the Earth’s crust. When these plates suddenly move or collide, energy is released in the form of seismic waves. These waves travel through the Earth and cause the ground to shake. Buildings that are poorly designed may collapse during strong vibrations, while well-designed structures can resist damage.
Observations
- Weak structures fall during vibrations.
- Flexible buildings resist shaking better.
- Shock absorbers reduce the impact of vibrations.
- Strong foundations improve building stability.
Conclusion
This earthquake working model is a creative and informative science exhibition project. It helps students understand the causes and effects of earthquakes through practical demonstration. The project also spreads awareness about earthquake safety and the importance of constructing earthquake-resistant buildings. It is easy to build, cost-effective, and an excellent example of applying science concepts in real life.