
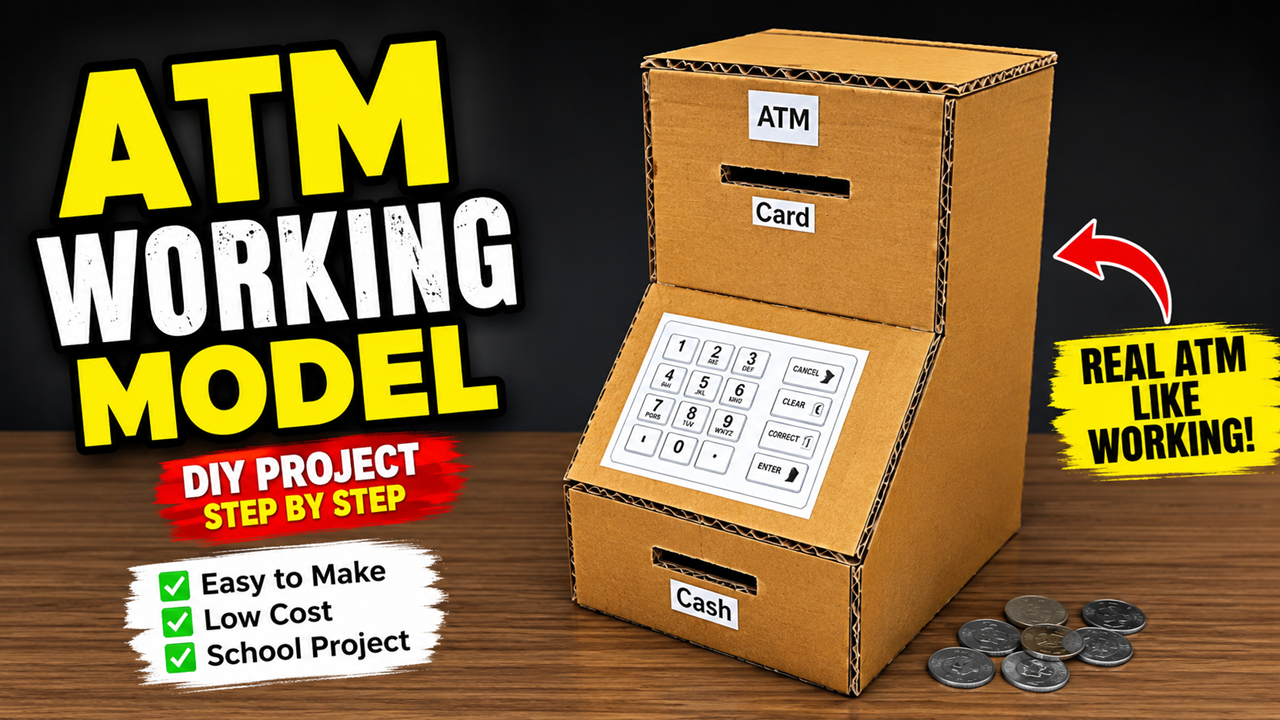
The ATM Working Model is a creative and educational DIY science project that demonstrates the basic working principle of an Automated Teller Machine (ATM). ATMs are widely used in banks, shopping centres, railway stations, airports, and public places, allowing people to withdraw cash, check account balances, deposit money, and perform other banking services without visiting a bank counter. This cardboard ATM model is an excellent project for school science exhibitions, STEM activities, engineering fairs, and technology competitions because it combines simple mechanics with real-life applications.
An Automated Teller Machine (ATM) is an electronic banking machine that allows customers to access their bank accounts using an ATM card and a Personal Identification Number (PIN). After verifying the customer’s identity, the machine performs banking transactions securely and quickly. In this DIY model, the actual electronic system is represented using simple cardboard mechanisms that help students understand the working process in an easy and practical way.
The model is made using cardboard sheets, colour paper, glue, printed keypad labels, and simple sliding mechanisms. The front side contains a card slot, a keypad, and a cash outlet, similar to a real ATM. Inside the cardboard box, a simple manual mechanism is designed so that when the user inserts a model ATM card and operates the internal sliding system, paper currency or sample notes appear through the cash slot. This creates a realistic ATM-like experience without using complicated electronics.
The working principle of this model is simple. First, the user inserts a model ATM card into the card slot. In a real ATM, the machine reads the information stored on the chip or magnetic strip of the card. It then asks the customer to enter a secure PIN using the keypad. The bank’s computer verifies the PIN and checks whether sufficient money is available in the account.
After successful verification, the customer selects the amount to withdraw. The ATM communicates with the bank’s server through a secure network. Once the transaction is approved, the cash dispensing mechanism counts the required number of currency notes and delivers them through the cash outlet. Finally, the ATM updates the customer’s account balance and prints or displays the transaction details.
In this DIY cardboard model, these electronic operations are represented using a manual sliding mechanism. When the student inserts the model ATM card and moves the internal slider or lever, paper notes stored inside the box move forward and appear through the cash outlet. This simple mechanism demonstrates how an ATM dispenses money while making the project easy to understand for students and visitors.
The ATM model also teaches students about digital banking and the importance of secure financial transactions. Modern ATMs use advanced technologies such as encrypted communication, PIN verification, chip-based cards, biometric authentication, and secure software to protect customers’ money and personal information. Students can explain that security is one of the most important features of every ATM system.
This DIY project demonstrates several scientific and technological concepts, including mechanical motion, simple machines, automation, computer technology, electronic banking, and financial security. It helps students understand how machines simplify daily life by performing tasks quickly and accurately.
Building the model also improves creativity, design skills, and engineering knowledge. Students learn measuring, cutting, assembling, and designing while working with cardboard. Since the project uses low-cost and recyclable materials, it is affordable, eco-friendly, and suitable for beginners.
Materials Required
- Cardboard sheets
- Colour paper
- Printed keypad and ATM labels
- Craft glue or hot glue
- Cutter and scissors
- Ruler and pencil
- Wooden sticks or sliders
- Paper currency (dummy notes)
- Marker pens
Working Principle
- Insert the ATM card into the card slot.
- Enter the PIN using the keypad.
- The ATM verifies the user’s account information.
- Select the withdrawal amount.
- The internal mechanism dispenses cash through the cash outlet.
- The account balance is updated after the transaction.
- The user collects the cash and removes the ATM card.
Applications of ATMs
- Cash withdrawal
- Balance enquiry
- Cash deposits
- Fund transfer
- Mini statement printing
- PIN change
- Utility bill payments (in advanced ATMs)
Advantages of This Working Model
- Easy to make using cardboard.
- Demonstrates real-life banking technology.
- Low-cost and eco-friendly.
- Helps students understand automation.
- Improves creativity and engineering skills.
- Attractive and interactive for science exhibitions.
- Suitable for STEM and technology projects.
Educational Benefits
- Explains the basic working of an ATM.
- Introduces digital banking concepts.
- Demonstrates simple mechanical movement.
- Improves presentation and communication skills.
- Encourages interest in banking technology and engineering.
In conclusion, the ATM Working Model is an excellent DIY science exhibition project that demonstrates how an Automated Teller Machine performs secure and convenient banking transactions. Using simple cardboard mechanisms, students can explain the complete process of card insertion, PIN verification, transaction approval, and cash dispensing. This project combines science, engineering, and technology with everyday life, making it both educational and engaging. It is an ideal school exhibition model because it is easy to build, inexpensive, environmentally friendly, and helps students understand the importance of digital banking and automation in the modern world.