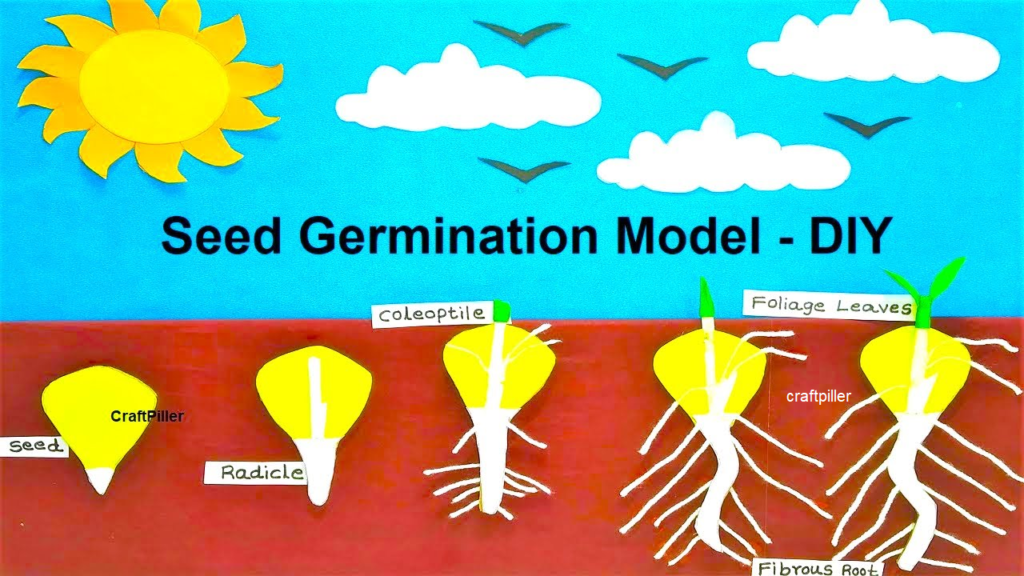
In this post we are writing to show on how to make the germination of seed model or plant model for science project
Creating a germination of seed model with cardboard and color paper, along with a sky, clouds, and the sun, is a wonderful way to showcase the process of a seed sprouting and growing into a plant. Here’s a step-by-step guide to help you build your model:

Materials needed:
- Cardboard or a sturdy base material
- Color paper or craft paper in various colors (green, blue, white, yellow, etc.)
- Scissors
- Glue or tape
- Marker pen
- Optional: labels or small pieces of paper for annotations
Instructions:
- Prepare the base:
- Take the cardboard and cut it into a suitable size and shape to act as the base for your model. It should be large enough to accommodate all the components of the germination model.
- Create the sky background:
- Cut a piece of blue color paper to fit the size of the cardboard. Glue or tape it onto the cardboard to create the sky background.
- Add the sun:
- Cut a yellow circle from color paper to represent the sun. Place it in the upper part of the sky background and glue or tape it in place.
- Make clouds:
- Cut cloud shapes from white color paper. You can create different sizes and shapes to make the sky more visually appealing. Glue or tape the clouds onto the blue sky.
- Create the soil:
- Cut a brown or dark color paper to represent the soil. Glue or tape it to the bottom part of the cardboard to form the ground.
- Make the seed:
- Cut an oval shape from color paper to represent the seed. You can use a light brown or tan color to mimic a real seed’s appearance.
- Show the germination process:
- Cut a small, green shoot shape from color paper to represent the sprouting seedling. Attach it to the top of the seed to show the growth of the plant.
- Optional decorations:
- You can use markers to add details to the seedling, such as leaves or roots.
- You may also add labels or annotations to the model to explain each part of the germination process.
- Explanation:
- Use this model as a visual aid to explain the process of seed germination. You can cover the following key points:
- Germination is the process by which a seed develops into a new plant.
- When a seed is exposed to favorable conditions (adequate water, warmth, and oxygen), it absorbs water and swells.
- The seed then sends out a tiny root, anchoring it into the soil, and a shoot starts to grow towards the light.
- As the shoot emerges from the soil, it develops leaves to carry out photosynthesis, using the sun’s energy to produce food for the plant.
- Use this model as a visual aid to explain the process of seed germination. You can cover the following key points:
- Optional additions:
- To add more realism and educational value, you can create additional stages of plant growth, such as the development of more leaves and flowers as the plant matures.
Remember to keep the model simple and engaging, suitable for your target audience’s age and understanding. This model will help visualize the germination process and demonstrate the importance of environmental factors like sunlight and water in a plant’s growth.
#germinationofseed #craftpiller #diy #scienceexhibition #sciencemodel #scienceproject #biologymodel #botanymodel

