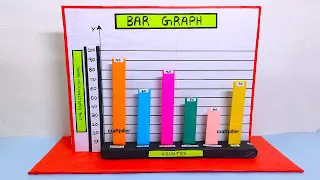
In this post we created to make the bar graph model 3d for science exhibition – diy using cardboard
Creating a 3D bar graph model using cardboard and color paper is an excellent way to showcase data visually and make it more interactive for a science exhibition.

Let’s build a simple bar graph model representing data on a specific topic, along with examples for clarity.
Materials needed:
- Cardboard (for the base and structures)
- Color paper (for creating the bars and labels)
- Scissors
- Glue or double-sided tape
- Marker pens or sketch pens
- Data examples
Step-by-step instructions:
- Base:
- Cut a large rectangular piece of cardboard to serve as the base for the bar graph model.
- Bars:
- Use color paper to create bars representing different data points. Each bar should have a specific color and height, corresponding to the data value it represents.
- For example, if you are representing the number of books read by different students, you can create bars of varying heights to represent the number of books read by each student.
- Labels:
- Cut out small rectangles from color paper to serve as labels for each bar.
- Write the names or labels of the data points on these rectangles.
- For example, if the data represents the number of books read by different students, write the names of the students on the labels.
- Placement of Bars and Labels:
- Glue or tape the bars onto the base, leaving equal gaps between them.
- Place the labels below each corresponding bar, indicating which data point the bar represents.
- Axis:
- Use color paper to create lines or markings on the base to represent the axes of the bar graph (x-axis and y-axis).
- Label the axes accordingly, representing the categories or data points along the x-axis and the scale of the data along the y-axis.
- Examples:
- Provide examples or a brief explanation of the data being represented on the bar graph. This can be done by adding small cards or signs next to the bars, providing additional information about the data.
- Decorating the Model:
- Use markers or color paper to decorate the model and make it visually appealing. Add a title and any other relevant details to enhance the presentation.
Now, you have a 3D bar graph model using cardboard and color paper that represents data with visual bars and labels. The model can be an excellent addition to a science exhibition as it allows viewers to understand the data through visualization.
#bargraph #mathsmodel #scienceexhibition #tlm #diy #3d #craftpiller #maths