Introduction to Soil Erosion and Landslide:
Soil erosion and landslides are geological processes that involve the movement of soil, rocks, and debris down slopes.
These natural phenomena can have significant environmental, social, and economic impacts, affecting landscapes, ecosystems, and human activities.
Understanding the causes and consequences of soil erosion and landslides is crucial for managing and mitigating their effects.
Key Concepts:
- Soil Erosion:
- Soil erosion is the process by which soil is transported from one location to another by the action of wind, water, or ice. It occurs when the forces acting on the soil exceed its resistance to those forces.
- Causes of Soil Erosion:
- Common causes of soil erosion include rainfall, surface runoff, wind, human activities (such as deforestation and improper agricultural practices), and construction activities that disturb the soil.
- Effects of Soil Erosion:
- Soil erosion can lead to the loss of fertile topsoil, degradation of land quality, reduced agricultural productivity, increased sedimentation in rivers and lakes, and the disruption of ecosystems.
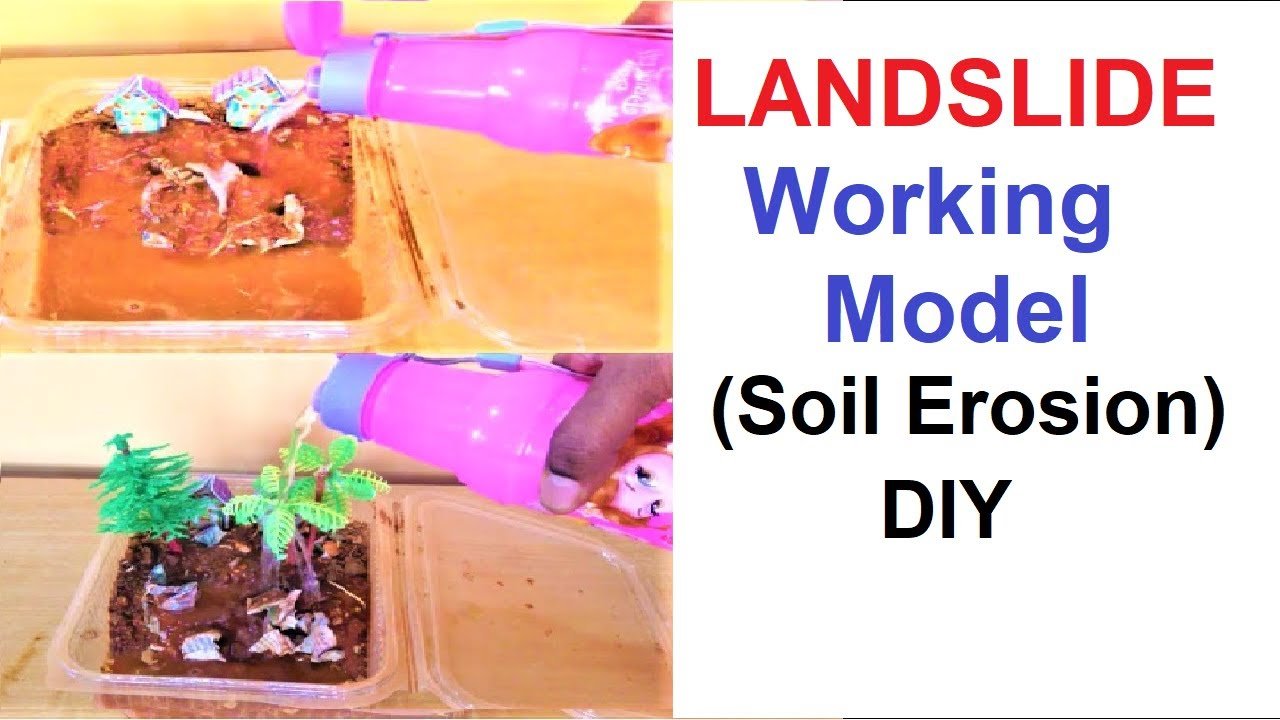
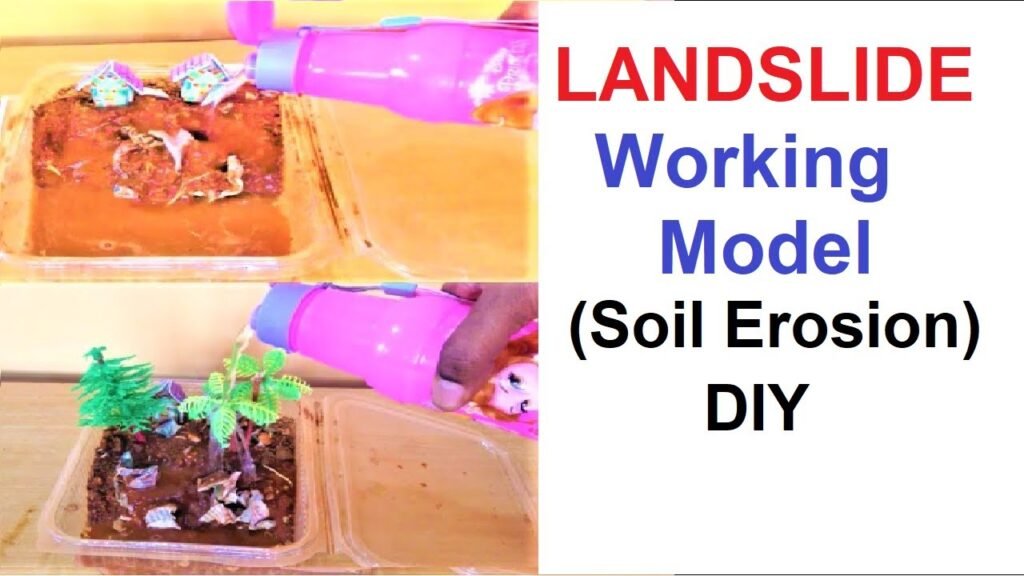
Soil Erosion Working Model
Creating a simple soil erosion and landslide experiment can be a captivating way to understand the impact of water on slopes and the potential for landslides.
Here’s a step-by-step guide for a basic experiment:
Materials Needed:
- Large shallow tray or container
- Potting soil or sand
- Small plants (optional)
- Plastic cups
- Watering can or spray bottle
- Small pebbles or rocks
- Craft sticks or popsicle sticks
- Cardboard or foam board
- Ruler
- Tape
- Plastic sheet or garbage bag (to protect the surface)
Video step by step Procedure on soil erosion:
1. Set Up the Experiment Area:
- Place the plastic sheet or garbage bag to protect the surface where you’ll conduct the experiment.
2. Create Slope with Soil:
- Fill the large shallow tray or container with potting soil or sand to create a slope. You can shape the soil to resemble a hill or slope.
3. Add Plants (Optional):
- Plant small vegetation (real plants or model trees) on the slope. Vegetation helps stabilize the soil and reduce the risk of erosion.
4. Design Channels with Plastic Cups:
- Cut the bottoms off plastic cups to create funnels. Attach the funnels to the slope using tape, positioning them at the top of the slope to simulate channels for water flow.
5. Add Rocks and Obstacles:
- Place small pebbles or rocks on the slope to simulate obstacles or potential triggers for landslides.
6. Create a Rainfall Simulation:
- Elevate one end of the tray slightly to create a downhill slope. Pour water gently at the top of the slope using a watering can or spray bottle to simulate rainfall.
7. Observe Water Flow:
- Observe how water flows down the slope, collecting in the funnels and potentially causing erosion. Note the impact on the soil and the movement of rocks.
8. Introduce Obstacles and Triggers:
- Experiment by introducing obstacles such as rocks or sticks to observe how they can affect water flow and increase the risk of landslides.
9. Document Observations:
- Use a ruler to measure any changes in the landscape, such as soil erosion depth or the movement of rocks. Document your observations.
10. Implement Erosion Control Measures: – Introduce erosion control measures such as planting more vegetation, building barriers, or creating terraces using craft sticks or popsicle sticks.
11. Discuss Findings: – Discuss your findings, emphasizing the role of vegetation in preventing soil erosion and the impact of human activities on slope stability.