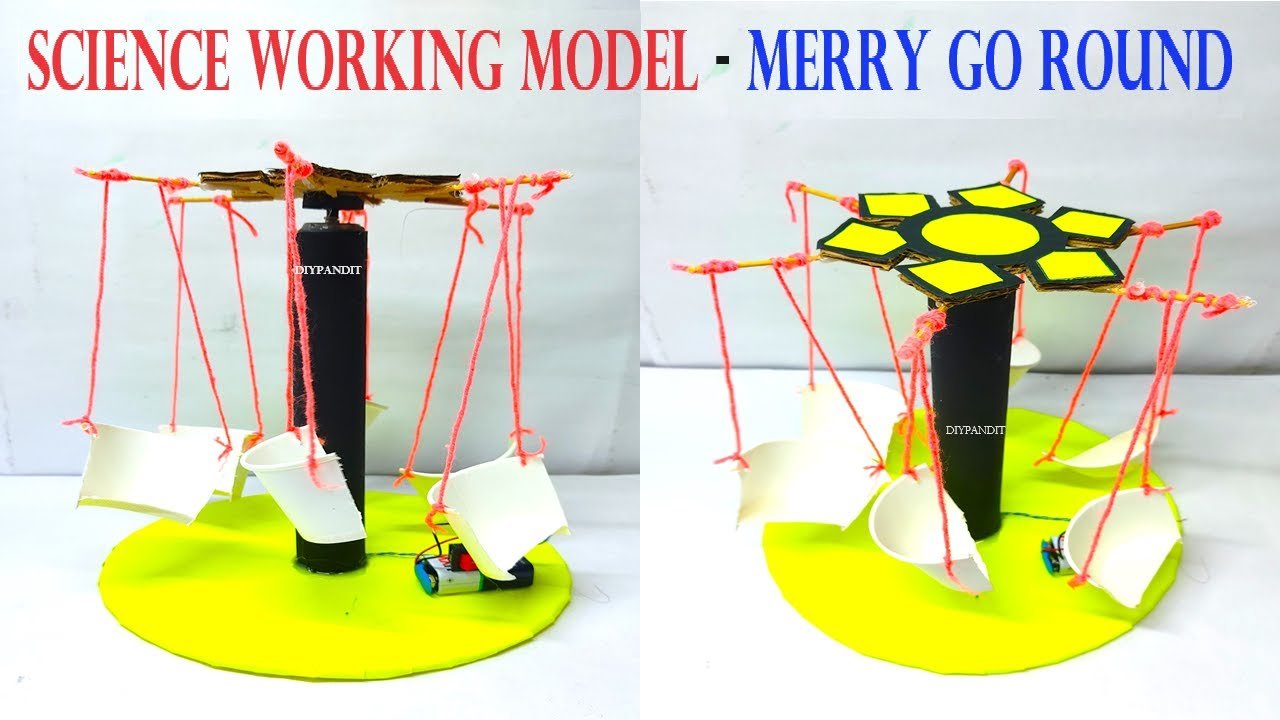
The purpose of creating a merry-go-round working model is to demonstrate principles of rotational motion, mechanical engineering, and simple electrical circuits.
This project helps students understand how a basic motor can convert electrical energy into mechanical energy to produce rotational movement.
Creating a working model of a merry-go-round using cardboard, a DC motor, a switch, a 9V battery, and a cardboard pipe can be an exciting and educational project.

Below is a step-by-step guide to help you build this model:
Materials Needed:
- Cardboard (for the base and platform)
- Cardboard pipe (for the central axis)
- DC motor
- Switch
- 9V battery
- Battery holder
- Small gears or pulleys (optional for better motion)
- Hot glue gun or strong adhesive
- Scissors or a craft knife
- Ruler
- Marker
Step by Step Video Instructions on Merry Go Round:
- Prepare the Base:
- Cut a large circular piece of cardboard to serve as the base of the merry-go-round. This should be stable enough to support the entire structure.
- Optionally, you can make the base square or rectangular, as long as it provides stability.
- Create the Central Axis:
- Take the cardboard pipe and cut it to the desired height of your merry-go-round. This will be the central axis around which the platform will rotate.
- Prepare the Rotating Platform:
- Cut another circular piece of cardboard that will act as the rotating platform of the merry-go-round. Make sure it is smaller than the base but large enough to fit the desired number of seats or figures.
- Mount the DC Motor:
- Attach the DC motor to the center of the base using a hot glue gun or strong adhesive. Ensure that the motor’s shaft is upright and centered.
- If you have gears or pulleys, you can attach one to the motor’s shaft to help with the motion transfer.
- Connect the Central Axis to the Motor:
- Carefully align the cardboard pipe (central axis) with the motor’s shaft and attach it securely. You can use a hot glue gun or adhesive to ensure it is well-centered and stable.
- If using gears or pulleys, connect them now to ensure smooth rotation.
- Attach the Rotating Platform:
- Glue the center of the rotating platform to the top of the central axis. Make sure it is level and can rotate freely around the central axis.
- Electrical Connections:
- Connect the DC motor to the switch and the 9V battery holder. Ensure you have a good understanding of basic electrical connections:
- One wire from the motor goes to the switch.
- The other wire from the switch goes to one terminal of the battery holder.
- The second wire from the motor goes directly to the other terminal of the battery holder.
- Secure the switch and battery holder to the base or side of the merry-go-round for easy access.
- Connect the DC motor to the switch and the 9V battery holder. Ensure you have a good understanding of basic electrical connections:
- Decorate the Merry-Go-Round:
- Use additional pieces of cardboard to create seats, figures, or animals to place on the rotating platform.
- Decorate the platform and base with paint, markers, or stickers to make it more attractive and realistic.
- Test Your Model:
- Insert the 9V battery into the battery holder.
- Turn on the switch to activate the DC motor. The platform should start rotating, simulating a merry-go-round

