
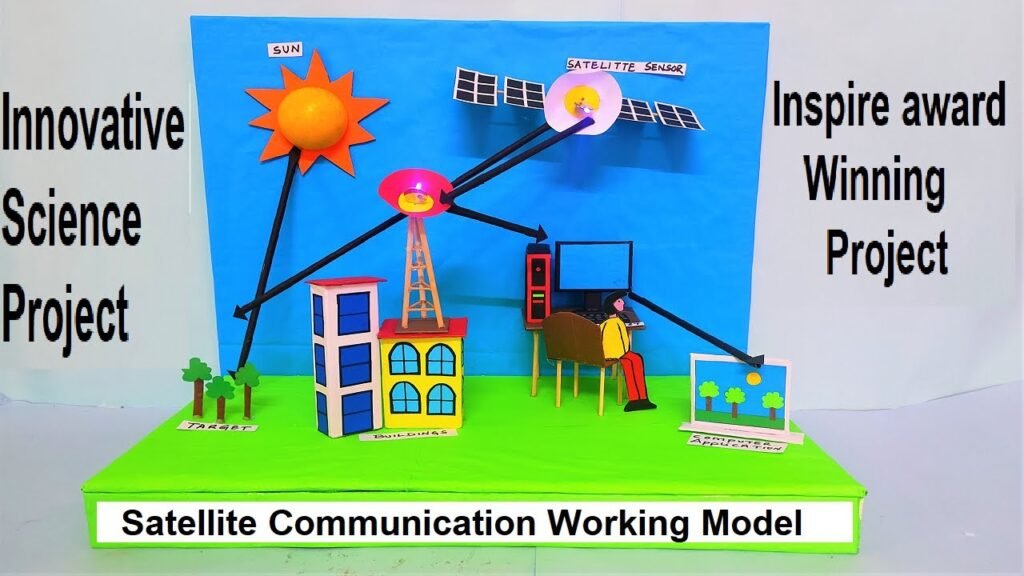
In this project, we’ll create a simplified working model that represents satellite communication for remote sensing in agriculture.
This model demonstrates how satellites can be used to monitor and gather data for agricultural purposes.
Here are the steps:
Materials Needed:
- Cardboard sheets (for the base and components)
- Colored paper or construction paper
- Scissors
- Glue or adhesive tape
- Markers or pens
- Small toy satellite (optional, for visual representation)
Building the Satellite Communication Model:
1. Creating the Base:
Step 1: Cut out a large rectangular piece of cardboard to serve as the base of your model. This will provide stability for your components.
2. Designing the Satellite:
Step 2: Create a satellite structure using cardboard. This can be a simple cube shape with four long antennas extending from it.
Step 3: Attach colored paper to the satellite structure to represent solar panels and add other details using markers.
Step 4: If you have a small toy satellite, you can attach it to the top of your model to represent the actual satellite in space.
3. Designing the Ground Station:
Step 5: Create a ground station structure using cardboard. This can be a small building-like structure with a dish antenna on top.
Step 6: Attach colored paper to represent the building structure and antennas. Label it as the “Ground Station.”
4. Connecting the Satellite and Ground Station:
Step 7: Create a path or beam using colored paper to connect the satellite and ground station. This represents the communication link between them.
5. Adding Sensors for Remote Sensing:
Step 8: Create miniature sensor devices using colored paper (e.g., cameras, weather sensors). Attach them to the satellite structure to represent remote sensing equipment.
6. Optional: Adding Solar Panels (for visual representation):
Step 9: Cut out rectangular pieces of colored paper and attach them to the satellite structure to represent solar panels. These panels would provide power to the satellite.
7. Labeling and Detailing:
Step 10: Use markers or pens to add labels, details, and explanations to your model. Label the sensors, satellite, ground station, and communication link.
8. Final Touches:
Step 11: Position the satellite and ground station on the base, securing them with glue or adhesive tape.
9. Adding LED Lights (for visual effect):
You can incorporate LED lights to represent data transmission between the satellite and ground station. Attach small LEDs to the communication link path.
Your satellite communication working model for remote sensing in agriculture is now complete!
This project provides a visual representation of how satellites play a crucial role in collecting data for agricultural purposes.
It can be a great addition to presentations or educational displays about satellite technology and its applications in agriculture.