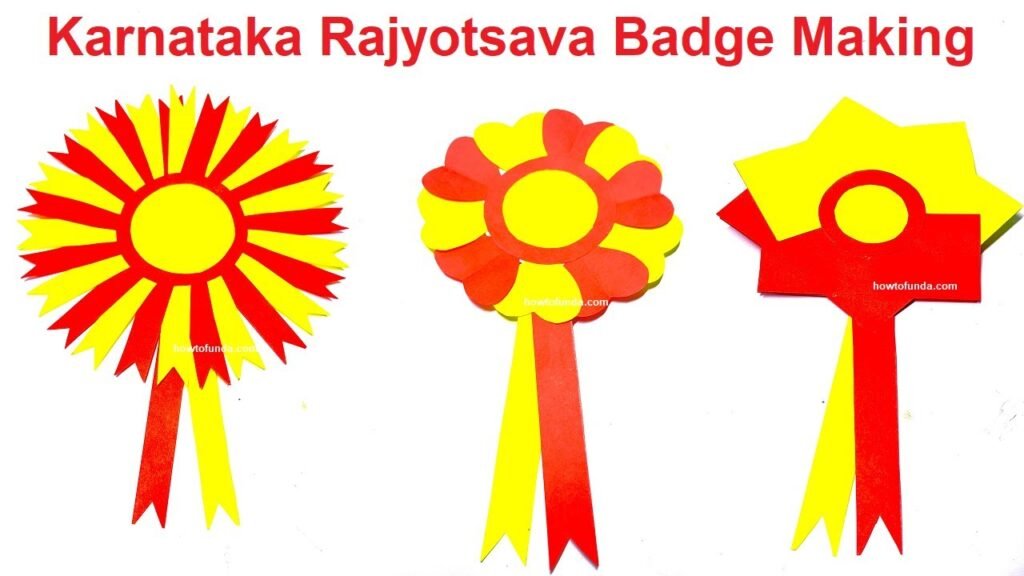
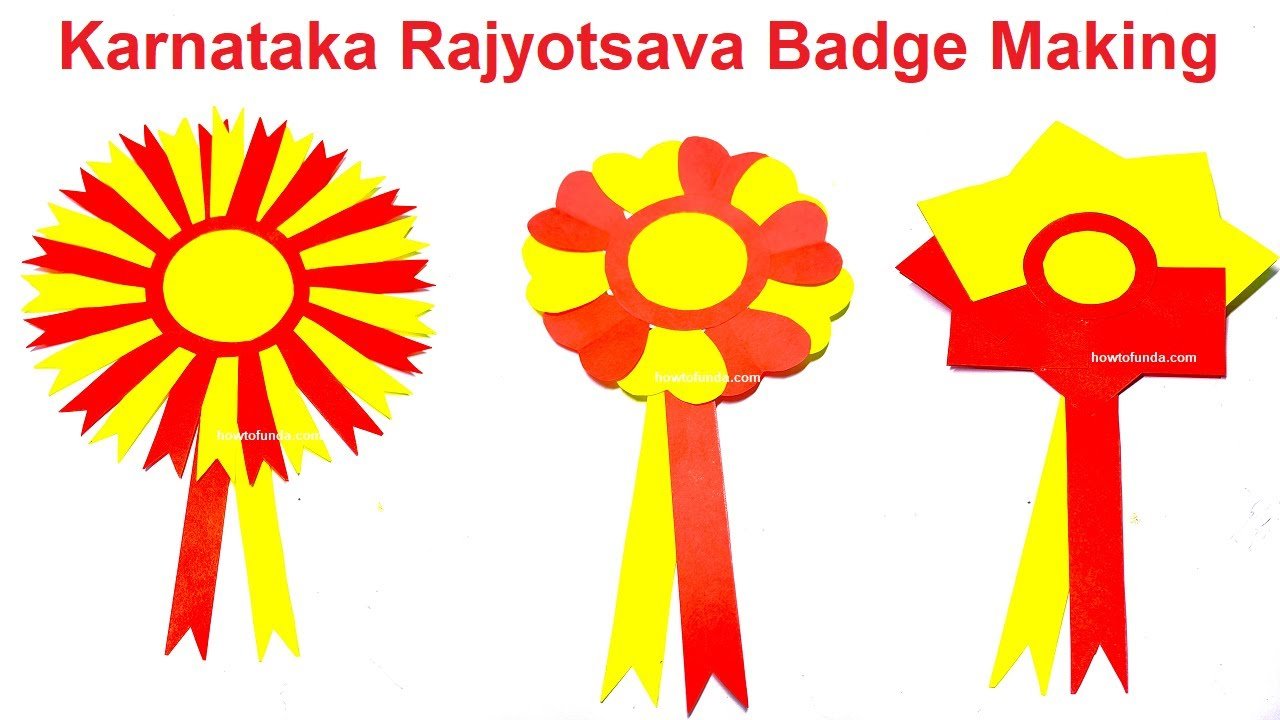
Making Kannada Rajyotsava badges can be a fun and creative way to celebrate this special day.
Here’s a simple step-by-step guide to help you make your own badges:
Materials Needed:

- Colored paper (red and yellow, representing the Karnataka flag)
- White paper or cardstock
- Pencil and eraser
- Scissors
- Glue or double-sided tape
- Safety pin or badge pin backs
- Markers or colored pens (optional, for decoration)
Steps by Steps Making Kannada Rajyotsava Badge:
- Design the Badge:
- Decide on the design of your badge. It could include elements like the Karnataka map, Kannada script, the state emblem, or any other symbols that represent Karnataka. Keep it simple and clear.
- Cutting Out Shapes:
- Use the colored paper to cut out the main shape of the badge. This could be a circle, square, or any shape you prefer.
- Assembling the Design:
- Arrange and glue the design elements onto the badge base. Ensure everything is securely attached.
- Adding Text (Optional):
- Write “Kannada Rajyotsava” or any other message you’d like to include on the badge using markers or colored pens.
- Attaching the Pin:
- Attach a safety pin or badge pin back to the backside of the badge. Make sure it’s centered and securely fastened.
- Allow Time to Dry (if using glue):
- If you’ve used glue, give your badge some time to dry completely before wearing or sharing.
- Decorate (Optional):
- If you’d like, you can add extra decorations or embellishments to make your badge more unique and festive.
- Share and Celebrate:
- Wear your badge proudly or distribute them to others to celebrate Kannada Rajyotsava together.
Remember, the key is to have fun and be creative with your badge-making. It’s a wonderful way to show your love and pride for Karnataka!

