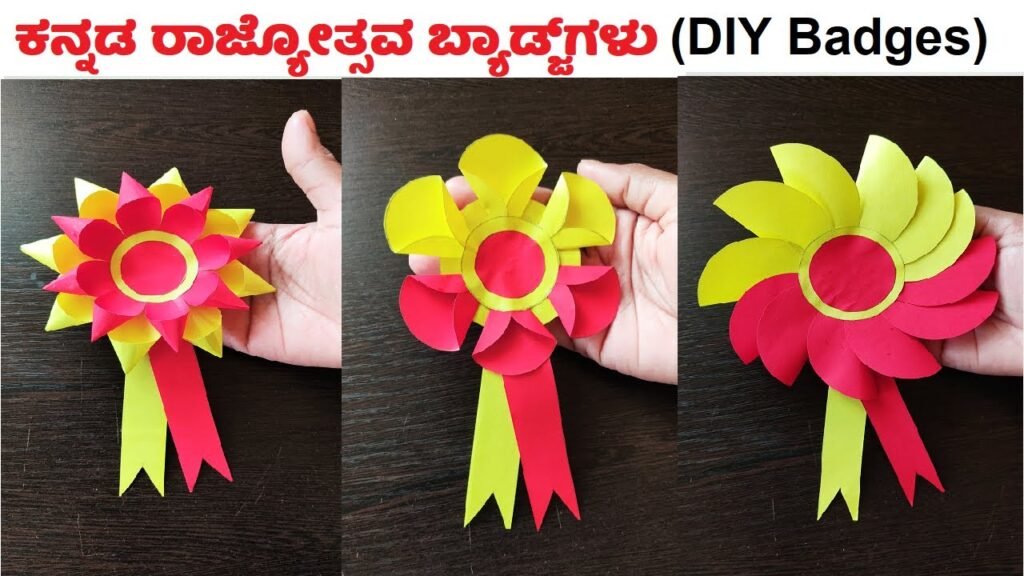
Here’s a simplified step-by-step guide for making Kannada Rajyotsava badges using basic craft supplies:
What You’ll Need:

- Colored paper (red and yellow)
- White paper or cardboard
- Pencil and eraser
- Scissors
- Glue or tape
- Safety pin or a pin-back clip
- Colored markers or pens (optional)
Steps by steps making badge making:
Choose a Shape: Decide on the shape of your badge. It can be a circle, square, or any simple shape you like.
Cut the Base: Use red or yellow paper to cut out your chosen shape. This will be the main part of your badge.
Design Elements: Decide what you want to put on your badge. It could be things like the map of Karnataka, Kannada letters, or other symbols that represent Karnataka.
Cut and Arrange: Use white paper to cut out your chosen design elements. Arrange them on the badge in a way that looks good to you.
Stick Everything Down: Use glue or tape to stick the design elements onto the badge. Make sure they’re secure.
Write a Message (Optional): If you’d like, use colored markers or pens to write “Kannada Rajyotsava” or any other message on the badge.
Add a Pin: Flip the badge over and attach a safety pin or a pin-back clip. This is how you’ll attach the badge to your clothes.
Let it Dry (if you used glue): If you used glue, give your badge a little time to dry so everything stays in place.
Wear and Celebrate: Now you have your own Kannada Rajyotsava badge! Pin it on and show your love for Karnataka.
Remember, there’s no right or wrong way to make a badge. Just have fun and let your creativity shine!

