
This hydraulic jack working model not only demonstrates a practical application of fluid dynamics but also provides a hands-on learning experience for viewers.
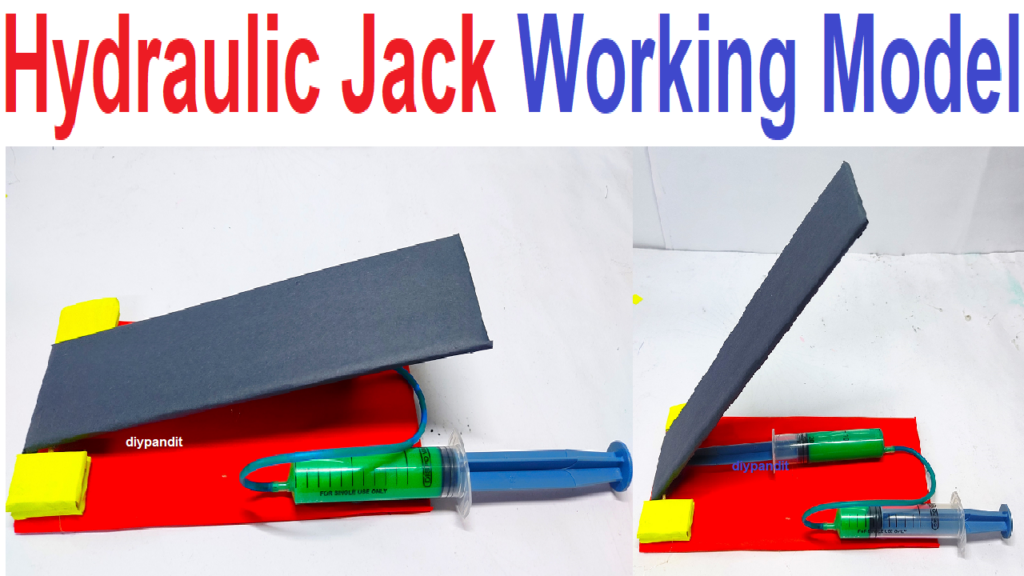
Creating a hydraulic jack working model for a science project using syringes and cardboard is a great way to demonstrate the principles of hydraulic systems.
Here’s a step-by-step guide:
Materials needed:
- Two large syringes (60-100 ml)
- Two small syringes (10-20 ml)
- Plastic tubing (small diameter)
- Cardboard
- Wooden dowels or popsicle sticks
- Hot glue gun and glue sticks
- Wooden base or thick cardboard
- Small pieces of cloth or rubber for sealing
- Small plastic container or cup
- Water
- Optional: Acrylic paint, markers
Hydraulic Jack Working Model Making Steps:
- Prepare the Base:
- Cut a piece of cardboard or use a wooden base to serve as the foundation for your hydraulic jack.
- Create the Frame:
- Cut four pieces of cardboard to act as the vertical supports. Glue or attach these pieces to the corners of the base to create a rectangular frame.
- Prepare the Pistons:
- Attach the small syringes to the ends of the wooden dowels or popsicle sticks. Use hot glue to secure them in place.
- Assemble the Structure:
- Insert the pistons (small syringes on dowels) into the large syringes, ensuring a tight seal. Use hot glue to secure them if needed.
- Connect the Syringes with Tubing:
- Attach the plastic tubing to the nozzles of the large syringes, ensuring a tight fit. Connect the other ends of the tubing to the small syringes.
- Seal the System:
- Add small pieces of cloth or rubber around the pistons to create a seal. This is crucial for the hydraulic system to work effectively.
- Attach the Pump Syringe:
- Attach one of the large syringes to the cardboard frame, making it the pump syringe. Glue it securely in place.
- Create the Working Surface:
- Place a plastic container or cup on the top of the other large syringe. This will act as the surface to be lifted by the hydraulic jack.
- Fill Syringes with Water:
- Fill the syringes with water. Ensure there is no air in the system for proper hydraulic functioning.
- Operation:
- By pushing the plunger of the pump syringe, water is forced into the smaller syringes, causing them to extend. This, in turn, lifts the working surface.
- Optional Decoration:
- Optionally, you can paint or decorate the cardboard structure to make it visually appealing.
- Educational Labels:
- Add labels to different parts of your model to explain the working principles of the hydraulic system.
- Presentation:
- During the exhibition, demonstrate how the hydraulic jack model works. Explain the concept of hydraulic pressure and its application in lifting objects.