
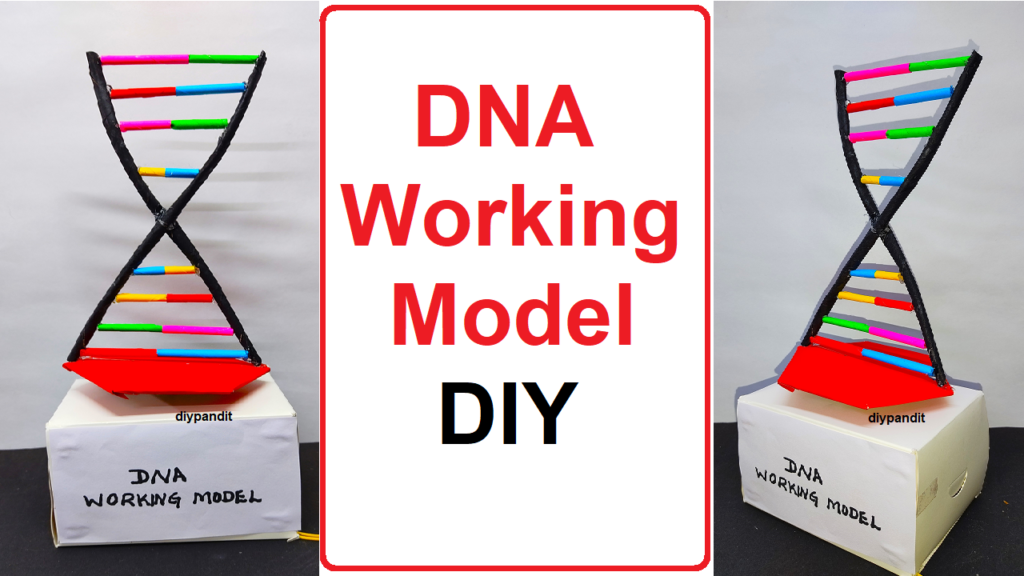
This DNA working model provides a visual representation of the DNA structure and rotation, making it an informative and interactive exhibit for a science project exhibition.
Creating a DNA working model for a science project exhibition using cardboard and paper with a slow-running motor for rotation is an engaging and educational project.
Here’s a step-by-step guide:
Materials needed:
- Cardboard
- Colored paper or markers
- Slow-running motor (you can use a battery-operated motor)
- Wooden dowel or PVC pipe
- Two small plastic balls or Styrofoam balls
- Craft glue
- Scissors
- String or thin wire
- Pushpin
- Battery pack for the motor
- Optional: Acrylic paint, paintbrush
DNA working model making Steps:
- Prepare the Base:
- Cut a circular piece of cardboard to serve as the base of your DNA model.
- Create the DNA Structure:
- Cut two long strips of cardboard. Twist them together to form a double helix structure, representing the DNA. Make sure to leave enough space between the two strands.
- Color or Decorate the Strands:
- Use colored paper or markers to represent the different nucleotide bases (adenine, thymine, cytosine, guanine) on each strand. You can color-code them or write the letters on the strips.
- Attach Strands to the Base:
- Glue the ends of the twisted cardboard strands onto the circular base, forming the DNA structure. Ensure that the structure stands upright.
- Create the Helical Shape:
- Attach small plastic balls or Styrofoam balls to the ends of the twisted strands to represent the ends of the DNA helix. Glue them securely.
- Attach Wooden Dowel or PVC Pipe:
- Attach a wooden dowel or PVC pipe vertically in the center of the circular base. This will serve as the axis around which the DNA will rotate.
- Attach Motor to the Axis:
- Attach the slow-running motor to the top of the wooden dowel or PVC pipe. Use craft glue to secure it in place.
- Create the Motorized Rotation:
- Tie a string or thin wire to the motor’s rotating part and connect it to the twisted DNA structure. Make sure the connection is secure. When the motor is turned on, it will rotate the DNA structure.
- Optional Painting:
- Optionally, paint the cardboard and DNA structure with acrylic paint to make it visually appealing.
- Educational Labels:
- Add labels to different parts of your model to explain the structure and components of DNA.
- Presentation:
- During the exhibition, demonstrate how the motorized DNA model works. Explain the structure of DNA and its importance in genetics.