
Creating a DNA model using cardboard and colored paper is an educational and engaging science project. Here’s a step-by-step guide:
Materials Needed:
- Cardboard
- Colored paper (in two different colors)
- Pencil and ruler
- Craft glue or hot glue gun
- Scissors
- Toothpicks
- Styrofoam balls or clay (optional, for representing nucleotides)
Step-by-Step Instructions:
- Prepare the Base:
- Cut out two large, identical rectangular pieces from cardboard. These will serve as the base for your DNA model.
- Create the Backbone:
- Cut strips of colored paper (about 1 inch wide) in one color. These will represent the sugar-phosphate backbone of the DNA strand. Glue them along the length of one of the cardboard pieces in a spiral pattern.
- Form the Nucleotide Pairs:
- Cut out smaller rectangles from the second color of paper (about half the width of the backbone strips). These will represent the nitrogenous bases (adenine, thymine, cytosine, and guanine).
- Fold each rectangle in half and glue them along the backbone at specific intervals to represent the base pairs (adenine with thymine, and cytosine with guanine).
- Add Details (Optional):
- To represent the nucleotides more accurately, you can attach small styrofoam balls or clay to the center of the folded rectangles. Paint them to represent the nitrogenous bases.
- Create the Helical Structure:
- Place toothpicks in between the base pairs to represent the hydrogen bonds. This will help maintain the helical structure of the DNA.
- Attach the Second Backbone:
- Glue the second piece of cardboard on top of the first one, sandwiching the toothpicks and creating a 3D representation of the DNA double helix.
- Label the Parts:
- Label the nitrogenous bases (adenine, thymine, cytosine, guanine) and the sugar-phosphate backbone on your model.
- Presentation (Optional):
- Create a small informational board next to your model, explaining the structure of DNA, the function of nitrogenous bases, and any other relevant information.
- Set Up Your Science Project Display:
- Arrange your DNA model on a table with the presentation board and any additional materials you’ve prepared.
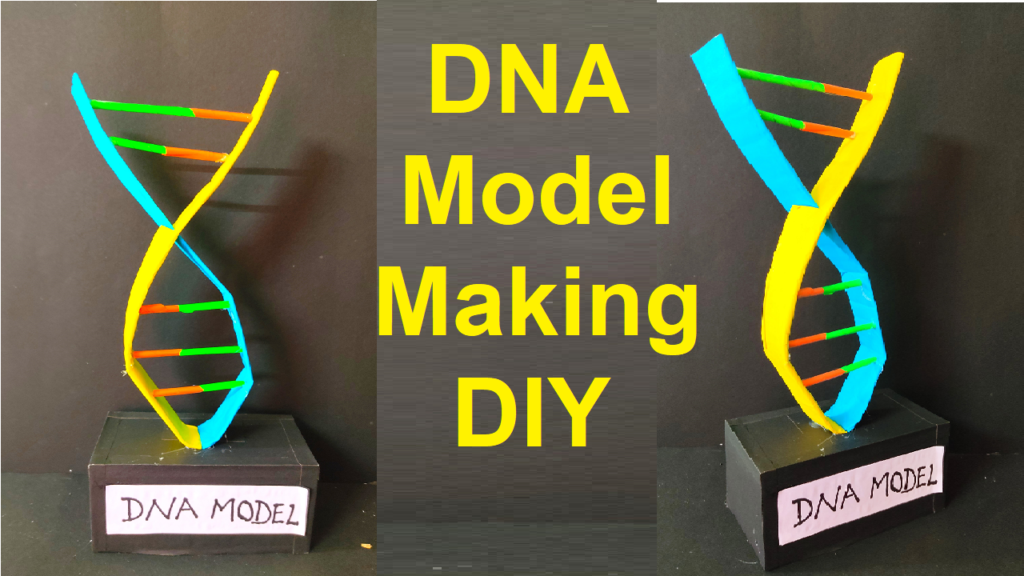
Your DNA model is now ready for your science project display! This project effectively demonstrates the structure of DNA and how nucleotides form base pairs to create the double helix. It provides an interactive and visually engaging way to learn about genetics and molecular biology.