
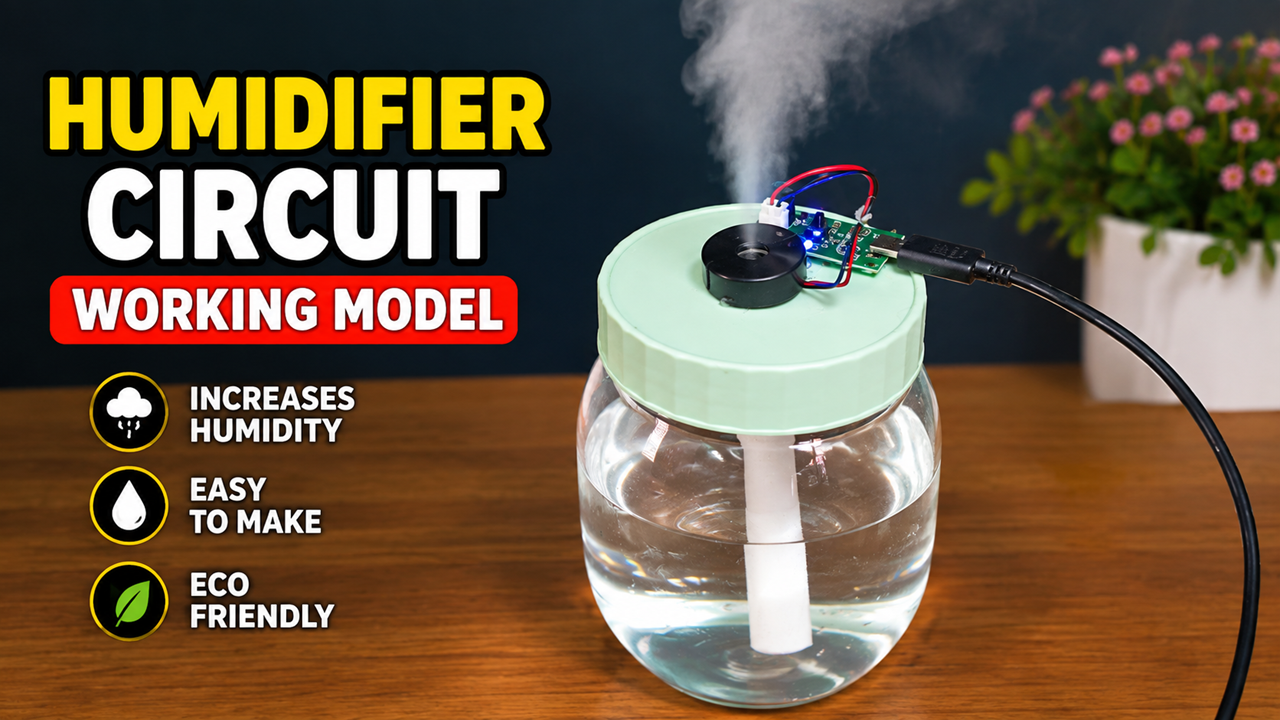
A Humidifier Circuit Working Model is a simple and interesting science project that demonstrates how an electronic device can add moisture to the air. This DIY working model is ideal for a school science exhibition, physics project, electronics project, STEM activity, or classroom demonstration.
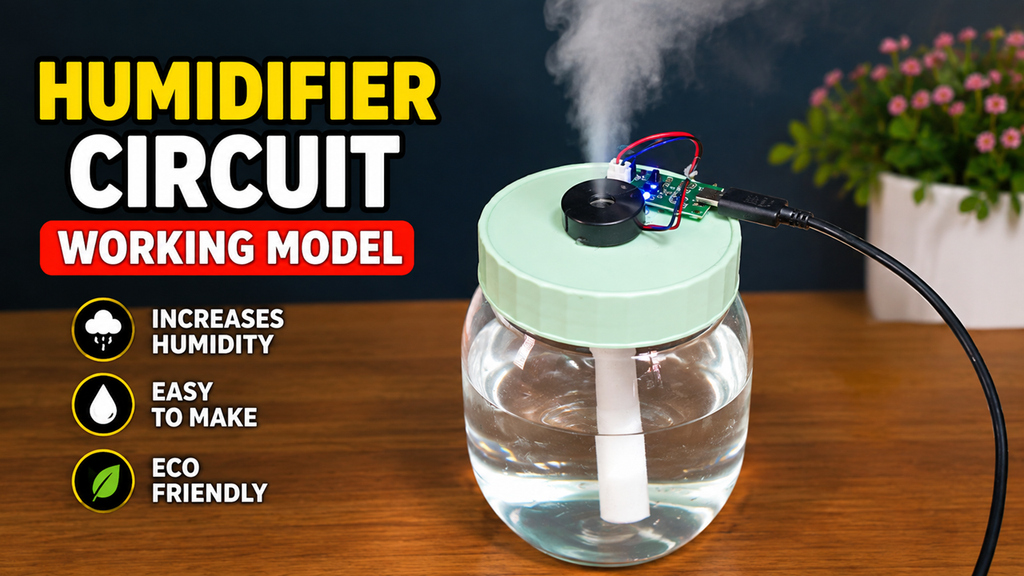
The model shown uses a small water container, a mist-generating module, an electronic circuit board, a power connection, and a water-level wick or tube. When the circuit is powered, the device produces a visible fine mist, demonstrating the process of increasing humidity in the surrounding air.
What is Humidity?
Humidity refers to the amount of water vapour present in the air.
When the air contains more water vapour, its humidity is higher. A humidifier is a device designed to add moisture to the surrounding air.
Humidifiers can be useful in situations where indoor air becomes excessively dry. However, excessive humidity can also encourage mould and other problems, so humidity should be maintained at an appropriate level.
Objective of the Project
The main objective of this project is to demonstrate how an electronic humidifier can convert water into a fine mist and release it into the surrounding air.
The project helps students understand:
- Meaning of humidity
- Water vapour and moisture
- Electronic circuits
- High-frequency vibration
- Mist generation
- Energy conversion
- Practical applications of electronics
Materials Required
A simple model can be made using:
- Small glass or plastic container
- Ultrasonic mist-maker module
- Small electronic driver circuit
- DC power supply or USB power source suitable for the module
- Connecting wires
- Plastic lid
- Small tube or wick
- Water
- Glue or adhesive
- Drill or sharp tool for making openings
The exact power requirements depend on the mist-maker module being used. Always follow the manufacturer’s voltage and current specifications.
How to Make the Model
First, take a clean transparent container and fill it with an appropriate amount of water.
Prepare a lid for the container and make openings for the components required by the mist-maker assembly.
Place the mist-generating element so that it is positioned correctly relative to the water. Many small humidifier modules use a piezoelectric ultrasonic transducer that must be used according to the module’s design.
Connect the module to its driver circuit and then connect the circuit to a suitable low-voltage DC power source.
Secure the components on the lid so that the electrical connections remain safely above the water.
Once everything is connected correctly, switch on the power.
A visible mist should emerge from the opening, demonstrating the working of the humidifier.
How Does the Humidifier Work?
The model works using an ultrasonic mist generator.
An ultrasonic transducer uses rapid vibrations to disturb the surface of the water. These vibrations can break the water into extremely small droplets, producing a fine mist.
The mist is then released into the surrounding air.
The process can be represented as:
Electrical Energy → High-Frequency Vibration → Fine Water Droplets → Mist → Increased Moisture in Air
Unlike a traditional boiling humidifier, an ultrasonic humidifier does not need to boil the water to produce mist.
Science Behind the Project
The key component in many small humidifiers is a piezoelectric transducer.
Piezoelectric materials can deform or vibrate when an electrical signal is applied. At sufficiently high frequencies, these vibrations can cause water near the transducer to form a fine aerosol or mist.
The driver circuit provides the electrical signal required to operate the transducer.
This makes the project an excellent demonstration of the connection between electricity, vibration, and fluid behaviour.
Exhibition Explanation
A student can explain the model like this:
“This is a Humidifier Circuit Working Model. A humidifier adds moisture to the air. In this model, an electronic ultrasonic mist generator is placed near the water. When we switch on the power supply, the circuit drives the transducer at a high frequency. The rapid vibrations produce very small water droplets, which appear as mist and are released into the air. This demonstrates how electrical energy can be used to produce fine water mist.”
Applications
Humidification technology is used in several situations, including:
- Homes
- Offices
- Certain industrial processes
- Greenhouses
- Some medical and laboratory environments
- Museums and storage environments where controlled humidity is required
The appropriate humidity level depends on the particular application.
Advantages of the Model
This project has several benefits:
- Simple working principle
- Easy to demonstrate
- Uses relatively small components
- Produces visible mist
- Combines electronics and science
- Suitable for school exhibitions
- Can be upgraded with sensors
Future Improvements
The basic model can be developed into a smart humidifier by adding:
- Humidity sensor
- Arduino
- Automatic ON/OFF control
- LCD or OLED display
- Water-level sensor
- Fan for better mist distribution
- Adjustable humidity settings
For example, an Arduino-based version could measure the relative humidity of the surrounding air and activate the mist generator only when the humidity falls below a selected level.
Safety Precautions
Because the project combines water and electricity, safety is very important.
Use only a suitable low-voltage DC power supply and keep electrical connections away from water. Do not operate the model with exposed mains electricity.
Do not touch electrical connections with wet hands. Keep the container stable and avoid spilling water onto the circuit.
The container and water should also be kept clean because stagnant water can support microbial growth.
Conclusion
The Humidifier Circuit Working Model is an attractive and educational DIY project for a school science exhibition. It demonstrates how an electronic circuit can create high-frequency vibrations that transform water into a fine mist.
The project combines concepts from electronics, physics, water, vibration, and environmental science, making it an excellent STEM demonstration.
The main scientific principle can be summarized as:
Electricity → Vibration → Fine Mist → Moisture in Air
With additional components such as a humidity sensor and Arduino, the project can be transformed into an automatic smart humidifier that measures and controls humidity.