
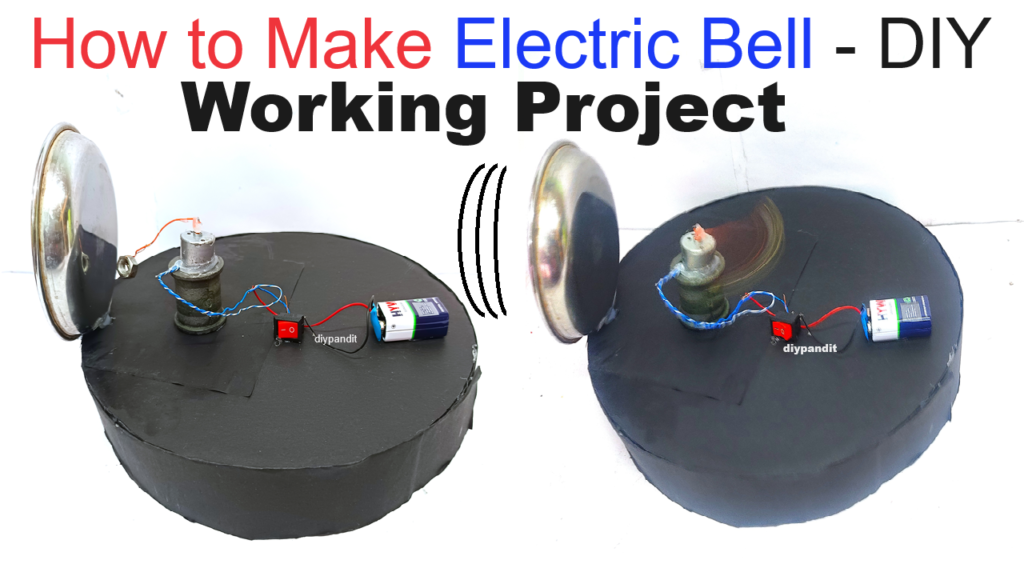
Objective
To create a working model of an electric bell using cardboard, a steel plate, a DC motor, wire, nuts, and a 9V battery.
Materials Needed
- Cardboard (for the base and structure)
- Steel plate (for the bell)
- Small DC motor
- Insulated copper wire
- Nut and bolt
- 9V battery
- Battery connector
- Paperclip (or a small metal rod for the hammer)
- Elastic band or spring (for the hammer mechanism)
- Glue gun or strong adhesive
- Scissors or craft knife
- Electrical tape
- Switch (optional)
Step by Step Video Instructions
Step 1: Prepare the Base and Structure
- Create the Base:
- Cut a piece of cardboard approximately 20×20 cm to serve as the base.
Step 2: Prepare the Bell Mechanism
- Attach the Steel Plate:
- Attach the steel plate (the bell) to the top of the stand using a Glue gun. Ensure it is securely fixed and can vibrate when struck.
- Create the Hammer:
- Attach nut to the DC motor shaft using wire and glue or tape. Ensure the nut hammer can freely move to strike the steel plate.
- Attach the Motor:
- Secure the DC motor to the base or the back of the stand so that the hammer aligns with the steel plate.
Step 3: Wire the Electrical Circuit
- Connect the Motor:
- Connect two pieces of insulated copper wire to the terminals of the DC motor. Use electrical tape to secure the connections.
- Set Up the Battery:
- Attach the battery connector to the 9V battery.
- Complete the Circuit:
- Connect one wire from the DC motor to the positive terminal of the battery connector.
- Connect the other wire from the DC motor to the negative terminal of the battery connector. If using a switch, connect it in series with one of these wires to control the motor.
Step 4: Create the Hammer Mechanism
- Add the Elastic Band or Spring:
- Attach one end of an elastic band or a small spring to the hammer.
- Secure the other end to the stand, creating a tension that pulls the hammer away from the steel plate.
- Position the Hammer:
- Adjust the hammer so that when the motor is activated, it strikes the steel plate and is then pulled back by the elastic band or spring.
Step 5: Testing and Adjustment
- Test the Bell:
- Connect the battery to the battery connector and switch on the circuit (if a switch is used).
- Observe the movement of the hammer. It should strike the steel plate, creating a ringing sound.
- Adjustments:
- Adjust the position of the hammer or the tension of the elastic band/spring if the hammer does not strike the plate correctly.
Conclusion
This working model of an electric bell demonstrates the basic principles of electromagnetism and mechanical movement.
By following these steps, students can create a functional and educational model, providing a hands-on understanding of how electric bells operate.