
This is a rotating wheel model showing the seed germination cycle.
As we rotate the top wheel, we can see the different stages in the life of a plant — from a seed, to germinating seed, then a seedling, followed by a young plant, and finally a mature plant that produces seeds again.
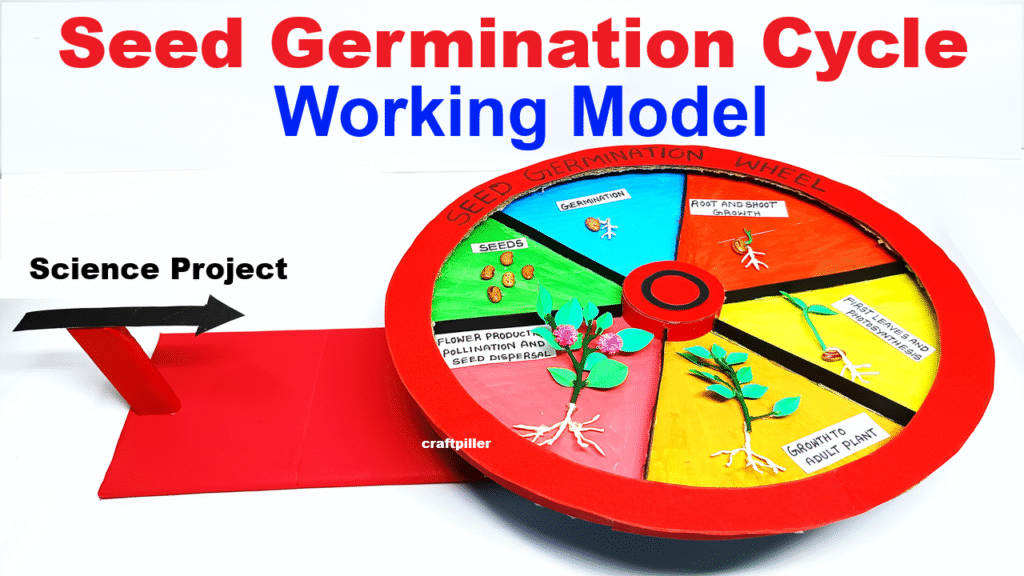
This cycle shows how plants grow and reproduce.
The wheel helps us understand each stage clearly and interactively.
Materials Required:
- 2 circular cutouts from cardboard (same size, ~25–30 cm diameter)
- Color paper (green, yellow, brown, etc.)
- Glue, scissors, sketch pens/markers
- Paper fastener (split pin) or nut-bolt (for center rotation)
- Chart labels or printed titles
- Images or drawings for each stage of seed germination
Model Making Video Steps:
Step 1: Base Circle
- Take a cardboard circle and divide it into 5 equal sections (like a pie chart).
- In each section, paste or draw one stage of the seed germination cycle.
- Add labels below each stage (e.g., “Seed,” “Germination,” “Seedling,” etc.).
Step 2: Top Rotating Wheel
- Cut out another cardboard circle of the same size.
- Cut a window (arc-shaped or circular opening) to reveal only one stage at a time.
- Decorate the top wheel with a title like “Seed Germination Cycle.”
Step 3: Assembling the Wheel
- Place the top wheel over the base one.
- Join both at the center using a paper fastener or nut-bolt, allowing the top wheel to rotate freely.
Step 4: Add Arrow and Finishing Touches
- Add an arrow or pointer on the top wheel to indicate the stage.
- Use color paper to decorate the background (e.g., green for grass, brown for soil).