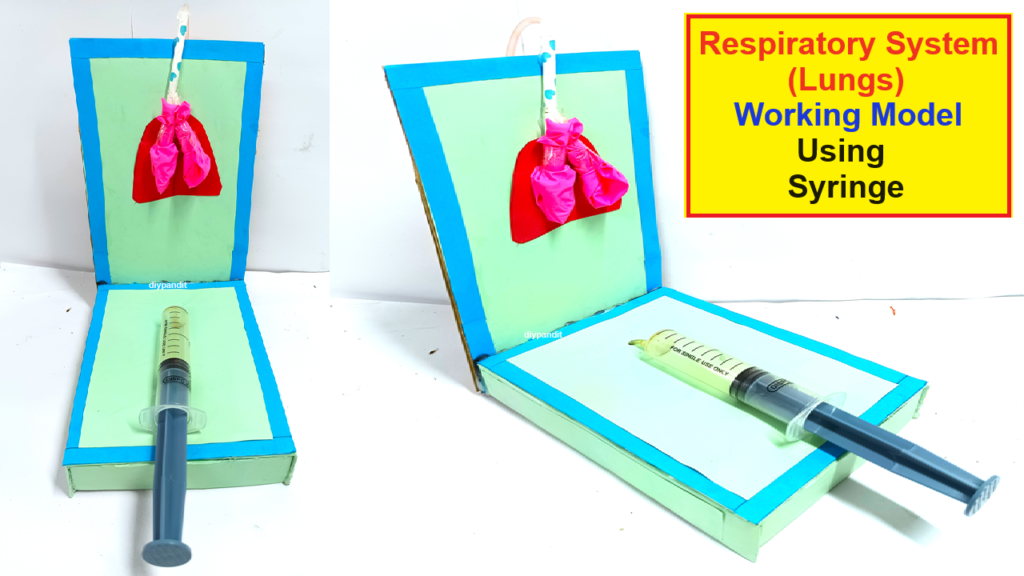
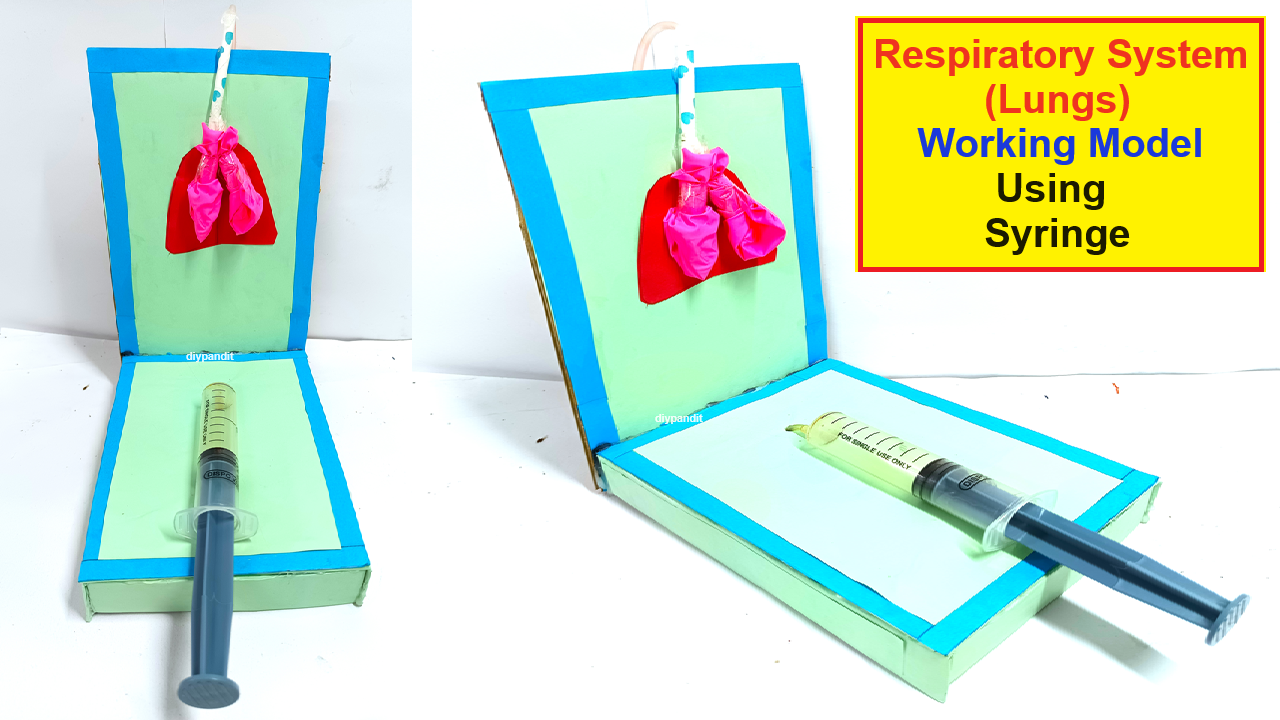
Creating a working model of the human respiratory system using syringes, pipes, balloons, and colored paper is a great way to demonstrate how the lungs function during breathing.

Here’s a step-by-step guide to making this model:
Materials Needed:
- 2 Large syringes (20 ml or larger)
- 2 Small balloons (to represent the lungs)
- Plastic tubing or flexible pipe (to connect the syringes to the balloons)
- Cardboard or sturdy base (to support the model)
- Colored paper (to decorate and label the model)
- Scissors (for cutting paper and tubing)
- Tape or glue (to secure components)
- Markers or pens (for labeling)
Step-by-Step Video Guide:
- Prepare the Syringes:
- Remove the Plungers: Take the plunger out of each syringe. The syringes will represent the chest cavity that changes in volume as you breathe.
- Attach Tubing: Cut two pieces of plastic tubing long enough to connect the syringes to the balloons. Attach one end of each tube to the nozzle of each syringe.
- Attach Balloons to the Tubing:
- Prepare the Balloons: Take the two small balloons and stretch the openings slightly to make them easier to attach to the tubing.
- Secure the Balloons: Attach the free end of each tube to a balloon and secure it tightly with tape or glue. These balloons represent the lungs.
- Mount the Syringes on the Base:
- Prepare the Base: Take a piece of cardboard or any sturdy material and cut it to size. This will serve as the base of your model.
- Position the Syringes: Attach the syringes horizontally to the base using tape or glue, with the nozzles facing outwards. Ensure the syringes are securely fixed and aligned side by side.
- Create the Chest Cavity:
- Use Colored Paper: Cut out shapes from colored paper to represent the chest cavity and attach them to the base around the syringes.
- Add a Diaphragm: To illustrate the diaphragm, cut a semicircle from colored paper and position it at the bottom of the syringes, representing the muscle that helps with breathing.
- Decorate the Model:
- Cover the Syringes: Wrap the syringes with colored paper to make them look like the rib cage.
- Label the Parts: Use markers or pens to label the “lungs” (balloons), “diaphragm,” and “rib cage” (syringes).
- Demonstrate the Model:
- Simulate Inhalation: Push the plungers into the syringes to compress the balloons. This action simulates exhalation as the lung volume decreases.
- Simulate Exhalation: Pull the plungers out of the syringes to inflate the balloons. This action simulates inhalation as the lung volume increases.
Explanation of the Human Respiratory Model:
- Syringes: The syringes act as the chest cavity, where the volume changes during breathing. When you pull the plungers, the volume inside the “chest cavity” increases, causing the balloons (lungs) to inflate as air is drawn in. When you push the plungers, the volume decreases, causing the balloons to deflate as air is expelled.
- Balloons: The balloons represent the lungs. As they inflate and deflate, they mimic the expansion and contraction of the lungs during the breathing process.
- Plastic Tubing: The tubing represents the trachea and bronchi, the airways through which air travels to reach the lungs.
- Diaphragm: The diaphragm is represented by the colored paper at the bottom of the model. In the human body, the diaphragm contracts and flattens during inhalation, increasing the chest cavity volume and allowing the lungs to expand.
This model provides a visual and hands-on demonstration of how the human respiratory system functions, making it an effective tool for educational purposes.

