Introduction to the Human Kidney 3D Working Model
The human kidney is a vital organ responsible for filtering waste from the blood, balancing bodily fluids, and forming urine.
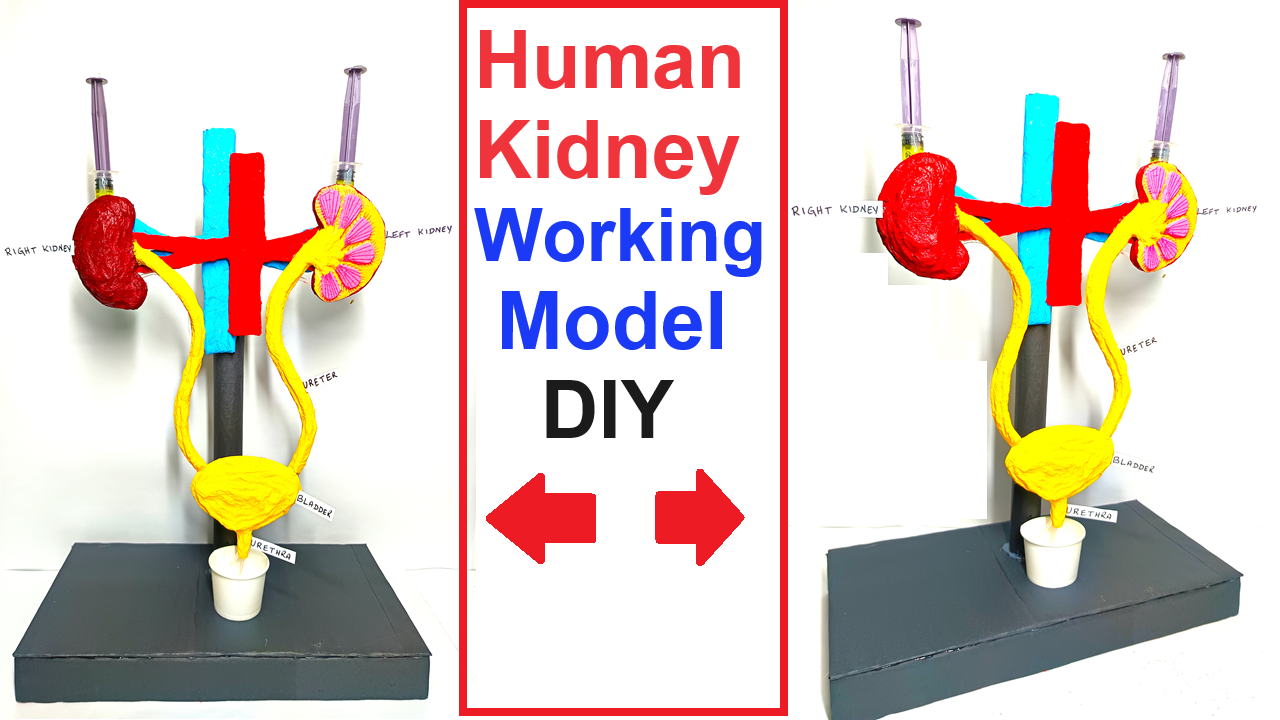
Creating a 3D working model of the kidney using simple materials like cardboard, silver foil, tissue paper, and syringes is an excellent way to visualize and understand its structure and function.

This model will illustrate the basic anatomy of the kidney and simulate how it filters blood and produces urine.
Materials Needed:
- Cardboard (for the main structure)
- Silver Foil (to represent the renal cortex and inner structures)
- Tissue Paper (for creating the outer layer and nephron tubules)
- Syringes (to simulate blood flow and urine formation)
- Paint (red, blue, and other colors for detailing)
- Glue or Tape (for assembly)
- Scissors or Cutter (for cutting the cardboard)
- Markers (for labeling and detailing)
- Small Plastic Tubing (optional, to simulate blood vessels)
Step-by-Step Video Instructions:
1. Prepare the Base Structure:
- Cut out a kidney-shaped piece from the cardboard. This will serve as the base for your model.
- Create a 3D effect by adding layers of cardboard to build up the shape of the kidney. Stack and glue these layers together.
2. Cover with Silver Foil:
- Cover the outer surface of the kidney structure with silver foil. This will represent the renal cortex, the outer layer of the kidney.
- Smooth out the foil to ensure it adheres well to the cardboard.
3. Add Tissue Paper Layers:
- Use tissue paper to create the internal structures of the kidney, such as the nephrons. Roll small pieces of tissue paper into thin tubes and arrange them on the model to represent the tubules of the nephrons.
- Secure the tissue paper with glue, ensuring it follows the natural curves and divisions within the kidney.
4. Integrate Syringes:
- Attach syringes to the model to simulate the flow of blood and the formation of urine. The syringes will represent the renal arteries, veins, and ureters.
- Insert the nozzles of the syringes into small holes in the cardboard, positioning them where the blood enters and exits the kidney (renal artery and vein) and where urine is collected (ureter).
5. Paint the Model:
- Paint the model to highlight the different parts of the kidney. Use red paint to mark the renal artery, blue for the renal vein, and a lighter color to differentiate the cortex, medulla, and other structures.
- Add details like the renal pelvis, calyces, and nephron tubules to make the model more accurate and educational.
6. Add Labels and Final Touches:
- Use markers to label different parts of the kidney, such as the cortex, medulla, renal pelvis, and ureter.
- Add small plastic tubing if available to simulate blood vessels leading to and from the kidney.
Conclusion:
This 3D working model of the human kidney provides a hands-on way to learn about kidney anatomy and function.
The use of cardboard, silver foil, tissue paper, and syringes offers an accessible and creative method to build a detailed representation of this essential organ.
By simulating blood flow and urine formation, this model enhances understanding of how the kidney filters waste from the blood and maintains the body’s fluid balance.