
Project Theme: Simulate how a blood pressure monitor (sphygmomanometer) works using hydraulics and pressure concepts with syringes and a cardboard dial to show BP levels.
Step-by-Step Video Instructions:
1. Make the Arm Cuff Simulator
- Create a cuff shape using cardboard or foam sheet to wrap around a dummy arm (can be a rolled towel or bottle).
- Attach a large syringe (Syringe A) to simulate the air pump for inflating the cuff.
- Connect it via tubing to another syringe (Syringe B) acting as the bladder inside the cuff.
2. Hydraulic Pressure Mechanism
- When you press Syringe A, it pushes fluid/air into Syringe B, inflating the cuff.
- To simulate blood flow restriction, the pressure pushes a lever or pointer connected to a cardboard dial.
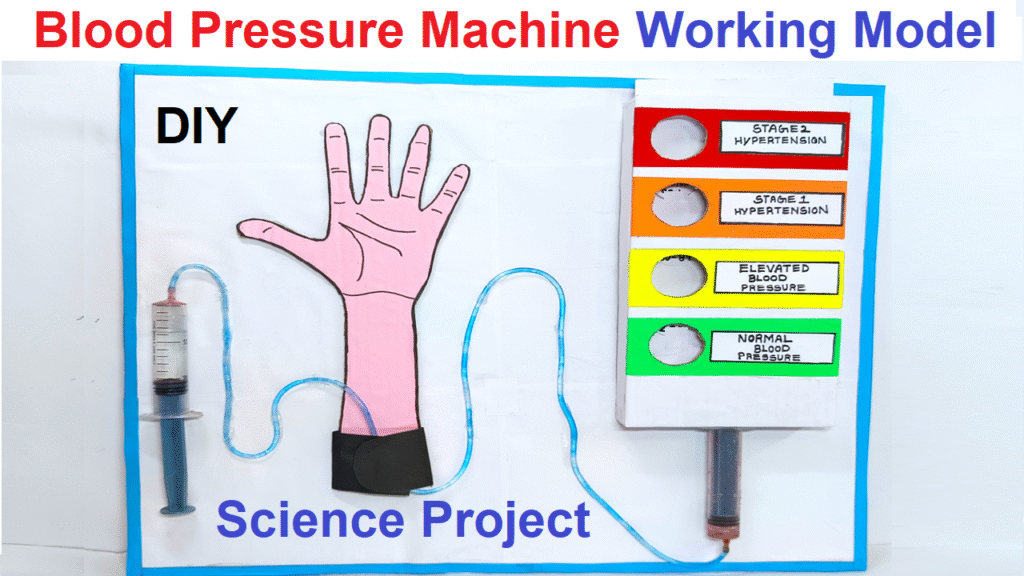
3. Create the BP Dial
- Cut a circular dial from cardboard and draw BP ranges:
- Low: <90/60 (Blue Zone)
- Normal: 90–120 / 60–80 (Green Zone)
- Pre-high: 120–140 / 80–90 (Yellow Zone)
- High: 140+ / 90+ (Red Zone)
- Attach a pointer (arrow) linked to a small lever moved by pressure from Syringe B.
4. Pressure-to-Pointer Movement
- Connect Syringe B’s plunger to a cardboard strip with a pivot so when pressure builds, it pushes the pointer along the circular dial.
- The pointer moves up the scale as pressure increases—simulating rising BP.
How It Works:
- When Syringe A is pushed, it sends air or water to Syringe B.
- Syringe B expands slightly, simulating pressure in the arm.
- The movement is transferred to a pointer that moves along a dial, indicating the blood pressure level.
- You can “release” Syringe A slowly to simulate pressure release like a real BP machine.