Good morning everyone.
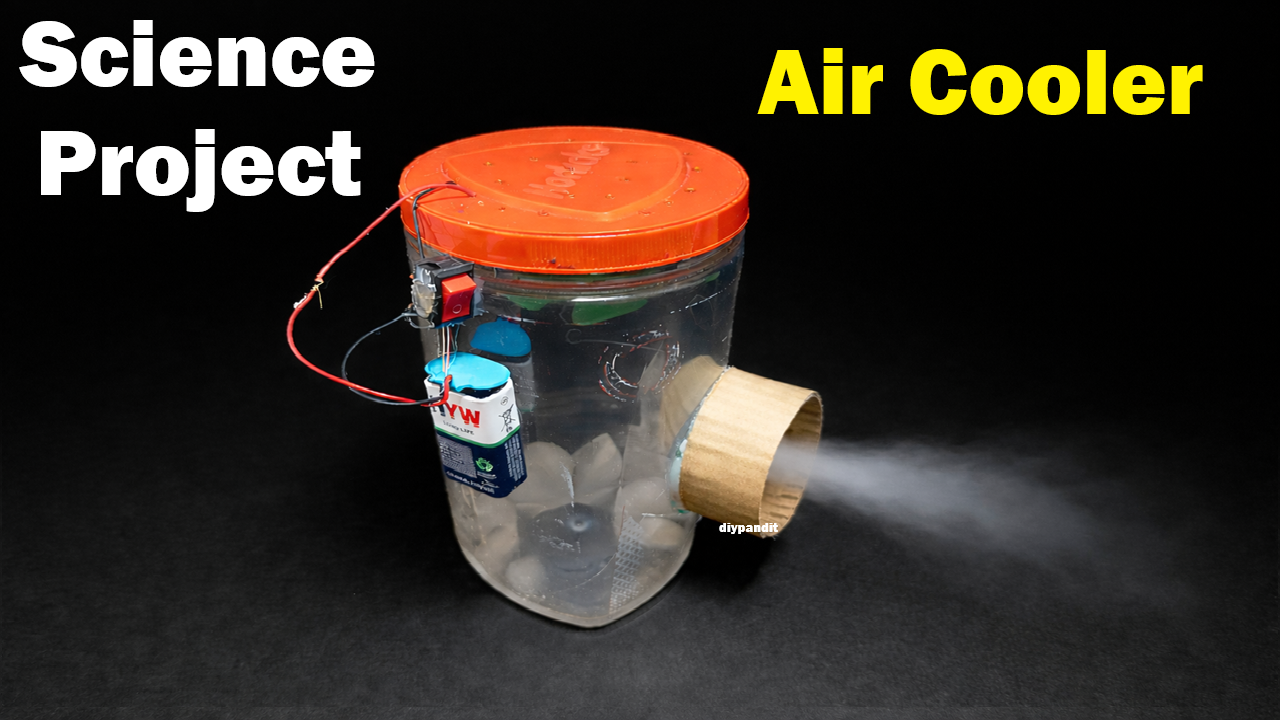
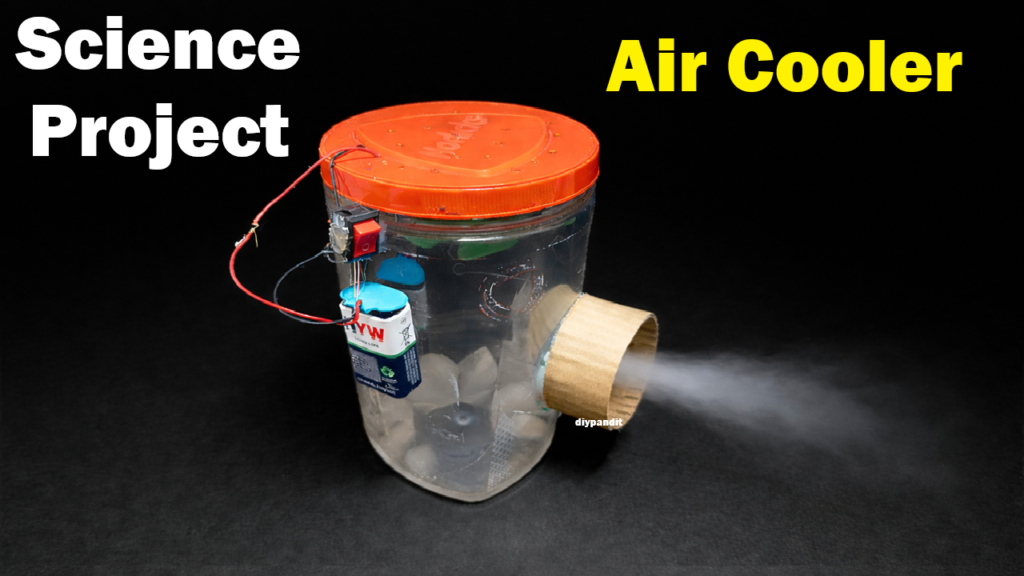
Today I am going to explain my science exhibition project on “Air Cooler Working Model.” This is a simple DIY summer project that demonstrates how an air cooler works using airflow, water, and cooling principles.
Air coolers are commonly used during summer to reduce room temperature and provide cool air. This project helps students understand the scientific concepts behind cooling systems in a practical and creative way.
The model is easy to make using cardboard, a small fan, water, and cooling materials.
Aim of the Project
The main aim of this project is:
- To demonstrate the working of an air cooler
- To explain evaporative cooling
- To understand airflow and heat reduction
- To create an eco-friendly cooling system
Explanation of the Air Cooler Model
The air cooler model contains:
- Cooling fan
- Water or ice chamber
- Cooling vents
- Cardboard body
- Power supply
The fan pulls hot air into the cooler and passes it through cool or wet surfaces. The air loses heat and comes out as cool air.
Parts of the Air Cooler
1. Cooling Fan
The fan is the main moving part of the cooler.
Function:
- Pulls warm air inside
- Pushes cool air outside
- Creates airflow
The fan helps circulate air continuously.
2. Water or Ice Chamber
A small tray containing water or ice is placed inside the cooler.
Function:
- Absorbs heat from warm air
- Helps lower air temperature
The cool air is produced when air passes near cold water or ice.
3. Cooling Pads or Side Vents
Cooling pads are made using sponge, cardboard strips, or tissue paper.
Function:
- Hold water
- Increase evaporation
- Cool incoming air
This process is called evaporative cooling.
4. Cardboard Body
The outer body supports all components and gives shape to the cooler.
It also controls airflow direction.
Working Principle
This project works on:
Evaporative Cooling
When water evaporates:
- It absorbs heat from the surroundings
- The air temperature decreases
- Cool air is produced
The fan improves the cooling process by increasing airflow.
Working of the Air Cooler
Step 1 – Switch ON the Fan
The power supply starts the fan.
Step 2 – Warm Air Enters
The fan pulls hot surrounding air into the cooler.
Step 3 – Air Passes Through Wet Cooling Area
The air moves through water-soaked cooling pads or near ice.
Step 4 – Heat is Absorbed
Water absorbs heat from the air.
Step 5 – Cool Air Comes Out
The cooler releases cool air outside.
This creates a refreshing cooling effect.
Scientific Concepts Used
This project explains:
- Evaporation
- Heat transfer
- Cooling systems
- Air circulation
- Temperature reduction
Real-Life Applications
Air coolers are used in:
- Homes
- Offices
- Shops
- Factories
- Eco-friendly cooling systems
They consume less electricity than air conditioners.
Materials Used
This DIY project is made using:
- Cardboard
- Small DC fan
- Battery or USB cable
- Ice tray or water container
- Sponge or cooling pads
- Glue gun
- Wires
- Cutter and scissors
How to Make the Air Cooler
Step 1 – Make the Cooler Body
Create a box shape using cardboard.
Step 2 – Install the Fan
Cut a circular hole and attach the fan.
Step 3 – Add Cooling Section
Place sponge, tissue, or cooling pads inside.
Step 4 – Add Water or Ice Tray
Fix a small container for water or ice.
Step 5 – Connect the Power Supply
Connect the fan using a battery or USB cable.
Step 6 – Test the Cooler
Switch on the fan and observe cool airflow.
Advantages of the Project
- Easy DIY project
- Low-cost model
- Eco-friendly cooling
- Energy efficient
- Attractive for exhibitions
Educational Importance
This project helps students:
- Understand cooling technology
- Learn evaporation concepts
- Improve practical skills
- Develop creativity and innovation
It combines science with daily life applications.
Safety Precautions
- Keep electrical parts dry
- Use low-voltage power supply
- Handle cutter carefully
- Avoid water leakage near wires
Conclusion
In conclusion, this Air Cooler Working Model is a simple and creative science project that demonstrates how cool air is produced using evaporation and airflow.
The project explains important scientific concepts like heat transfer and cooling systems in an easy and practical way. It is an excellent DIY summer project for school science exhibitions and STEM learning.