
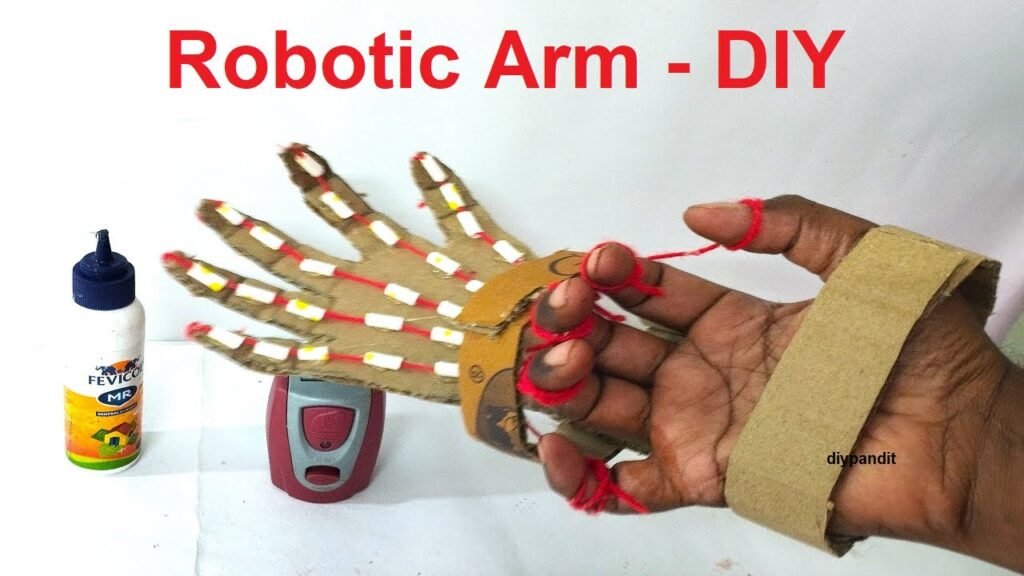
Making of robotic arm out of cardboard, paper straw pipes, and thread is a fantastic project to understand basic mechanics and engineering principles.
This project demonstrates the fundamental principles of mechanics and robotics, illustrating how simple materials can be used to create a functional and science model.
Here’s a step-by-step guide to help you build a simple robotic arm:
Materials Needed:
- Cardboard
- Paper straws (or any sturdy straws)
- Thread or string
- Scissors or craft knife
- Hot glue gun and glue sticks
- Pencil
- Ruler
- Markers or paint (for decoration)
Step by Step Video Instructions:
1. Design and Cut the Arm Segments:
- Upper Arm and Forearm: Draw and cut out two long rectangular pieces from the cardboard for the upper arm and the forearm. Each piece should be around 12 inches long and 2 inches wide.
- Hand: Draw and cut out a hand shape from the cardboard. The hand should have fingers that are cut separately but remain attached at the base.
- Base: Cut a sturdy piece of cardboard that will serve as the base to which the arm is attached.
2. Create Joints:
- Elbow Joint: Connect the upper arm and the forearm with a joint. Poke holes at the end of each piece and connect them with a paper straw piece. Insert the straw piece through the holes and secure it with glue. Make sure the forearm can rotate around the joint.
- Wrist Joint: Connect the forearm and the hand in a similar manner. Poke holes at the end of the forearm and the base of the hand, then insert a piece of the paper straw and secure it with glue.
3. Attach the Arm to the Base:
- Create a joint at the bottom of the upper arm and attach it to the base using a piece of the paper straw. This will allow the arm to move up and down.
4. Add Control Mechanism with Threads:
- Fingers: Cut small pieces of the paper straw and glue them along each finger of the hand. Thread a piece of string through each straw, leaving enough length at the end to control the fingers.
- Control Strings: Attach the ends of the strings to the base of the arm or to a control handle that you can pull to move the fingers.
5. Assemble the Arm:
- Ensure all joints are movable and the strings are properly threaded through the straws.
6. Fine-Tuning:
- Test the movement of the arm by pulling the strings. Adjust the tightness of the strings and the positioning of the straws to ensure smooth movement.
- Decorate the arm using markers or paint to give it a more polished look.
Robotic Arm Explanation:
This model simulates the basic mechanics of a real robotic arm, showing how different segments and joints work together to create movement.
Here’s how it works:
- Upper Arm and Forearm: These segments are connected by an elbow joint, allowing the forearm to rotate around the upper arm, similar to how a human arm bends at the elbow.
- Hand and Fingers: The hand is attached to the forearm with a wrist joint, allowing it to rotate. The fingers are controlled by pulling strings threaded through straws, mimicking the tendons in a human hand.
- Control Mechanism: By pulling the strings, you can move the fingers to grasp objects. This simple control mechanism demonstrates the basic principle of how tendons work in the human body.
- Joints: The joints are crucial for movement, providing pivot points for the different segments of the arm.