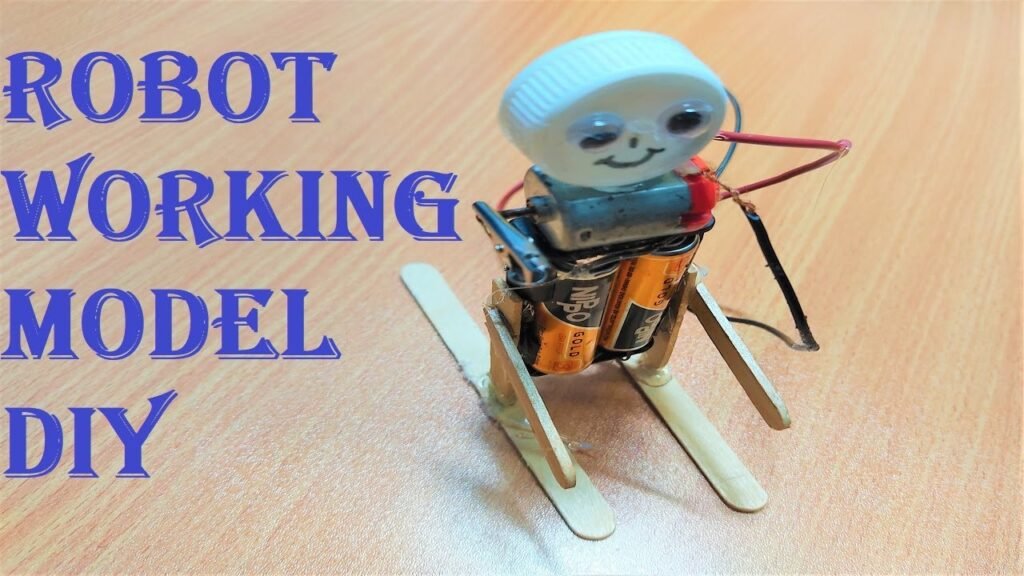
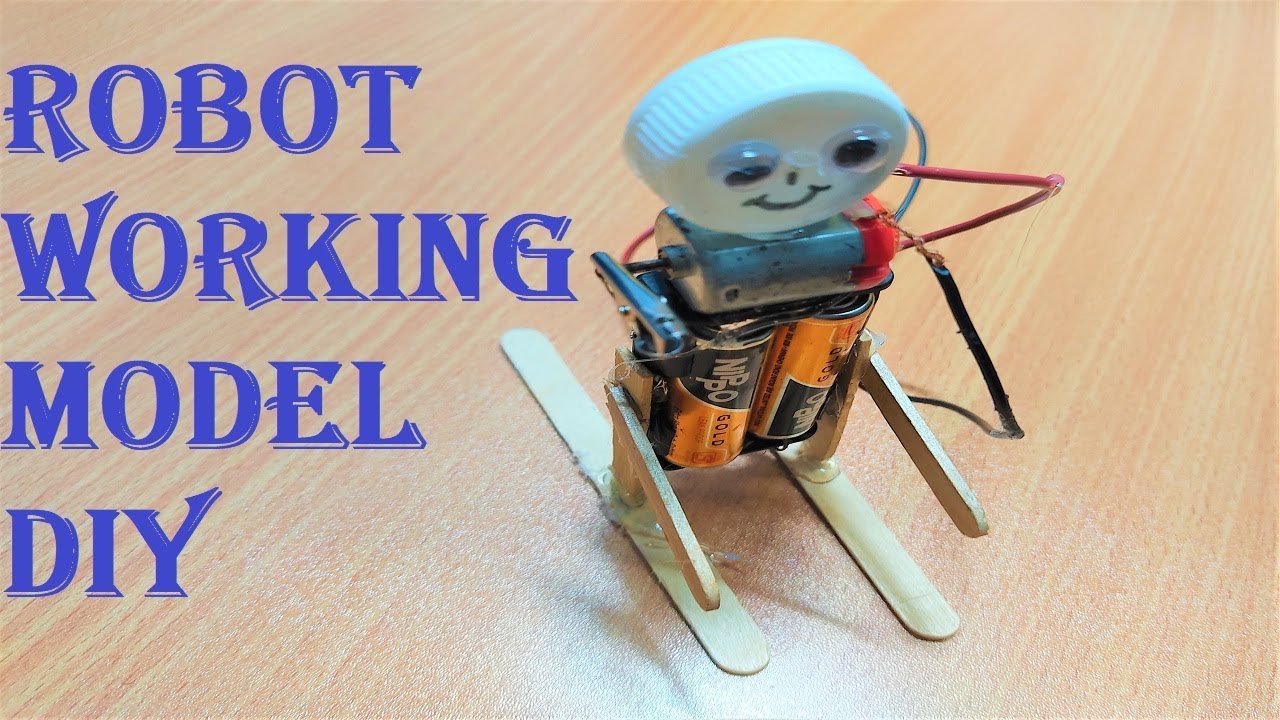
Making a walking robot using ice cream sticks, dc motor, a 9V battery, a switch, a bottle cap for the face, and googly eyes is a fun and engaging project.

Here’s a step-by-step guide to help you build this simple walking robot:
Materials Needed:
- Ice cream sticks (popsicle sticks)
- 9V battery
- Battery clip (to connect the battery)
- Small DC motor (compatible with 9V battery)
- Switch (single-pole single-throw)
- Bottle cap (for the face)
- Googly eyes
- Hot glue gun and glue sticks
- Small wheels or gears (optional, for improved walking mechanism)
- Wires
- Scissors or wire cutters
- Craft knife (optional, for precise cuts)
- Markers or paint (for decoration)
Step by Step video Instructions:
1. Build the Robot’s Legs:
- Take four ice cream sticks and cut two of them to be slightly shorter. These will be the lower legs, and the full-length ones will be the upper legs.
- Attach the shorter sticks to the ends of the full-length sticks using glue to form two L-shaped legs. Make sure the joint is sturdy.
2. Create the Body:
- Take two ice cream sticks and glue them parallel to each other, leaving space in the middle to place the battery and motor.
- Attach another ice cream stick perpendicular to these two at one end to form a base. This will be the top part of the robot’s body.
3. Attach the Legs to the Body:
- Glue the top part of each leg to the body. Ensure that the legs are aligned and can move back and forth easily.
4. Add the Motor:
- Attach the DC motor to the body using glue. Position it so that the shaft of the motor can connect to the legs (using small wheels or gears if you have them).
- Attach wires to the motor leads.
5. Connect the Battery and Switch:
- Connect the battery clip to the 9V battery.
- Attach one wire from the motor to one terminal of the switch.
- Connect the other terminal of the switch to one wire from the battery clip.
- Connect the remaining wire from the battery clip to the other wire of the motor. This creates a circuit that can be turned on and off with the switch.
6. Add the Face:
- Glue the bottle cap to the top front of the body to create the robot’s face.
- Attach the googly eyes to the bottle cap using glue.
7. Final Assembly and Testing:
- Ensure all parts are securely attached and the robot stands properly on its legs.
- Turn on the switch to test the walking motion. Adjust the position of the motor and legs if needed to achieve a smooth walking motion.
Walking Robot Explanation:
This robot is a simple representation of how electric circuits and mechanical movements can be combined to create a moving machine.
Here’s how it works:
- Legs: The legs are made of ice cream sticks and are designed to move back and forth, mimicking walking motion.
- Body: The body houses the motor and battery, providing the structure for the robot.
- Motor: The DC motor, powered by a 9V battery, drives the movement. When the motor shaft rotates, it moves the legs, creating a walking motion.
- Switch: The switch controls the flow of electricity from the battery to the motor. When the switch is turned on, the circuit is complete, and the motor runs, making the robot walk.
- Face: The bottle cap and googly eyes give the robot a fun and friendly appearance.
This project illustrates basic principles of electrical circuits and mechanical design, showing how simple materials can be used to create a functional robot.

