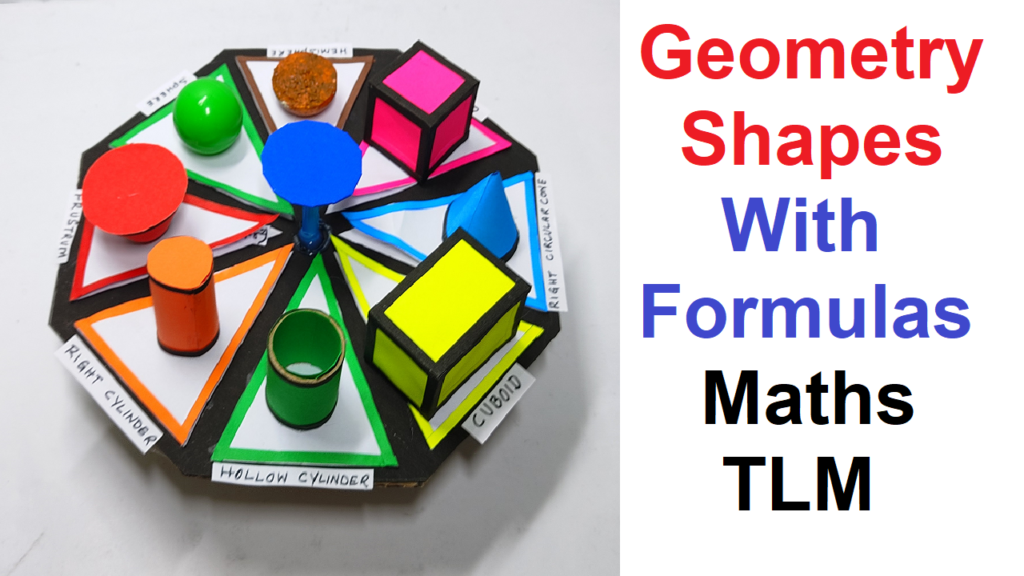
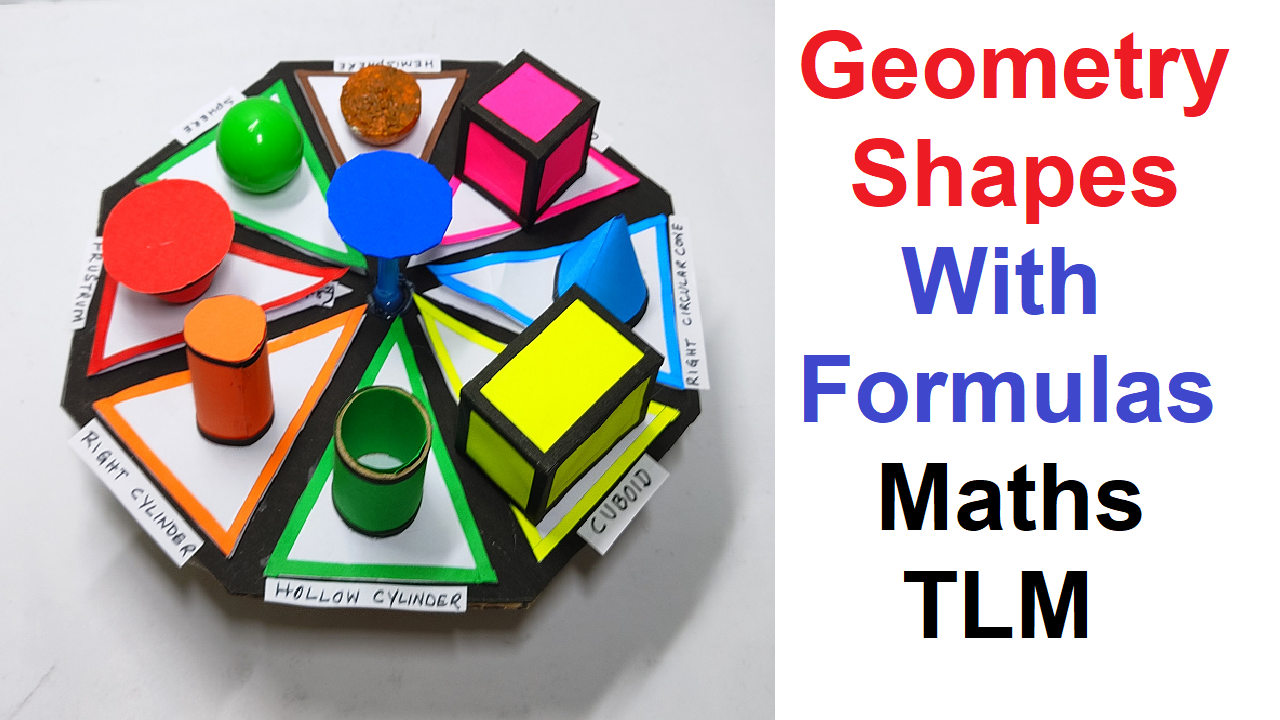
Creating a geometry shapes model using paper and cardboard is a wonderful way to learn about different geometric figures and their formulas. Below, I’ll guide you through making models for some basic shapes:

Materials Needed:
- Cardboard sheets
- Colorful paper
- Scissors
- Glue or adhesive tape
- Markers or colored pencils (for labeling and details)
1. Square:
- Cut out a square from cardboard to serve as the base.
- Create a 3D effect by gluing four smaller squares on the corners, slightly elevated.
2. Rectangle:
- Cut out a rectangle from cardboard and attach smaller rectangles at the longer sides for a 3D effect.
3. Circle:
- Cut out a large circle for the base.
- To create a 3D effect, cut a thin strip of cardboard and form it into a ring. Attach it around the circumference of the circle.
4. Triangle:
- Cut out an equilateral triangle from cardboard.
- Attach three smaller triangles to the sides for a 3D effect.
5. Cylinder:
- Cut out two identical circles for the top and bottom bases.
- Create the side surface by cutting a rectangle and rolling it into a cylinder shape.
6. Cube:
- Cut out six equal squares from cardboard.
- Assemble them to form a 3D cube.
7. Cone:
- Create a circular base using cardboard and paper.
- Cut a sector from a circle and form it into a cone shape.
8. Sphere:
- Create a 3D effect by gluing several paper circles on top of each other.
9. Pyramid:
- Create a square base and attach four triangles around the edges to form a 3D pyramid.
10. Cuboid:
- Cut out a rectangular base and attach smaller rectangles for the sides and top to create a 3D effect.
11. Cylindrical Prism:
- Create two identical circles for the bases.
- Attach a rectangular strip around the edges to form a 3D prism.
12. Triangular Prism:
- Create a triangular base and attach three smaller triangles around the sides to form a 3D prism.
13. Hexagonal Prism:
- Create a hexagonal base and attach six smaller hexagons around the sides to form a 3D prism.

