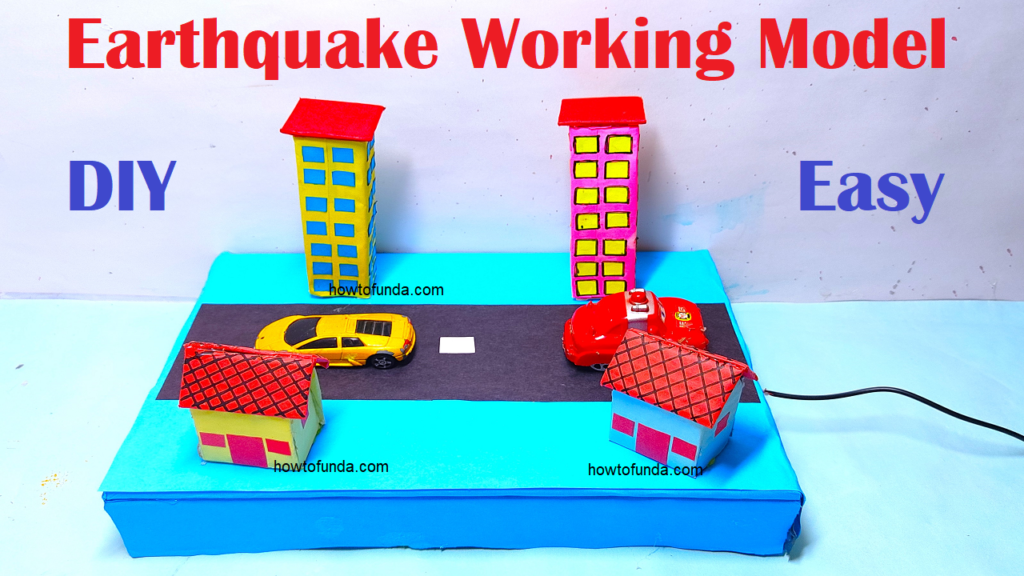
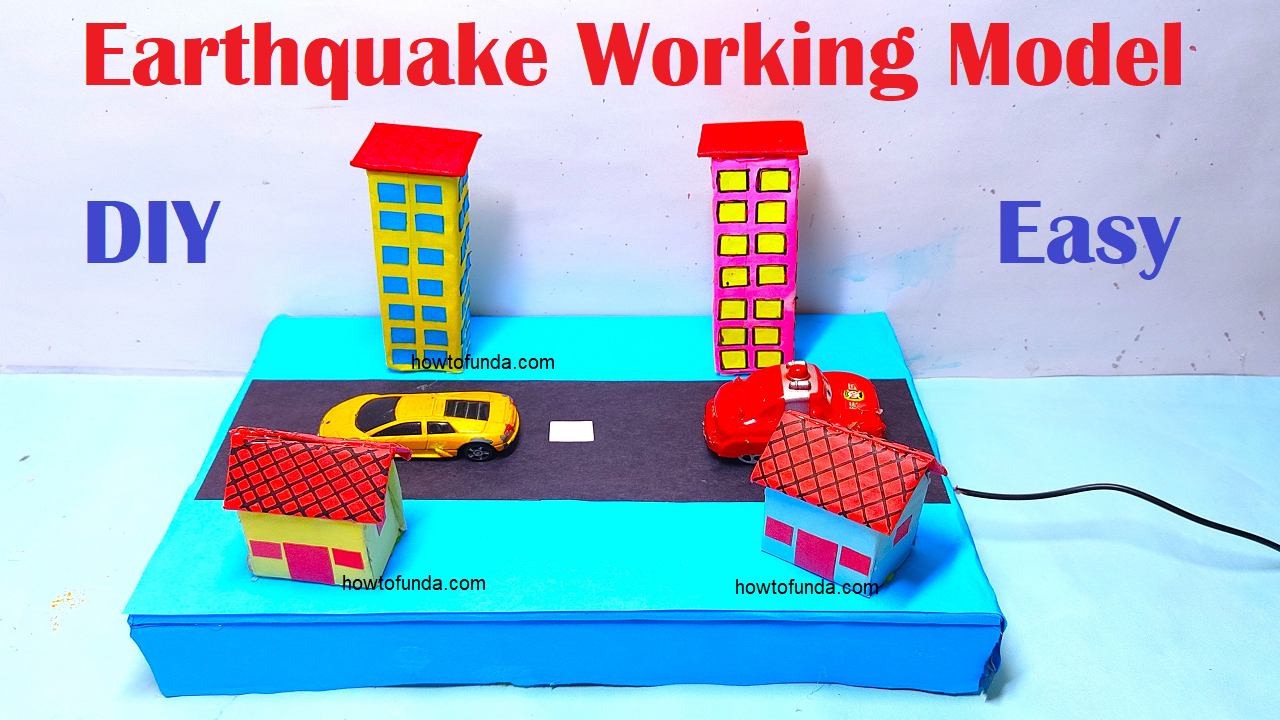
In this science project we are depicting on how we can show earthquake happens in simple and easy manner using working model for science exhibition – diy
Creating an earthquake working model using apartment models, a DC motor vibrator, cars, and cardboard can be an engaging and educational project. This model can demonstrate the impact of seismic waves on structures and how they affect buildings and vehicles. Here’s a step-by-step guide to building this model:
Materials Needed:
- Cardboard
- Small toy cars
- DC motor with an eccentric (off-center) weight (vibrator motor)
- Battery pack (compatible with the DC motor)
- Wires and switch (optional)
- Tape or glue
- Scissors or craft knife
- Ruler
- Small boxes or cardboard to create apartment models
- Markers or paint (optional, for decoration)
- Hot glue gun (optional, for stronger assembly)
#earthquake #workingmodel #howtofunda #workingproject #sciencefair #scienceexhibition

Step by Step Video Instruction on how to make earthquake working model
Steps to Create the Earthquake Model:
- Prepare the Base Structure:
- Cardboard Base: Cut a large piece of cardboard to serve as the base of your model. This should be sturdy enough to support the buildings and the vibrations.
- Mount the DC Motor: Attach the DC motor with an eccentric weight to the underside of the cardboard base. Ensure the weight can rotate freely to create vibrations. Secure it with tape or glue.
- Build the Apartment Models:
- Construct Buildings: Use small boxes or create rectangular prisms from cardboard to represent apartment buildings. Make them different heights to show how various structures react to the same earthquake.
- Attach to Base: Glue or tape the buildings to the cardboard base. Ensure they are firmly attached but also slightly flexible to show movement during the vibration.
- Add Cars to the Model:
- Place Toy Cars: Position small toy cars on the base around the buildings. These cars will move when the base vibrates, showing the effect of the earthquake on vehicles.
- Wiring the Motor:
- Connect Wires: Attach wires to the terminals of the DC motor. Connect these wires to a battery pack. You can add a switch in the circuit to easily turn the motor on and off.
- Secure Wiring: Use tape to secure the wires and keep them out of the way of moving parts.
- Test the Earthquake Simulation:
- Power the Motor: Turn on the motor using the switch or by connecting the battery pack. The motor’s eccentric weight will create vibrations that simulate an earthquake.
- Observe the Effects: Watch how the buildings sway and the cars move due to the vibrations. Note which structures remain standing and which ones fall, if any.
- Decoration (Optional):
- Paint and Markers: Decorate the buildings and base to make the model more visually appealing. You can add windows, doors, and other features to the buildings.
Explanation of the Science:
- Vibrations and Seismic Waves: The DC motor with an eccentric weight creates vibrations that mimic seismic waves generated during an earthquake. These waves travel through the cardboard base and affect the buildings and cars.
- Structural Response: Different structures react differently to the vibrations. Taller or less stable buildings may sway more or collapse, while shorter, more stable buildings might remain standing.
- Engineering Insights: This model can illustrate the importance of building design and construction in earthquake-prone areas. Engineers must consider these factors to ensure structures can withstand seismic activity.

