Creating a 3D Rutherford-Bohr atomic model using waste materials like metal wire and balls can be an engaging and educational project.
Here’s a step-by-step guide on how to make it:
Materials Needed:
- Metal wire (for orbits)
- Small balls (like used ping pong balls, marbles, or beads)
- Cardboard or foam board (for the base)
- Glue or adhesive
- Markers or pens (for detailing)
- Waste materials (e.g., bottle caps, old buttons) for additional decoration
- Scissors or wire cutters
- Paint or colored markers (optional, for decorating the balls)
Step by Step Video Instructions:
1. Prepare the Base:
- Cut a piece of cardboard or foam board to serve as the base of your model. This will provide stability.
2. Create the Nucleus:
- Take a small ball (e.g., a used ping pong ball) to represent the nucleus of the atom. If you have multiple small balls (like marbles), you can group them together to represent protons and neutrons.
- Glue the nucleus to the center of the base.
3. Form the Electron Orbits:
- Use metal wire to create circular orbits around the nucleus. You can use old hangers or any other bendable wire you have available.
- Cut the wire into lengths that will form circles around the nucleus. Make sure each subsequent orbit is larger than the previous one.
- Bend the wires into circular shapes and glue or tape them to the base at even intervals, ensuring they are centered around the nucleus.
4. Create the Electrons:
- Use smaller balls (like beads, small marbles, or buttons) to represent the electrons. Paint them or color them if desired.
- Attach the electrons to the wire orbits. You can glue them directly onto the wire or use small pieces of additional wire to attach them, allowing them to hang slightly off the orbit for a 3D effect.
5. Add Details:
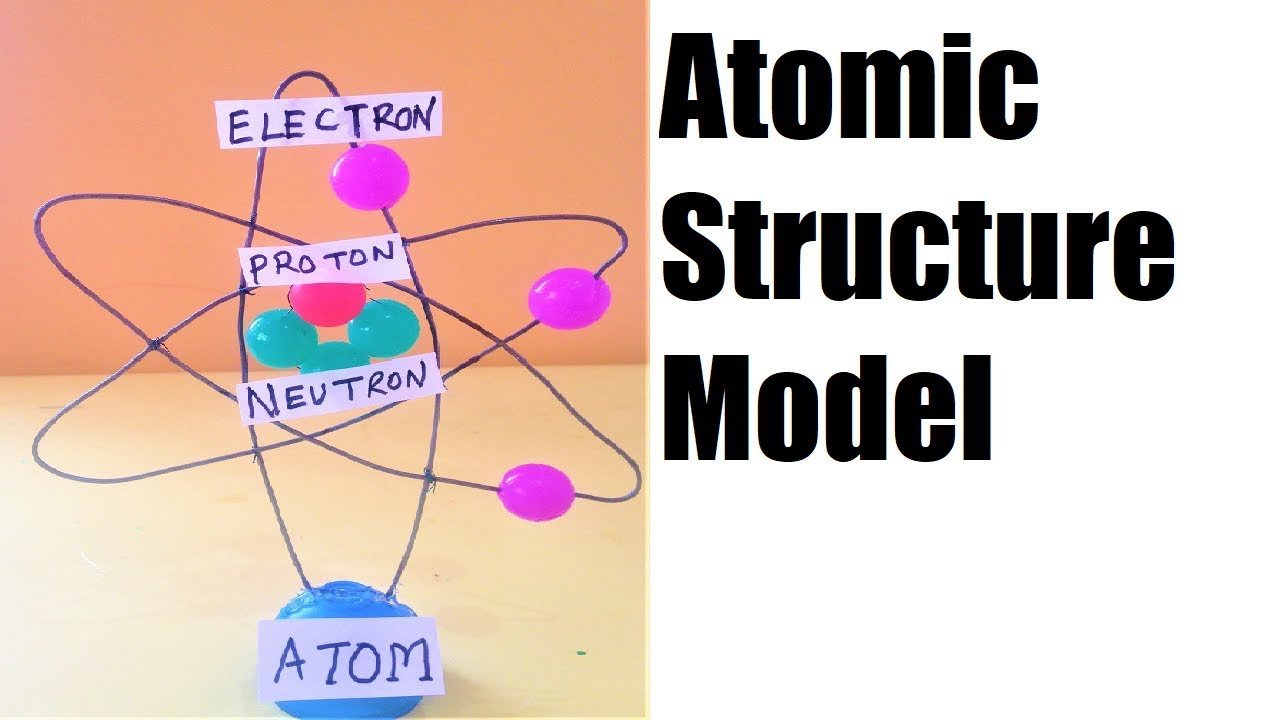
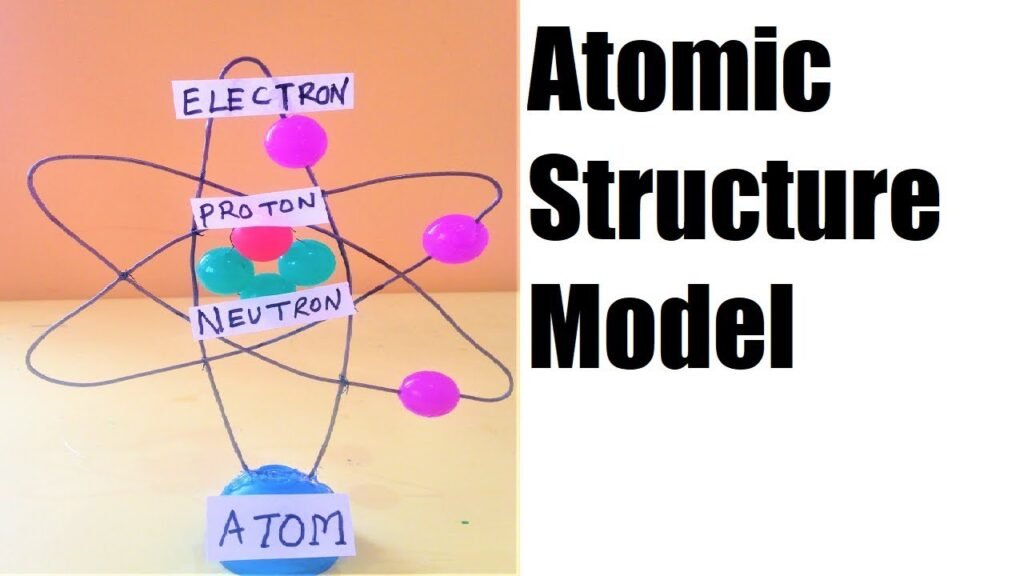
- Use markers or pens to add labels to the nucleus and electrons. You can write “Proton,” “Neutron,” and “Electron” on small pieces of paper and attach them to the corresponding parts.
- Optionally, add more waste materials around the base for decoration. For example, bottle caps can be painted and placed around the model to represent the different energy levels.
Explanation of the Model:
- Nucleus: The central ball(s) represent the nucleus, containing protons and neutrons.
- Electron Orbits: The metal wire circles represent the electron orbits or energy levels where the electrons are likely to be found.
- Electrons: The small balls attached to the orbits represent electrons, which move around the nucleus in these orbits.
- Bohr’s Model: This model specifically demonstrates Bohr’s idea that electrons orbit the nucleus at specific distances, or energy levels.