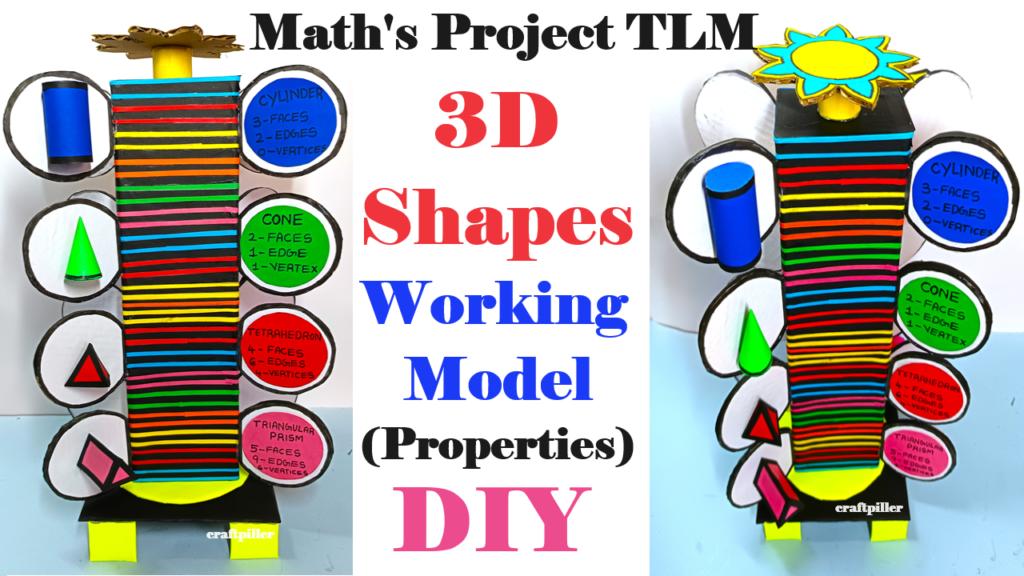
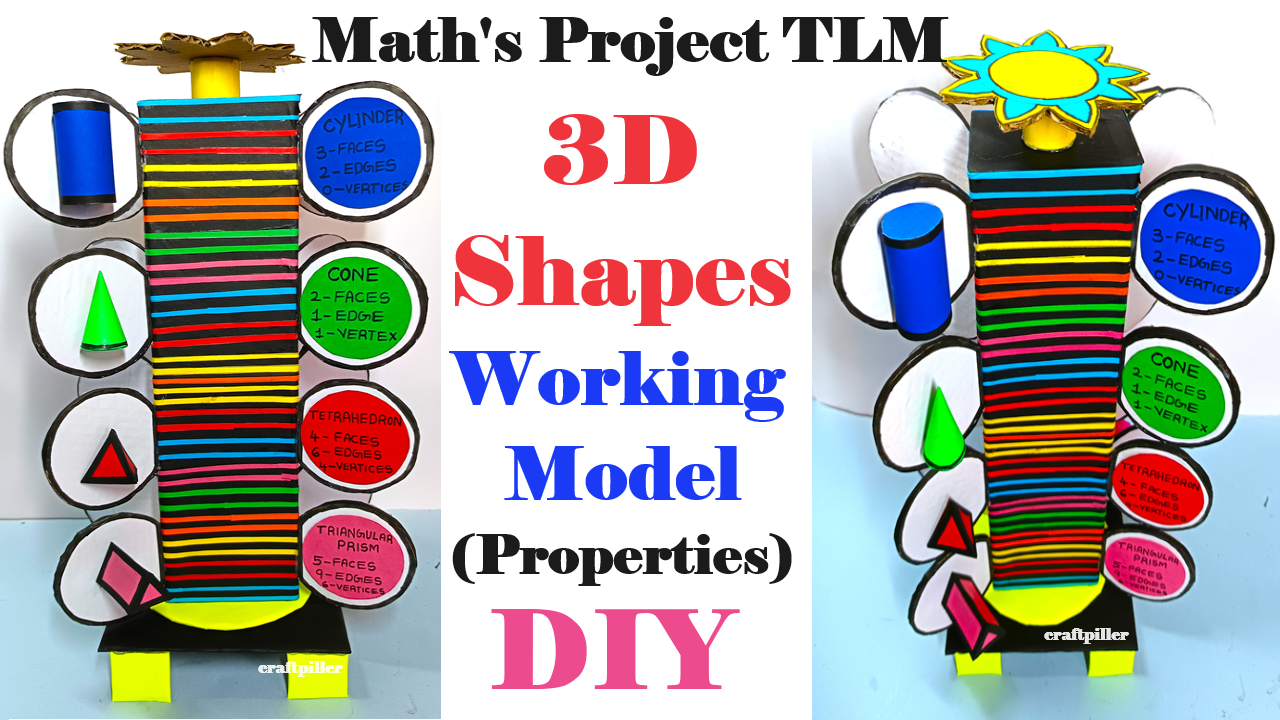
Creating a 3D shapes working model with properties can be a great math teaching aid.
Here’s how you can do it using cardboard and color papers:

Materials Needed:
- Cardboard
- Color papers (different colors)
- Scissors
- Glue
- Marker
- Ruler
Shapes to Include:
- Cube
- Cylinder
- Cone
- Sphere
- Pyramid
Step by Step Video Instructions on 3d shape math’s properties:
- Prepare the Base:
- Cut out a large piece of cardboard to serve as the base for your 3D shapes model.
- This will be the platform where you’ll attach the different shapes.
- Create the Cube:
- Cut out six identical squares from cardboard for the sides of the cube.
- Cover each square with color paper of your choice.
- Fold along the edges to create flaps.
- Glue the squares together to form a cube.
- Make the Cylinder:
- Cut out a rectangle from cardboard for the side of the cylinder.
- Roll the rectangle to form a cylinder shape.
- Glue the edges together.
- Cut out two circles from cardboard for the top and bottom of the cylinder.
- Cover each circle with color paper.
- Glue the circles to the ends of the cylinder.
- Craft the Cone:
- Cut out a sector of a circle from cardboard.
- Roll the sector to form a cone shape.
- Glue the edges together.
- Cut out a circle from cardboard for the base of the cone.
- Cover the circle with color paper.
- Glue the base to the bottom of the cone.
- Construct the Sphere:
- Cut out two identical circles from cardboard.
- Cut out strips of cardboard and bend them to form a curve.
- Glue the curved strips around the edge of one of the circles, covering it completely.
- Cut out another circle from cardboard.
- Glue the second circle to the open end of the curved strips to form a sphere.
- Cover the sphere with color paper.
- Build the Pyramid:
- Cut out a square from cardboard for the base of the pyramid.
- Cut out four triangles from cardboard for the sides of the pyramid.
- Cover each shape with color paper.
- Fold along the edges of the triangles to create flaps.
- Glue the triangles to the edges of the square base to form a pyramid shape.
- Label and Decorate:
- Use markers to label each shape with its name.
- Optionally, write down the properties of each shape, such as number of faces, edges, and vertices.
- Display:
- Arrange the 3D shapes on the cardboard base.
- Optionally, you can add labels or arrows to indicate the different parts of each shape.
This 3D shapes working model serves as an excellent math teaching aid, helping students visualize and understand the properties of different geometric shapes. It’s an engaging and interactive way to learn geometry!

