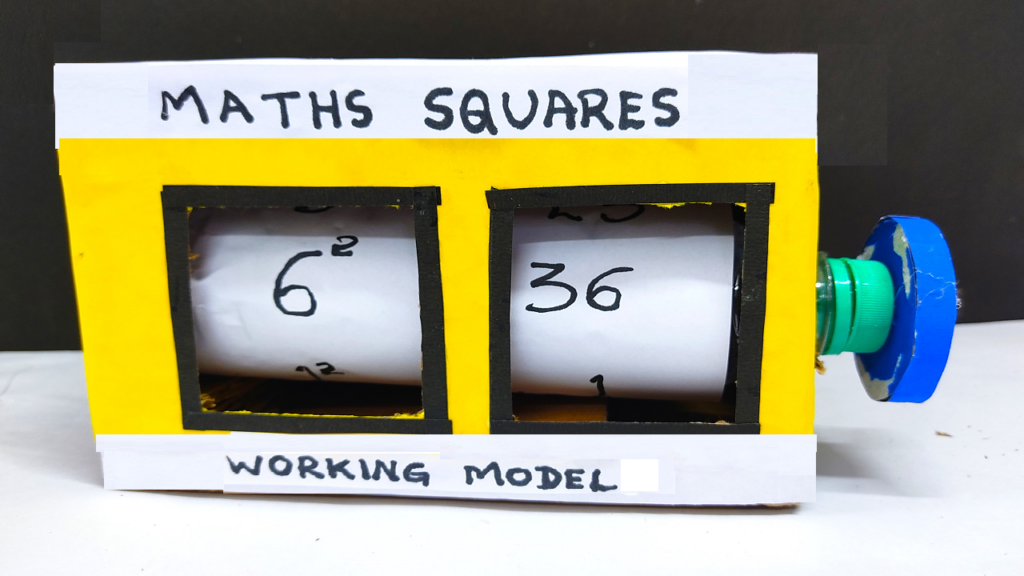
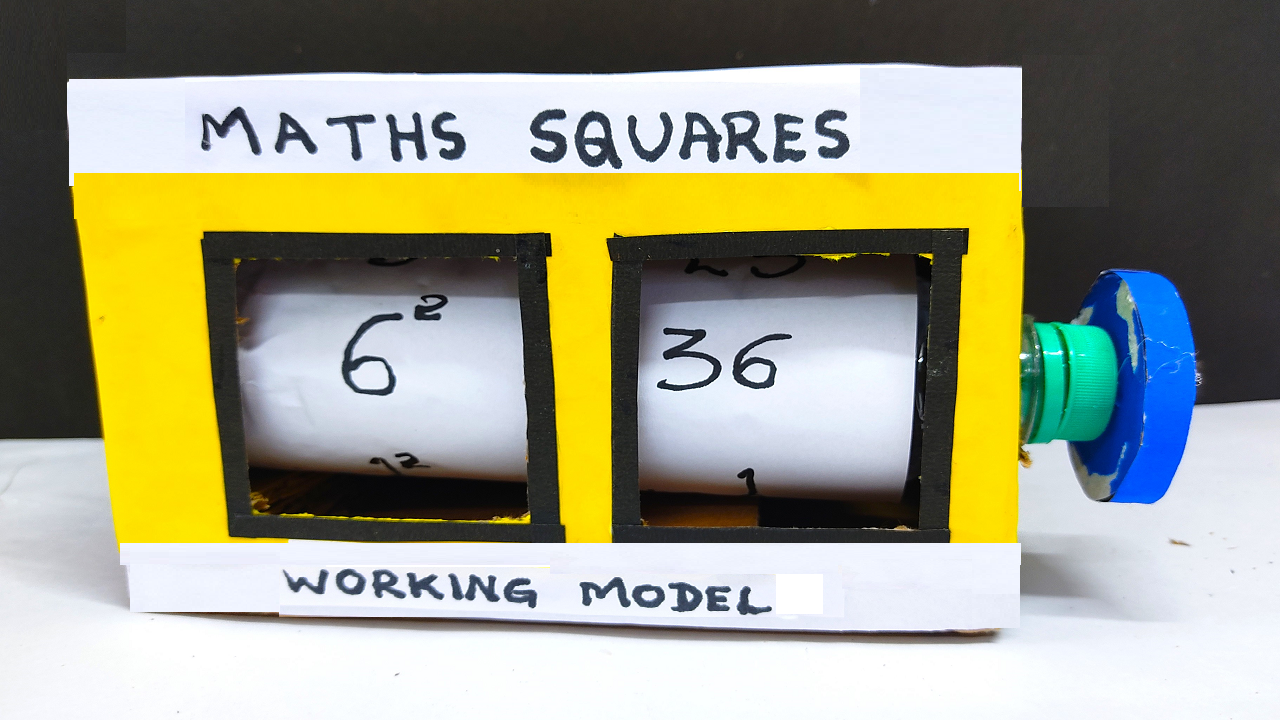
Creating a working model to illustrate the square of a number using cardboard can be a hands-on and interactive project.

Below is a simple guide to help you make a model that demonstrates the concept of squaring numbers:
Materials:
- Cardboard boxes (small to medium-sized)
- Ruler
- Pencil
- Craft knife or scissors
- Colored markers or paints
- Index cards or small pieces of cardboard
- Split pins (brads)
- String or yarn
- Glue or tape
Step by Step Square Number Working Model :
- Prepare the Base:
- Cut out a square piece of cardboard from a cardboard box. This will serve as the base for your model.
- Divide the Base:
- Use a ruler and pencil to divide the square base into smaller squares, creating a grid. Label each square with a number, starting from 1 and going up to the maximum number you want to demonstrate.
- Create Number Cards:
- Cut small squares from index cards or cardboard. Write one number on each card, corresponding to the numbers on the base. These cards will represent the numbers you are squaring.
- Draw Squares on Number Cards:
- On each number card, draw a square to represent the square of that number. For example, if the number is 3, draw a 3×3 square.
- Attach Number Cards to the Base:
- Use split pins (brads) to attach the number cards to the corresponding squares on the base. This allows the cards to rotate freely.
- Optional: Add a Rotating Indicator:
- Cut out an arrow or pointer from cardboard and attach it to the center of the base using a split pin. This arrow can be rotated to point to different numbers, allowing you to focus on one square at a time.

