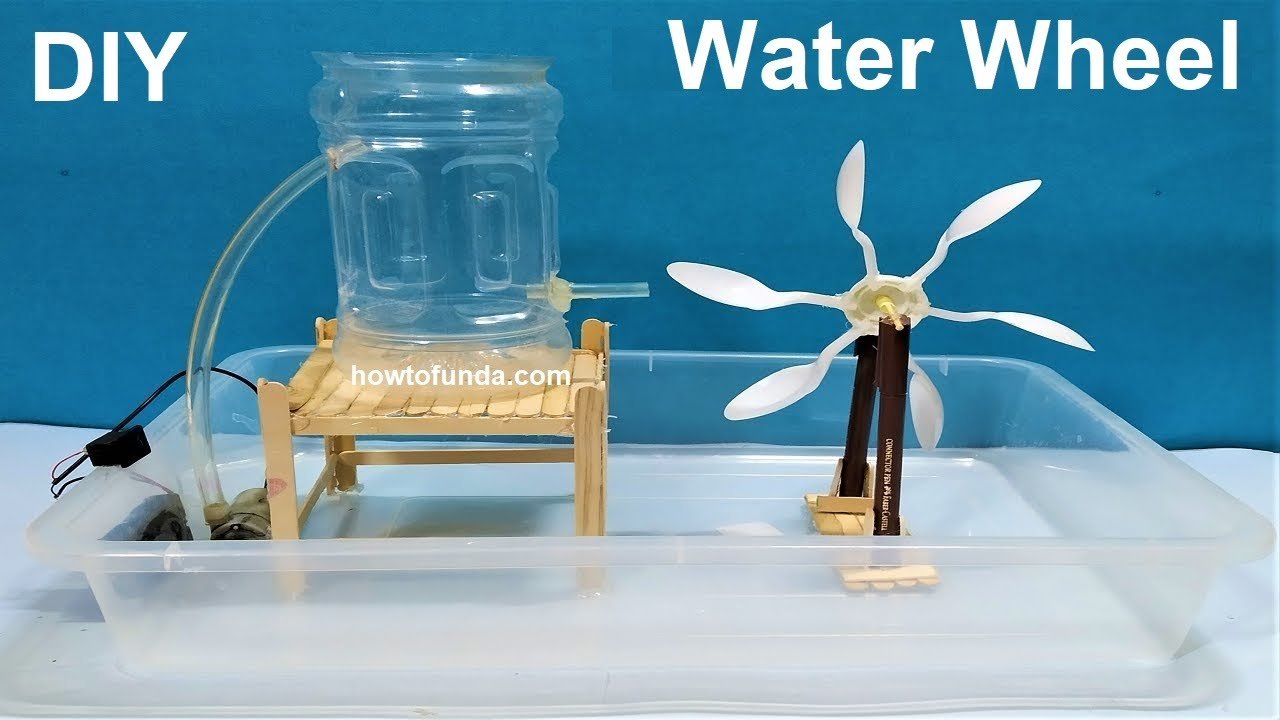
Creating a working model of a water wheel using a plastic bottle, plastic tray, spoons, and chopsticks is a great project to demonstrate the conversion of kinetic energy from flowing water into mechanical energy. Here’s a step-by-step guide on how to build it:

Materials Needed:
- Plastic bottle (1 or 2-liter)
- Plastic tray (large enough to catch the water)
- Plastic spoons (8-12)
- Chopsticks (2-4)
- Hot glue gun or strong adhesive
- Scissors or a utility knife
- String (optional, if you want to connect the wheel to a load)
- Water source (a faucet or a jug of water)
Step by Step Video Instructions on water wheel working model:
- Prepare the Plastic Bottle:
- Cut the plastic bottle in half horizontally.
- Use the bottom half of the bottle as the wheel’s hub.
- If the bottle is too wide, trim it down so that it’s a manageable size for your water wheel.
- Attach the Spoons:
- Use hot glue or strong adhesive to attach plastic spoons around the cut edge of the bottle bottom. The spoons will act as the paddles.
- Ensure the spoons are evenly spaced and all facing the same direction.
- The spoon handles should be glued to the bottle, with the spoon heads sticking outwards to catch the water.
- Create the Axle:
- Insert a chopstick through the center of the bottle bottom to act as the axle.
- Ensure the chopstick is long enough to extend on both sides of the bottle to allow it to be supported on both ends.
- If necessary, secure the chopstick to the bottle with glue for stability.
- Build the Support Structure:
- Use two additional chopsticks to create a support structure that will hold the axle and allow the wheel to spin freely.
- You can either create a stand using a plastic tray or another piece of sturdy material or use a plastic tray with sides tall enough to support the chopsticks.
- Attach the chopsticks vertically to the sides of the tray using glue. Ensure they are parallel and at a height that allows the water wheel to spin without touching the tray’s bottom.
- Mount the Water Wheel:
- Place the water wheel with its axle on top of the vertical chopsticks.
- Ensure the wheel can spin freely without obstruction.
- Test the Water Wheel:
- Place the model in a sink or outside where it can get wet.
- Pour water from a jug or direct a gentle stream of water from a faucet onto the spoons of the water wheel.
- The water should hit the spoons, causing the wheel to spin.
- Optional – Connect to a Load:
- If you want to demonstrate the mechanical energy produced, tie a string to the axle and attach a small load (like a light object).
- As the wheel spins, it will wind the string and lift the load.

