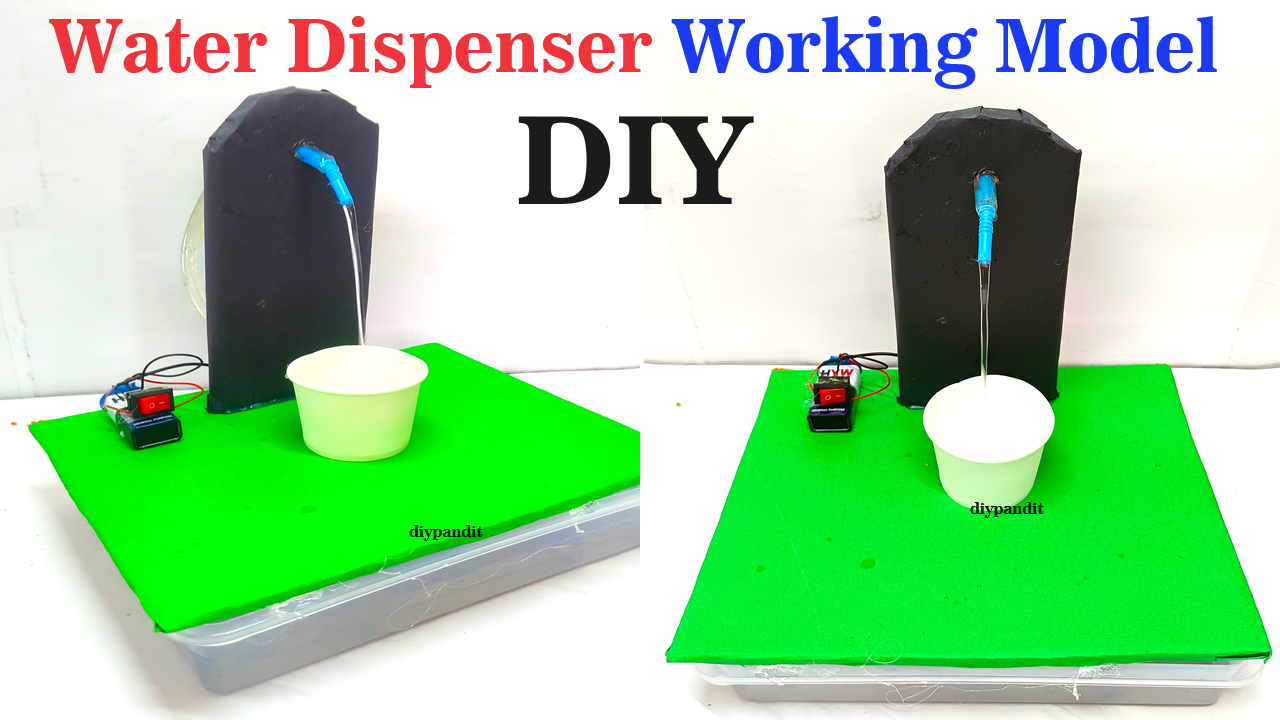
Creating a water dispenser working model using a paper cup, DC water pump, and a plastic tray is a great way to demonstrate how water can be pumped and dispensed in a controlled manner.

Here’s how you can make it:
Materials Needed:
- Paper cup
- DC water pump
- Plastic tray or container
- Small plastic tubing
- 9V battery
- Battery holder
- On/off switch
- Insulated copper wire
- Hot glue gun or waterproof adhesive
- Tape
- Scissors
- Marker
Steps by Step video Instructions on water dispenser :
1. Prepare the Paper Cup:
- Cut the paper cup to create a dispenser nozzle. Cut a small hole in the bottom center of the cup.
2. Mount the Water Pump:
- Place the DC water pump inside the plastic tray or container.
- Secure the pump in place using hot glue or waterproof adhesive.
3. Connect the Tubing:
- Attach one end of the plastic tubing to the outlet of the water pump.
- Route the tubing through the hole in the paper cup nozzle.
- Secure the tubing to the nozzle with tape to prevent leaks.
4. Set Up the Battery:
- Insert the 9V battery into the battery holder.
- Connect the positive (+) terminal of the battery holder to the positive terminal of the water pump.
- Connect the negative (-) terminal of the battery holder to the negative terminal of the water pump.
5. Add the On/Off Switch:
- Cut a small hole in the plastic tray or container for the switch.
- Mount the on/off switch in the hole and secure it in place.
- Connect one terminal of the switch to the positive wire from the battery holder.
- Connect the other terminal of the switch to the positive terminal of the water pump.
6. Test the Model:
- Turn on the switch to activate the water pump.
- Water should be pumped from the container through the tubing and out of the paper cup nozzle.
- Adjust the flow rate by tilting or repositioning the paper cup.
Optional Enhancements:
- Decorate the plastic tray to make it more visually appealing.
- Add a small LED light to illuminate the water dispenser.
- Use a larger container for the water reservoir to allow for longer operation.
Safety Tips:
- Be careful when using hot glue or adhesive to avoid burns.
- Ensure all electrical connections are properly insulated to prevent short circuits.
Explanation:
- When the switch is turned on, electricity flows from the battery to the water pump.
- The water pump creates suction, drawing water from the reservoir through the tubing.
- The water is pumped through the tubing and out of the paper cup nozzle, creating a water dispenser effect.
By following these steps, you can create a simple and effective water dispenser working model for your science exhibition project. It’s a practical demonstration of how water pumps can be used to dispense water in various applications.

