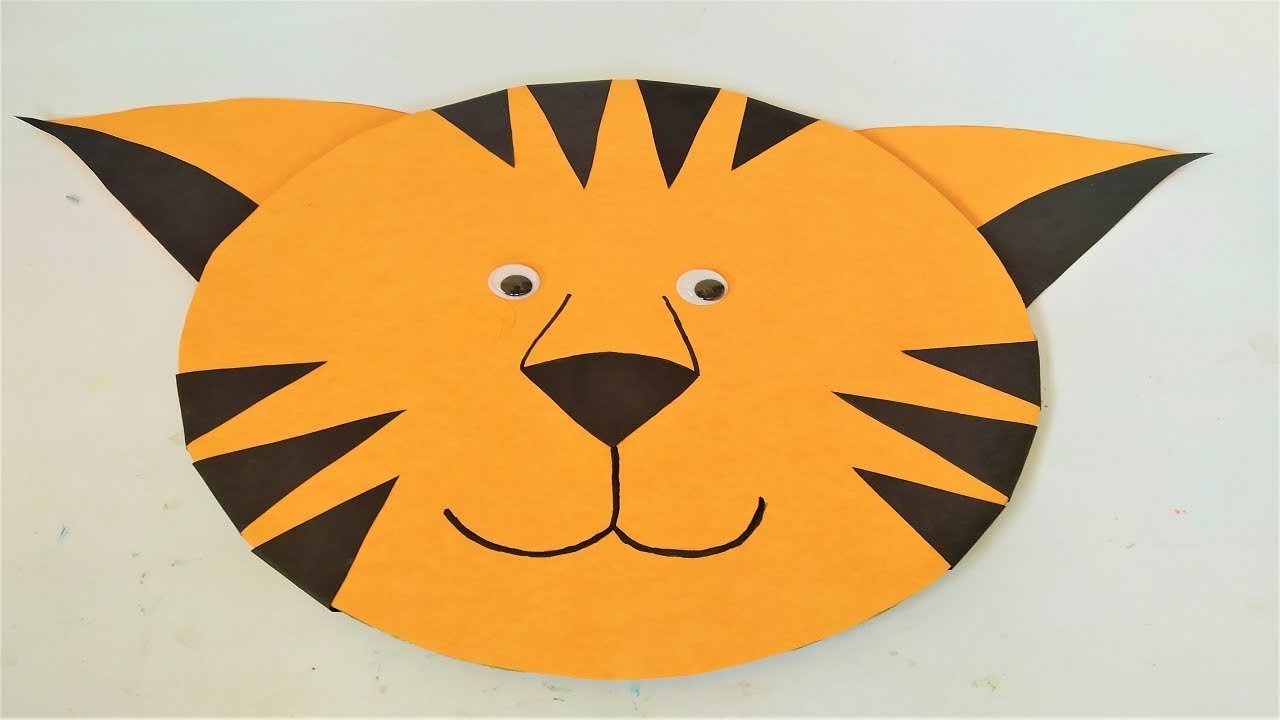
In this post we write about tiger face mask making craft ideas with paper and cardboard easily

Creating a tiger face mask using colored paper can be a fun and creative craft project. Here’s a step-by-step guide to help you make it:
Materials Needed:
- Orange, white, black, and pink colored paper
- Pencil
- Scissors
- Glue stick or craft glue
- Hole punch (optional)
- Elastic cord or ribbon
Video Steps by Steps on Making Tiger Face:
- Prepare the Base:
- Take a sheet of orange colored paper and fold it in half. This will form the base of the mask.
- Draw the Mask Shape:
- On the folded side of the paper, draw the shape of a tiger’s face. You can freehand it or use a template if you have one. The face should be larger than your own face to cover it adequately.
- Cut Out the Mask:
- Carefully cut along the outline of the tiger’s face. Be sure to leave the sides uncut where the mask will fold.
- Create the Eyes:
- Using white and black colored paper, cut out two oval shapes for the eyes. The white ovals should be larger than the black ones.
- Assemble the Eyes:
- Glue the black ovals onto the center of the white ovals to create the eyes. Allow them to dry.
- Attach the Eyes:
- Glue the eyes onto the mask where the tiger’s eyes would be. Leave some space between them.
- Create the Nose:
- Cut out a small, rounded triangle from pink paper to make the tiger’s nose.
- Add the Nose:
- Glue the pink triangle onto the mask, centered below the eyes.
- Make the Whiskers:
- Cut thin strips of black paper to serve as the whiskers. You’ll need six in total.
- Attach the Whiskers:
- Glue three whiskers on each side of the nose, evenly spaced.
- Add Stripes:
- Cut out thin, curved strips of black paper to represent tiger stripes. Glue them onto the orange part of the mask.
- Create Ears:
- Draw and cut out two tiger ears from orange paper. Optionally, you can add inner parts using white paper.
- Attach the Ears:
- Glue the ears to the top edges of the mask.
- Punch Holes for the Elastic:
- On each side of the mask, punch a hole near the edges. This is where you’ll attach the elastic cord or ribbon.
- Attach the Elastic:
- Thread the elastic cord or ribbon through the holes and tie knots to secure it in place. Adjust the length to fit comfortably around your head.
- Adjust and Wear:
- Put on your tiger face mask and adjust the elastic for a snug fit. Make sure you can see through the eye holes comfortably.
#tigerfacemask #papercraftideas #craftpiller
