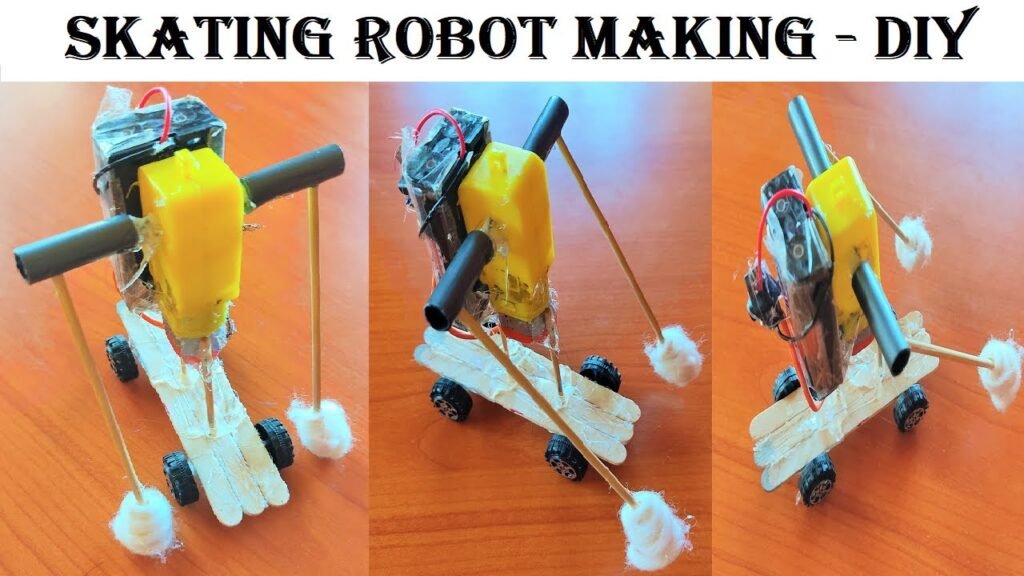
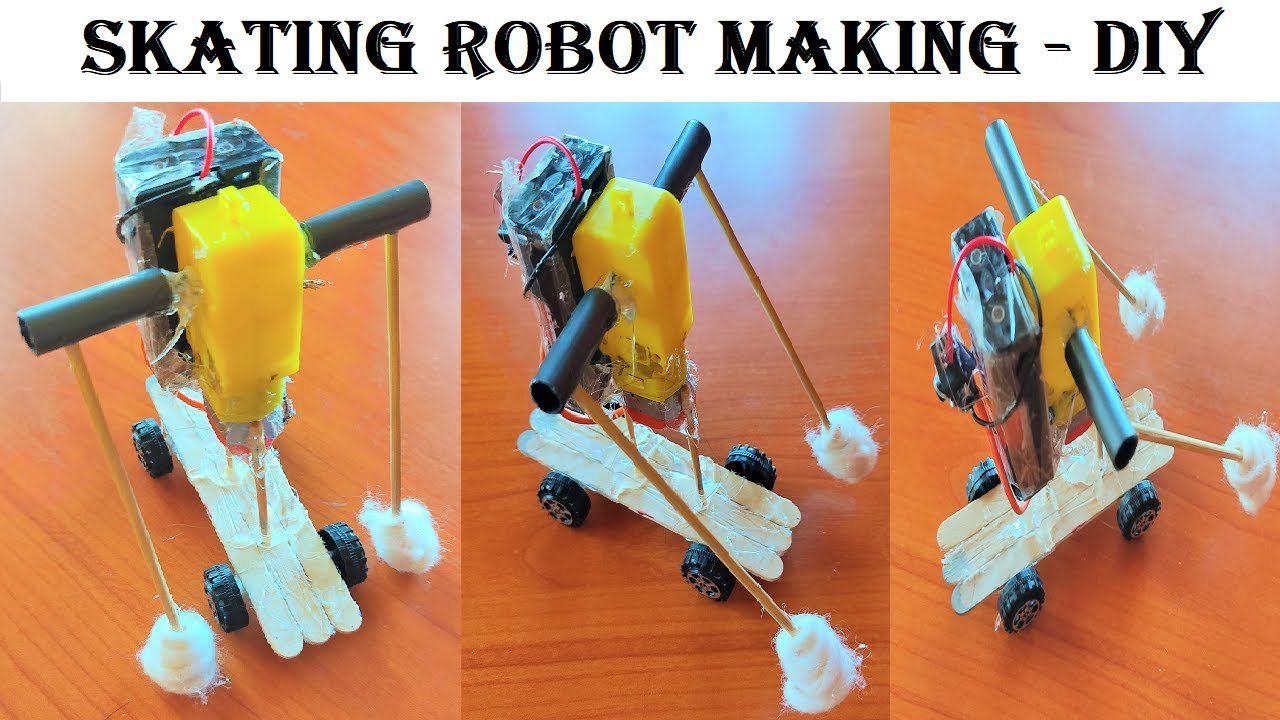
Creating a skating robot with a motor as the body, chopsticks as hands, and cotton for a soft bottom is an innovative and fun project.
This project illustrates fundamental principles of electricity and mechanics, demonstrating how simple materials can be used to create a functional robot.

Here’s a step-by-step guide to help you build this skating robot:
Materials Needed:
- Small DC motor (with motor casing)
- 9V battery
- Battery clip (to connect the battery)
- Switch (single-pole single-throw)
- Wires
- Chopsticks
- Cotton balls
- Hot glue gun and glue sticks
- Cardboard (for the skating board)
- Four small wheels
- Axles (skewers or thin rods)
- Scissors or craft knife
- Tape or rubber bands
- Markers or paint (for decoration)
Step by Step Video Instructions:
1. Prepare the Skating Board:
- Cut a piece of cardboard to form the base of your robot, resembling a skateboard. The size should be slightly larger than the motor casing to provide enough space for stability and attachment of wheels.
- Attach the wheels to the cardboard base using axles. Ensure the wheels can spin freely.
2. Attach the Motor:
- Secure the small DC motor to the center of the cardboard base using hot glue. Position it so that the motor shaft is accessible and can connect to the wheels if possible.
- Attach wires to the motor leads.
3. Add the Battery and Switch:
- Connect the battery clip to the 9V battery.
- Attach one wire from the motor to one terminal of the switch.
- Connect the other terminal of the switch to one wire from the battery clip.
- Connect the remaining wire from the battery clip to the other wire of the motor, completing the circuit.
- Secure the battery and switch to the cardboard base using hot glue or tape.
4. Create the Arms:
- Cut two chopsticks to the desired length for the robot’s arms.
- Attach the chopsticks to the sides of the motor casing using hot glue. Position them so that they stick out like arms.
5. Add Cotton Bottom:
- Glue cotton balls to the bottom of the motor casing and the chopsticks’ ends. This will create a soft bottom and mimic the padding seen in skating robots.
6. Assemble the Skating Mechanism:
- If possible, connect the motor shaft to one of the axles with wheels. This will allow the motor to drive the wheels and move the robot forward.
- If a direct connection is not possible, use gears or rubber bands to transfer the motor’s rotation to the wheels.
7. Final Assembly and Testing:
- Ensure all components are securely attached.
- Decorate the robot using markers or paint to give it a more polished look.
- Turn on the switch to test the movement. Adjust the position of the wheels and motor if necessary to achieve smooth motion.
skating robot Explanation:
This robot showcases basic principles of mechanics and electrical engineering, allowing it to move on wheels.
Here’s how it works:
- Body: The small DC motor serves as the body of the robot, providing the main source of movement.
- Arms: The chopsticks act as the robot’s arms, adding to the humanoid appearance.
- Cotton Bottom: The cotton balls at the bottom and ends of the chopsticks act as padding, mimicking the soft elements in skating robots.
- Base and Wheels: The cardboard base with four wheels allows the robot to skate smoothly. The wheels are attached to axles, enabling free rotation.
- Motor: The motor, powered by a 9V battery, drives the movement. When the motor rotates, it drives the wheels, making the robot skate forward.
- Switch: The switch controls the flow of electricity from the battery to the motor. When the switch is turned on, the circuit is complete, and the motor runs, causing the wheels to move.

