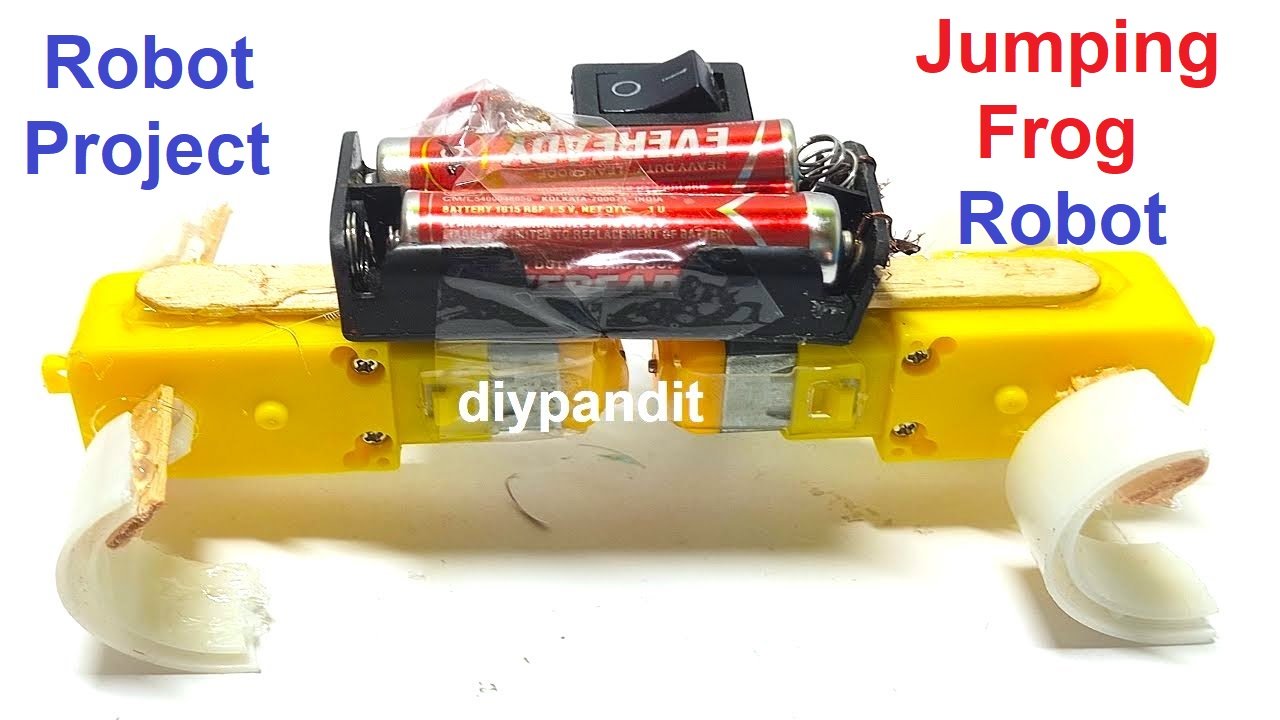
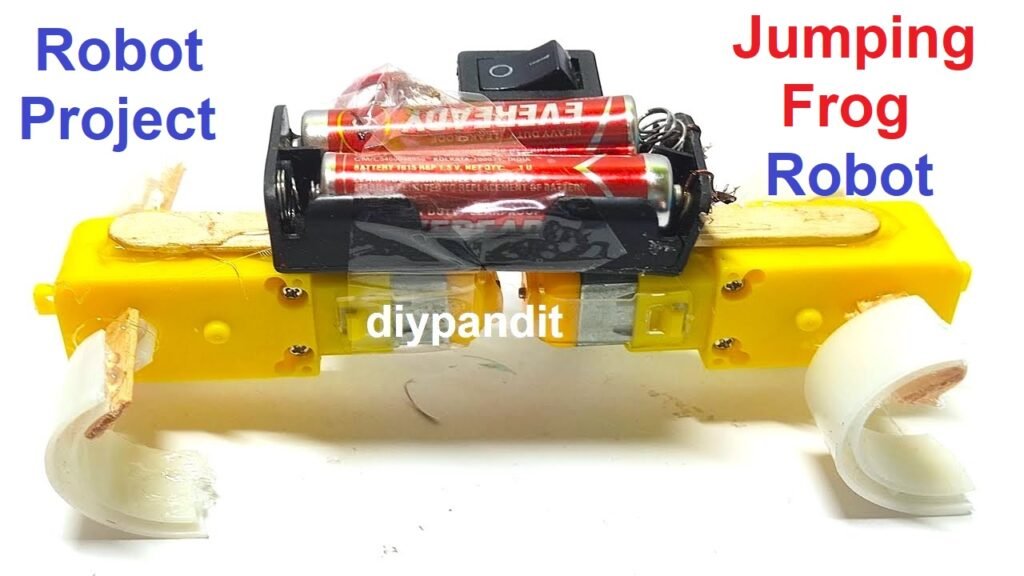
Making a jumping frog robot using a DC motor, a 9V battery, and half-cut wheels is an exciting project that demonstrates basic mechanical and electrical principles.
This project illustrates fundamental principles of electricity and mechanics, showing how simple materials can be used to create a functional and entertaining frog robot.”
Here’s how you can build this robot:
Materials Needed:
- Small DC motor (with motor casing)
- 9V battery
- Battery clip (to connect the battery)
- Switch (single-pole single-throw)
- Wires
- Two small wheels (cut in half)
- Cardboard
- Hot glue gun and glue sticks
- Rubber bands
- Skewers or thin rods (for axles)
- Scissors or craft knife
- Tape or rubber bands
- Markers or paint (for decoration)
Step by Step Video Instructions:
1. Prepare the Frog’s Body:
- Cut a piece of cardboard into the shape of a frog’s body. Make it large enough to accommodate the motor and battery.
- Decorate the cardboard frog using markers or paint to make it look like a frog.
2. Attach the Motor:
- Secure the small DC motor to the center of the cardboard frog using hot glue. Position it so that the motor shaft is accessible.
3. Create the Jumping Mechanism:
- Take the two small wheels and cut them in half. These half-wheels will act as the frog’s legs.
- Attach the half-wheels to the motor shaft on either side. Make sure they are securely attached and balanced.
4. Connect the Battery and Switch:
- Connect the battery clip to the 9V battery.
- Attach one wire from the motor to one terminal of the switch.
- Connect the other terminal of the switch to one wire from the battery clip.
- Connect the remaining wire from the battery clip to the other wire of the motor, completing the circuit.
- Secure the battery and switch to the cardboard frog using hot glue or tape.
5. Assemble the Legs:
- Cut two skewers or thin rods to the length you want for the frog’s legs.
- Attach rubber bands to the ends of the rods. The rubber bands will help create the jumping motion.
- Secure the other end of the skewers to the cardboard frog using hot glue.
6. Final Assembly and Testing:
- Ensure all components are securely attached.
- Turn on the switch to test the jumping motion. The rotation of the half-wheels should create a hopping or jumping effect, simulating a frog’s movement.
Educational Explanation:
This robot uses basic mechanical and electrical principles to mimic the jumping motion of a frog.
Here’s how it works:
- Body: The frog’s body is made from cardboard, providing a lightweight and easy-to-decorate structure.
- Legs: The half-wheels attached to the motor shaft act as the frog’s legs. As the motor rotates, the half-wheels create a hopping motion.
- Motor: The small DC motor, powered by a 9V battery, drives the movement. When the motor rotates, it causes the half-wheels to spin, making the frog jump.
- Rubber Bands: The rubber bands attached to the skewers add an extra spring to the legs, enhancing the jumping effect.
- Switch: The switch controls the flow of electricity from the battery to the motor. When the switch is turned on, the circuit is complete, and the motor runs, causing the frog to jump.