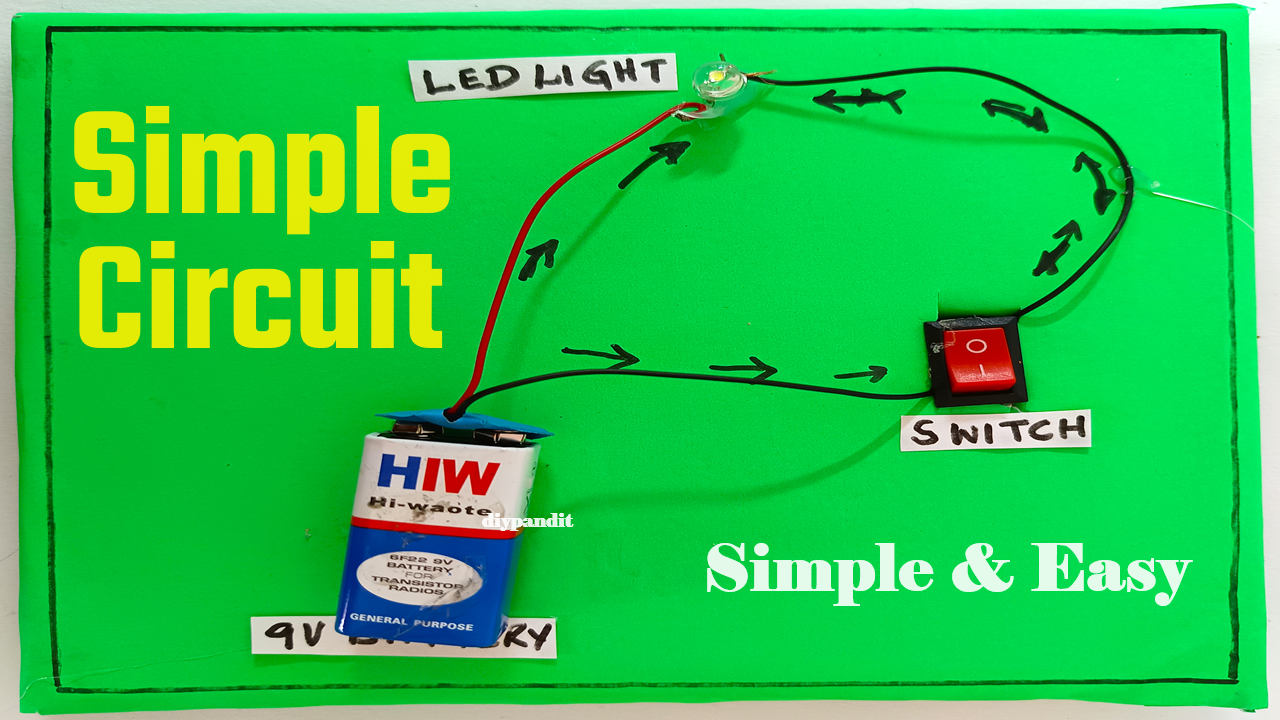
Creating a simple circuit working model using an LED light, switch, and 9V battery is a great way to understand the basics of electricity.

Here’s how to make it:
Materials Needed:
- LED light (with built-in resistor)
- On/Off switch
- 9V battery
- Battery clip or holder
- Insulated copper wire
- Cardboard or wooden base
- Tape
- Scissors or wire cutter/stripper
Steps by Steps Video Instructions on Simple Circuit:
1. Prepare the Base:
- Cut a piece of cardboard or use a wooden base to mount your circuit components.
- This will provide a stable platform to build your circuit.
2. Connect the Battery:
- Attach the battery clip or holder to the cardboard base.
- Insert the 9V battery into the clip, ensuring the polarity is correct (positive and negative terminals).
3. Add the Switch:
- Position the On/Off switch on the cardboard base.
- Cut two pieces of insulated copper wire, each about 3-4 inches long.
- Strip about 1/2 inch of insulation from each end of the wires.
- Connect one end of the first wire to one terminal of the switch.
- Connect one end of the second wire to the other terminal of the switch.
4. Connect the LED:
- Take the LED light and identify its longer leg (the positive leg) and shorter leg (the negative leg).
- Cut another piece of insulated copper wire, about 6 inches long.
- Strip about 1/2 inch of insulation from each end.
- Connect the positive terminal of the LED (longer leg) to the free end of the wire connected to the switch.
- Connect the negative terminal of the LED (shorter leg) to the free end of the wire connected to the battery clip.
5. Secure and Test the Circuit:
- Use tape to secure the wires, switch, and LED in place on the cardboard base.
- Make sure there are no exposed wires touching each other to prevent short circuits.
- Test your circuit by turning the switch on. The LED should light up.
- Turn the switch off to turn off the LED.
This simple circuit working model is a great hands-on project for learning about basic electronics and circuits.

