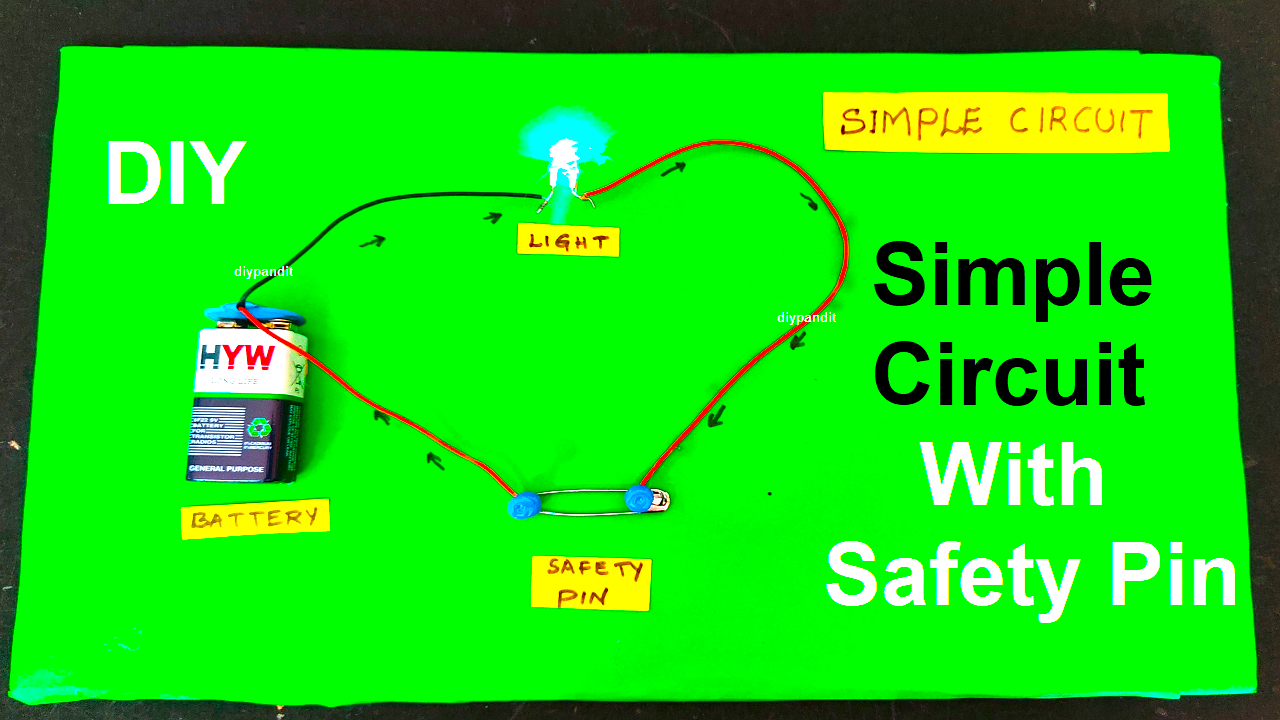
This simple circuit model with a light bulb and a switch provides a hands-on demonstration of basic electrical concepts and is suitable for a science project exhibition.

Creating a simple circuit with a light bulb and a switch for a science project exhibition can be a fun and educational project. Here’s a step-by-step guide for a DIY project:
Materials needed:
- Cardboard or wooden base
- Light bulb holder with a socket
- Light bulb (ensure it matches the voltage of your battery)
- Battery holder (for two AA or AAA batteries)
- Two AA or AAA batteries
- Switch
- Insulated copper wire
- Small strips of aluminum foil
- Glue
- Optional: Color paper or markers for decorating
Working Model Making Steps:
- Prepare the Base:
- Cut a piece of cardboard or use a wooden base to build your circuit. This will serve as the foundation for your project.
- Attach Light Bulb Holder:
- Glue the light bulb holder to the base. Ensure it’s secure and in an upright position.
- Insert Light Bulb:
- Insert the light bulb into the holder.
- Connect Batteries:
- Connect the battery holder to the light bulb holder. Positive (usually marked with a plus sign) to positive and negative (usually marked with a minus sign) to negative. Use insulated copper wire for this.
- Insert Batteries:
- Insert two AA or AAA batteries into the battery holder.
- Attach Switch:
- Connect the switch to the circuit. You can connect one end of the switch to the positive side of the battery holder and the other end to the light bulb holder.
- Secure Wires:
- Use glue to secure the wires in place and to prevent any loose connections. Ensure the switch is easily accessible for turning the circuit on and off.
- Test the Circuit:
- Flip the switch to see if the light bulb lights up. If it doesn’t, double-check your connections and ensure that all components are securely connected.
- Optional Decoration:
- You can use color paper or markers to decorate your circuit and make it visually appealing.
- Create Labels:
- Label the different parts of the circuit, such as the battery, switch, and light bulb. Provide a brief explanation of how the circuit works.
- Presentation:
- During the exhibition, demonstrate how the switch controls the flow of electricity in the circuit, turning the light bulb on and off. Explain the basic principles of a simple electrical circuit.