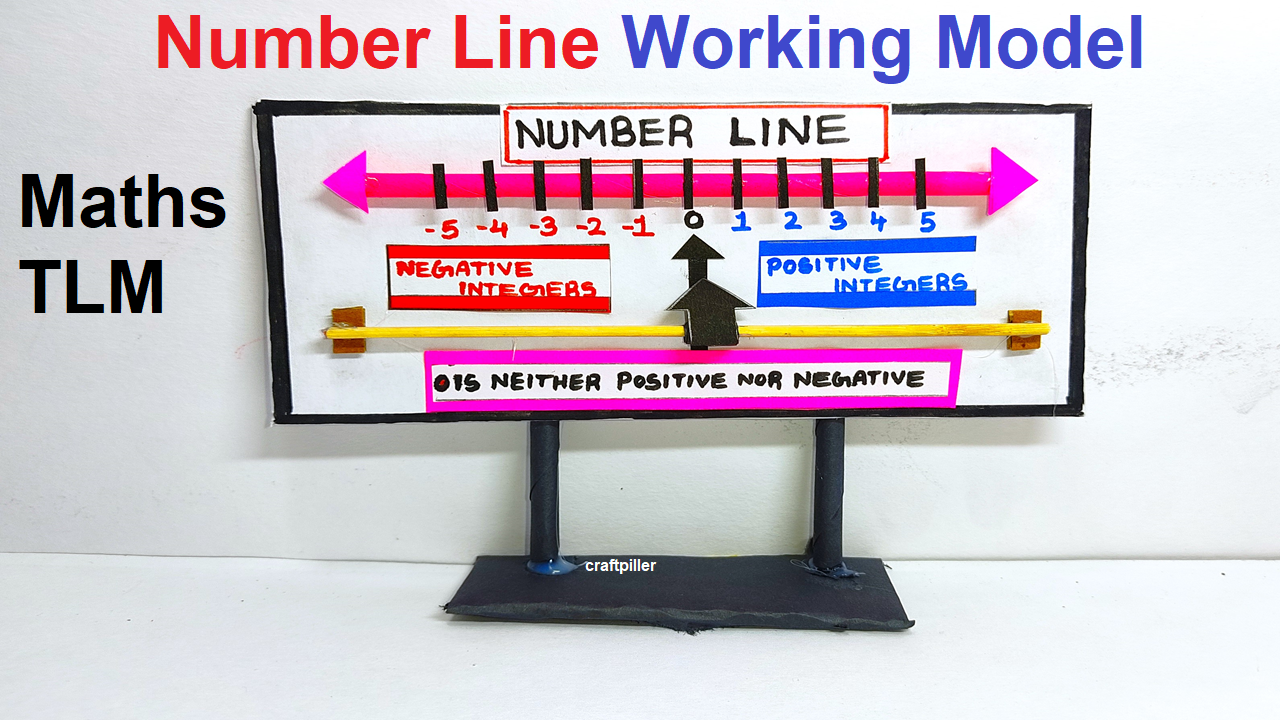
A number line is a fundamental mathematical tool used to represent and visualize the order and magnitude of numbers along a straight line.
It provides a graphical representation of the real number system, including integers, fractions, decimals, and irrational numbers.
Creating a number line working model using cardboard and colored paper is a simple yet effective way to help students visualize numbers and understand their order.

Here’s how you can make it:
Materials Needed:
- Cardboard
- Colored paper (different colors)
- Ruler
- Pencil
- Scissors
- Glue or tape
- Marker
- Optional: stickers or small cutouts for decorations
Steps by Steps video instructions on number line working model:
1. Prepare the Base:
- Take a piece of cardboard as the base for your number line.
- Cut it into a long strip or rectangle to represent the number line.
2. Draw the Number Line:
- Using a ruler and pencil, draw a straight line horizontally across the cardboard.
- Divide the line into equal segments to represent different numbers.
- Label each segment with numbers, starting from a negative value on the left to a positive value on the right. You can start from -10 to +10 for simplicity.
3. Create Number Cards:
- Cut out small rectangles from colored paper to represent number cards.
- Write numbers on each card corresponding to the numbers on the number line. Use a marker for clear visibility.
- For example, if the number line goes from -10 to +10, you will need 21 number cards (including zero).
4. Decorate the Number Cards:
- Optionally, you can decorate the number cards with stickers or drawings related to the numbers.
- For example, draw ten apples on the card representing the number 10.
5. Attach the Number Cards:
- Using glue or tape, attach each number card to the corresponding position on the number line.
- Ensure that the cards are aligned properly with the numbers on the line.
6. Optional: Add Color-Coding:
- To make the number line more visually appealing, use different colored papers for positive and negative numbers.
- For example, use blue for negative numbers and red for positive numbers.
7. Label the Ends:
- Label the left end of the number line as “Negative Numbers” and the right end as “Positive Numbers”.
- Write these labels on colored paper and glue them to the ends of the number line.
8. Display and Explain:
- Once completed, display your number line working model in the classroom or on a wall where students can easily see it.
- Use the model to explain the concept of number order, positive and negative numbers, and how to locate numbers on a number line.
With this working model, students can visualize and understand the concept of a number line, making it easier for them to learn about number order and arithmetic operations.

