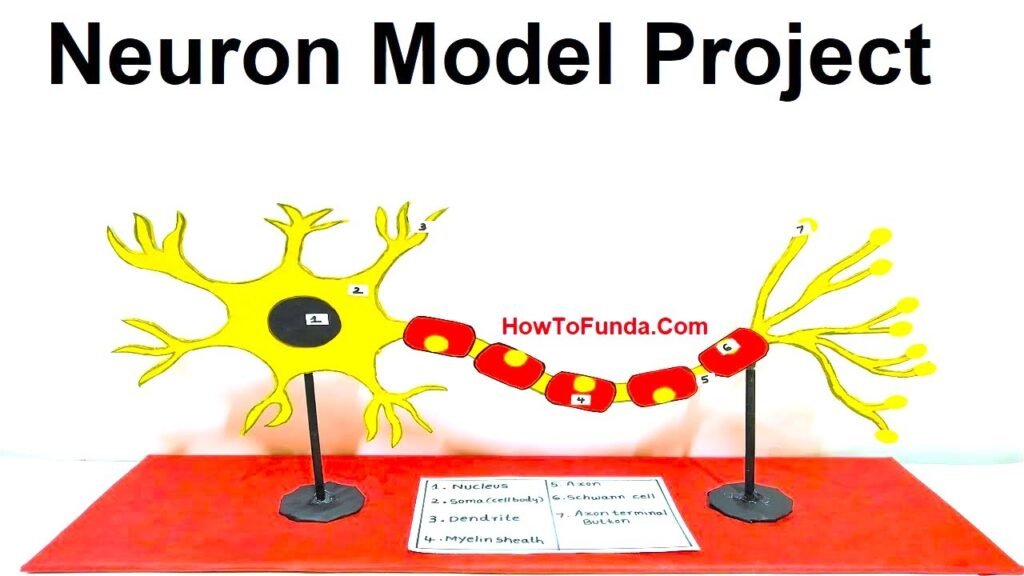
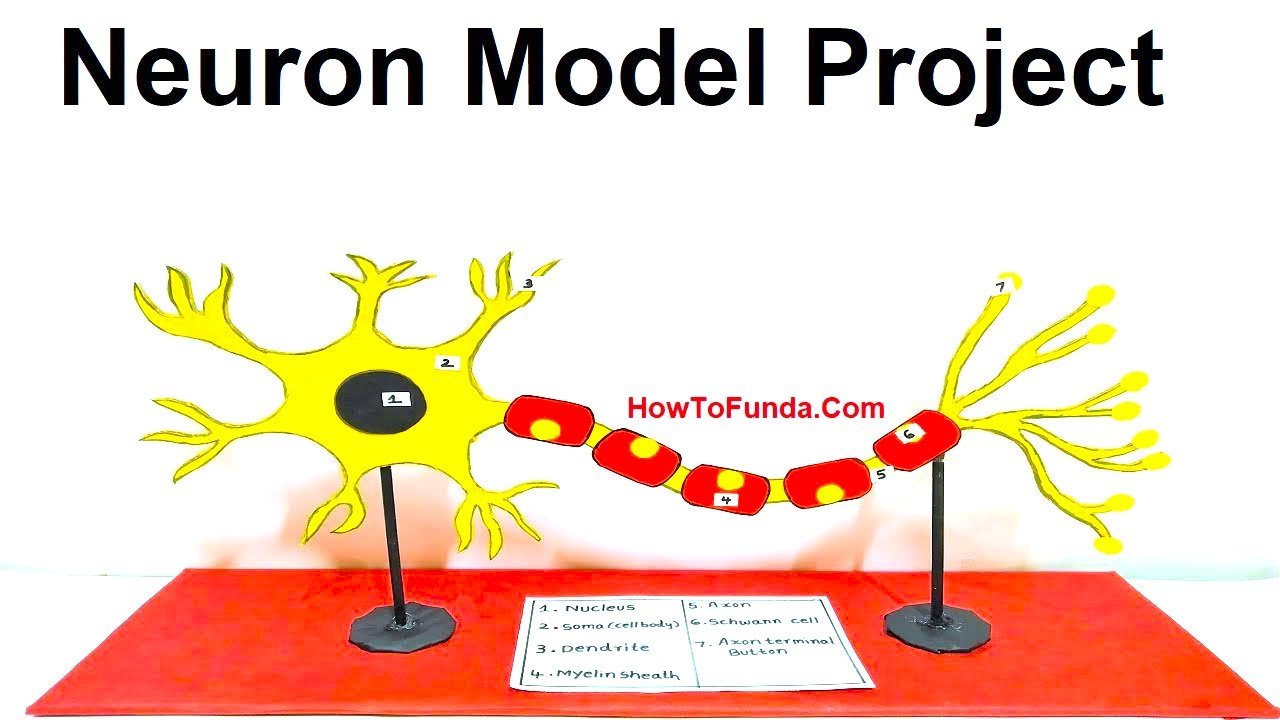
Creating a neuron model for a science fair exhibition using cardboard and color paper is a fantastic way to visualize and understand the structure of a neuron.

Here’s a step-by-step guide to help you make a detailed and colorful model:
Materials Needed:
- Cardboard
- Color paper (various colors)
- Scissors
- Glue or tape
- Markers or pens
- String or thin yarn (for axons and dendrites)
- Small beads or pom-poms (for synaptic knobs)
- Optional: Paint (for additional decoration)
Step by Step Video Instructions:
1. Prepare the Cardboard Base:
- Cut a large piece of cardboard to use as the base for your neuron model. This will provide a sturdy platform to attach the various parts of the neuron.
2. Create the Cell Body (Soma):
- Cut a circle or oval shape from the cardboard to represent the cell body of the neuron.
- Cover the cell body with color paper to make it visually appealing. You can choose any color you like.
- Draw or glue a small circle in the center to represent the nucleus. You can use a different color paper or marker for this.
3. Make the Dendrites:
- Cut several strips of cardboard to create dendrites, which are the branch-like structures that extend from the cell body.
- Cover these strips with color paper. Use green or brown to make them look natural.
- Attach the dendrites to the cell body using glue or tape. Arrange them around the cell body to resemble the branching structure.
4. Create the Axon:
- Cut a long strip of cardboard to represent the axon, the long projection that transmits electrical impulses.
- Cover the axon with color paper. You can use a different color from the dendrites to differentiate them.
- Attach one end of the axon to the cell body using glue or tape.
5. Add the Myelin Sheath:
- Cut small rectangular pieces of color paper to represent the myelin sheath segments. Use a bright color to highlight them.
- Glue these pieces along the axon, leaving small gaps between them to show the nodes of Ranvier.
6. Make the Synaptic Knobs:
- Attach small beads or pom-poms at the end of the axon to represent synaptic knobs. These are the structures that connect to other neurons or muscles.
- Use glue to secure them in place.
7. Assemble the Model:
- Arrange all the parts on the cardboard base. Make sure the dendrites, cell body, axon, and synaptic knobs are all clearly visible.
- Secure all parts with glue or tape to ensure they stay in place.
8. Label the Parts:
- Cut small pieces of color paper to create labels for each part of the neuron: Dendrites, Cell Body (Soma), Nucleus, Axon, Myelin Sheath, and Synaptic Knobs.
- Write the names of each part on the labels and attach them to the model with glue or tape.
Explanation:
“Welcome to my neuron model demonstration. Neurons are the fundamental units of the brain and nervous system, responsible for receiving sensory input and sending motor commands.
Here, we have a detailed model of a neuron made from cardboard and color paper:
- Dendrites: These are branch-like structures that receive messages from other neurons. They bring electrical signals to the cell body.
- Cell Body (Soma): This is the main part of the neuron containing the nucleus. It processes incoming signals and generates outgoing signals.
- Nucleus: Located in the cell body, it contains the cell’s genetic material and controls its activities.
- Axon: This is a long projection that transmits electrical impulses away from the cell body towards other neurons or muscles.
- Myelin Sheath: These are the segments covering the axon, made of insulating material that speeds up the transmission of electrical impulses.
- Synaptic Knobs: These are found at the end of the axon and are responsible for transmitting signals to other neurons or muscle cells.
This model helps us understand how neurons communicate within the nervous system, transmitting signals rapidly and efficiently to coordinate body functions.

