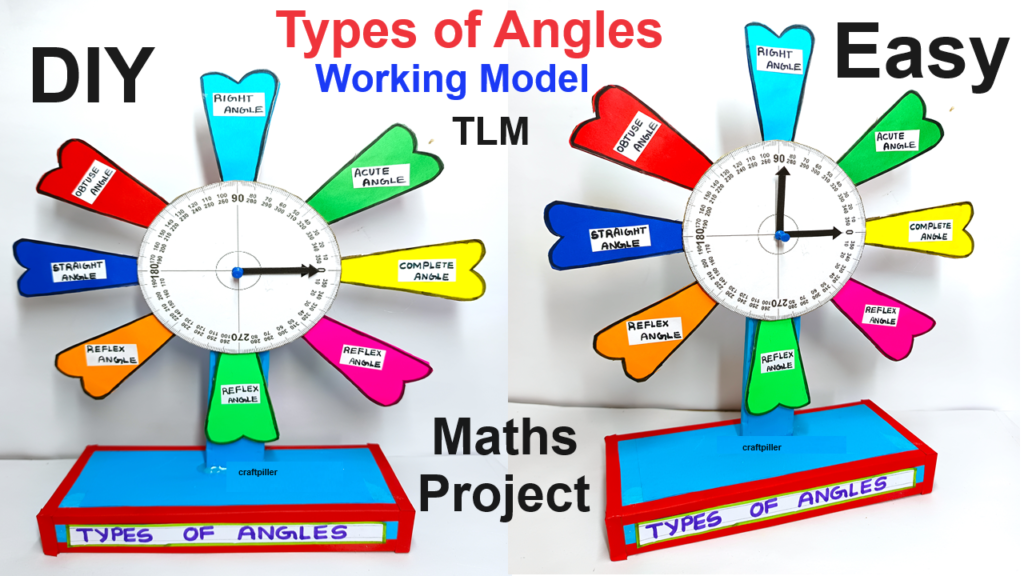
Creating a working project on types of angles in both clock and flower formats using paper, cardboard, and push pins is a fun and interactive way to understand angle concepts.

Here’s a step-by-step guide for each format:
Materials Needed:
- Cardboard (for the clock face)
- Paper (for making clock hands and labeling)
- Push pin (for attaching movable clock hands)
- Markers (for drawing the clock face and labeling)
- Scissors
- Ruler and compass
- Glue or tape
Video Steps to Make the Model:
1. Create the Clock Face:
- Cut out a circle from a large piece of cardboard (around 12 inches in diameter).
- Use a ruler and compass to draw the clock markings on the circle.
- Divide the circle into 12 equal sections to represent the hours on a regular clock.
- Label the hours from 1 to 12 around the edge of the circle.
2. Make the Clock Hands:
- Cut out two clock hands from paper: one for the minute hand and one for the hour hand.
- These hands will represent the angles, and you can make them adjustable using a push pin.
3. Attach the Clock Hands:
- Use a push pin to attach the two hands to the center of the clock face, making sure they can rotate freely.
4. Show Different Types of Angles:
- Now, by rotating the clock hands, you can demonstrate different angles:
- Right Angle (90°): When the hands are at 3 and 12 or 9 and 12.
- Acute Angle (<90°): When the hands form a narrow angle, like 1 and 12.
- Obtuse Angle (>90° and <180°): When the hands are wider, like 10 and 12.
- Straight Angle (180°): When the hands are exactly opposite, like 12 and 6.
- Reflex Angle (>180° and <360°): When the hands go beyond 180°, such as 2 and 8.
- Full Angle (360°): When the hands make a complete turn.
5. Label the Angles:
- Use colored paper or markers to create small labels for each angle type. Attach these labels to the clock face with arrows pointing to the angles formed by the hands.

