
Here’s a detailed idea for a wastewater treatment working model using cardboard, representing houses and apartments with a five-stage water purification system. This project is perfect for a science exhibition as it demonstrates the importance of clean water and how wastewater is treated.
Design Overview:
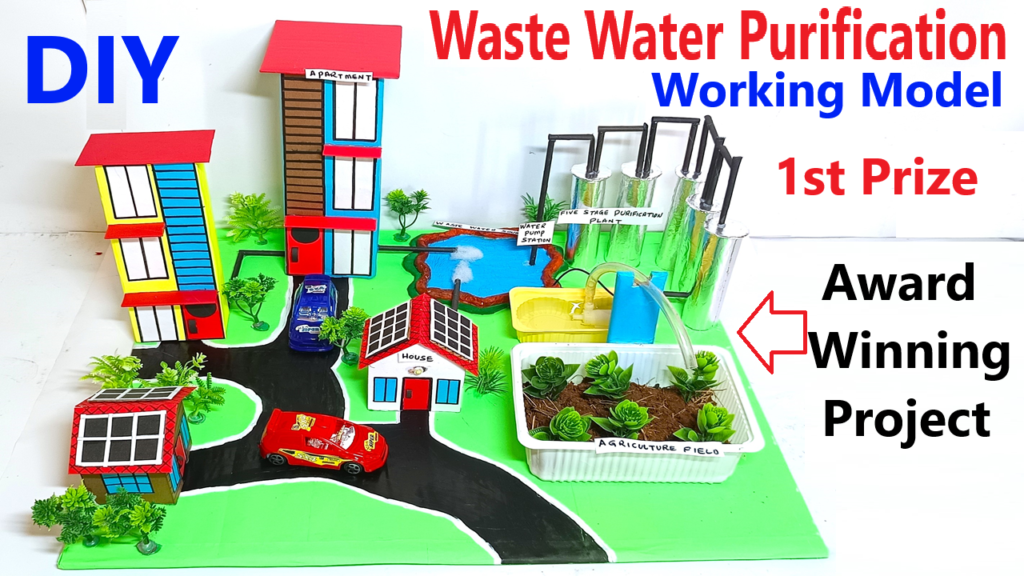
The model will simulate wastewater flowing from houses and apartments into a treatment plant with five purification stages:
- Screening
- Sedimentation
- Filtration
- Aeration
- Chlorination
The treated water can then be shown flowing into a reservoir or back to the houses.
Materials Required:
- Cardboard: For constructing houses, apartments, tanks, and base.
- Plastic Bottles or Cups: To represent water tanks at each purification stage.
- Color Paper: For decoration and labeling.
- Syringes and Tubes: To show the flow of water between stages.
- Cotton/Cloth: For filtration stage.
- Gravel, Sand, and Activated Charcoal: For filtration materials.
- Aquarium Air Pump or Fan: For aeration stage.
- Blue Cellophane/Plastic Sheets: To simulate water.
- Glue/Tape/Scissors: To assemble the model.
- Markers or Labels: To write the names of the stages.
Step-by-Step Instructions:
1. Base and Buildings:
- Create a large rectangular base using cardboard (e.g., 24 x 18 inches). Cover it with color paper or paint it for a polished look.
- Cut and assemble small cardboard houses and a multi-story apartment building. Place them on one side of the base. Label them as “Sources of Wastewater.”
2. Wastewater Collection Tank:
- Use a plastic cup or bottle to represent the collection tank where wastewater from houses flows.
- Connect the houses and apartment to the tank using tubes or strips of paper to simulate pipes.
3. Five-Stage Purification System:
- Arrange five small plastic bottles or cups in a line on the other side of the base. These represent the purification tanks.
Stage 1: Screening
- Create a screening filter by cutting a piece of mesh or sieve and attaching it to the first tank.
- Demonstrate how large debris (like leaves or plastic) is removed at this stage.
Stage 2: Sedimentation
- Use the second tank for sedimentation. Add some dirt and water to show how heavy particles settle at the bottom.
- Use labels or arrows to show the removal of sludge.
Stage 3: Filtration
- In the third tank, create a layered filter using gravel, sand, and cotton/cloth.
- Pour dirty water through this tank to show how smaller impurities are filtered out.
Stage 4: Aeration
- The fourth tank will simulate aeration. Use an aquarium air pump or a fan to show how air is bubbled through the water.
- Explain how this process removes bad odors and improves water quality.
Stage 5: Chlorination
- The fifth tank will simulate chlorination. Add a few drops of blue food coloring to represent chlorine (optional).
- Use this stage to explain how bacteria and germs are killed.
4. Treated Water Reservoir:
- Add a final tank or small tray to show the treated water collected after all stages.
- Use a clear plastic sheet or shiny blue paper to make the water appear clean.
5. Piping System:
- Use thin pipes, straws, or paper tubes to connect all tanks in sequence. Ensure the flow of “water” is visible using markers or arrows.