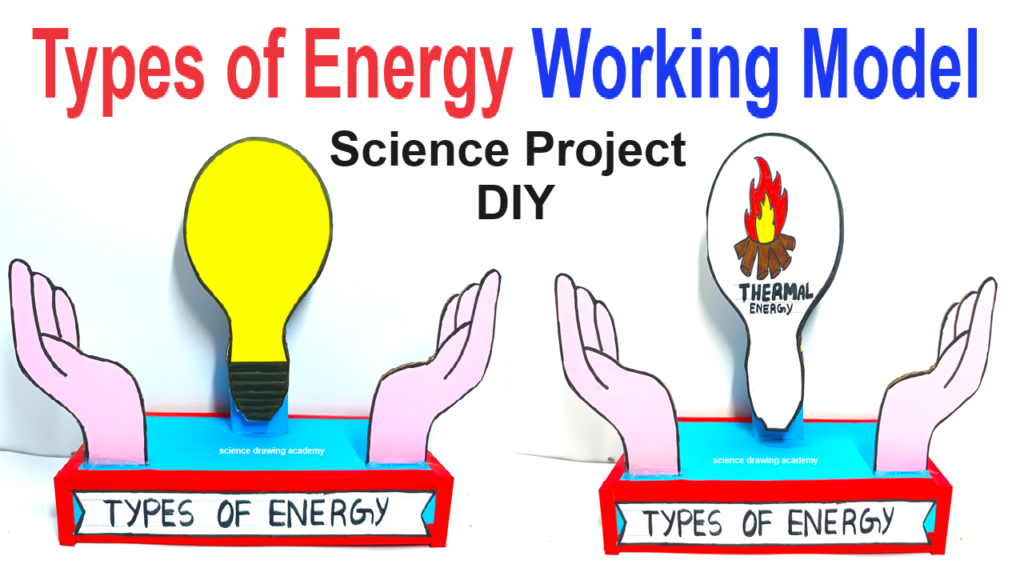
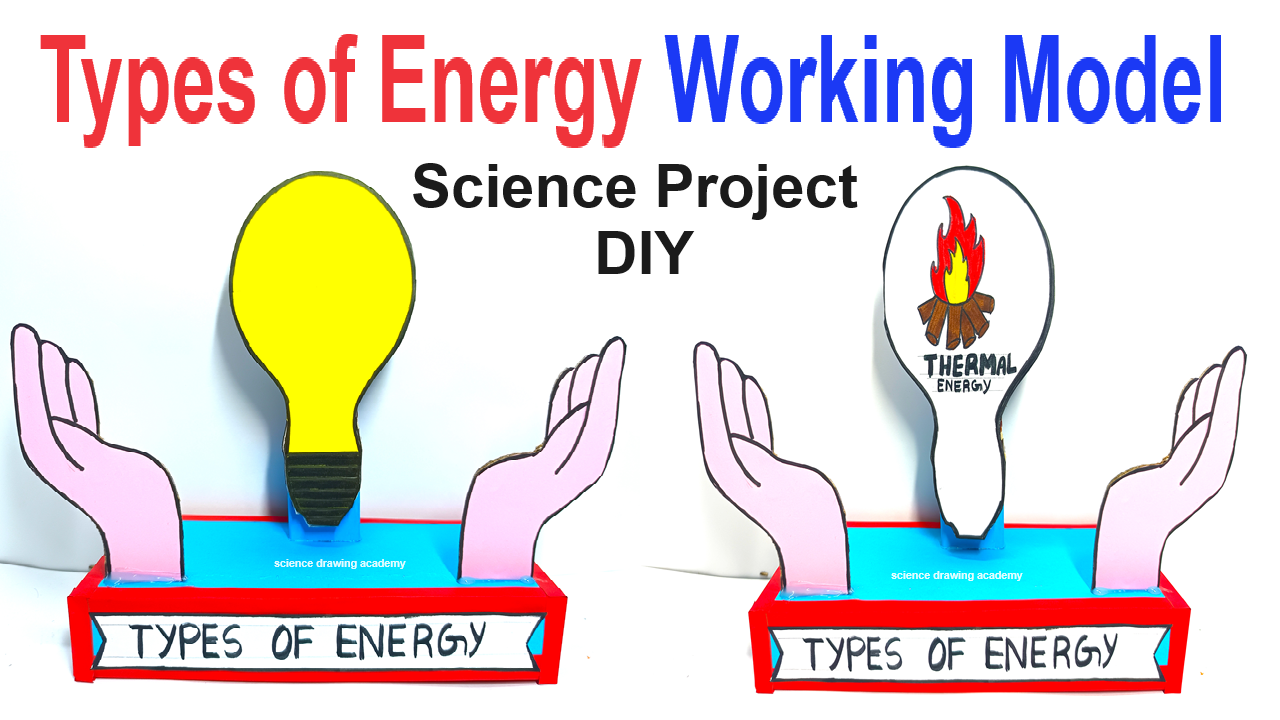
Types of Energy Working Model Using Cardboard and Color Paper
Creating a working model to demonstrate different types of energy is an engaging project that can visually explain how various forms of energy work.

This model will use cardboard, color paper, and simple drawings to represent each type of energy. Here’s a guide on how to make it and an introduction to the concept.
Introduction
Energy is the ability to do work, and it exists in various forms that power everything in the universe. Understanding the different types of energy—such as kinetic, potential, thermal, electrical, and light energy—helps us comprehend how energy is transferred and transformed in everyday life.
This working model will represent these types of energy, showing how each plays a crucial role in our world.
Materials Needed:
- Cardboard (for the base and structure)
- Color Paper (for the drawings and decoration)
- Markers, Pens, or Colored Pencils (for drawing and labeling)
- Glue or Tape (for assembly)
- Scissors or Cutter (for cutting the cardboard and color paper)
- Small Props (optional, for enhancing the visual appeal, e.g., small bulbs, toy cars)
Step-by-Step Video Instructions:
1. Prepare the Base Structure:
- Cut a large piece of cardboard to act as the base for your model. This will hold all the different types of energy you will represent.
- You can also create a multi-layered or tiered base to give more dimension to your model.
2. Divide the Base into Sections:
- Use a marker or strips of cardboard to divide the base into sections, each representing a different type of energy.
- Label each section with the type of energy it will represent (e.g., Kinetic Energy, Potential Energy, Thermal Energy, Electrical Energy, and Light Energy).
3. Create Drawings for Each Type of Energy:
- Kinetic Energy: Draw a moving object, such as a running car or a rolling ball, to represent kinetic energy.
- Potential Energy: Draw an object at a height, like a rock on a hill or a stretched bow, to represent stored energy.
- Thermal Energy: Draw a source of heat, such as a burning candle or the sun, to represent thermal energy.
- Electrical Energy: Draw a simple circuit with a battery and a light bulb, or a power line, to represent electrical energy.
- Light Energy: Draw a light bulb, the sun, or a flashlight to represent light energy.
Use color paper to create these drawings, cutting out shapes and gluing them onto the cardboard sections.
5. Assemble and Attach the Drawings:
- Attach each drawing to its respective section on the base. Ensure they are securely glued and clearly visible.
- You can use different colors of paper for each type of energy to make the sections stand out.
6. Label Each Section:
- Clearly label each section with the type of energy it represents.
- Include a brief description of how that type of energy works and where it is commonly found in everyday life.
7. Decorate and Finalize the Model:
- Add any final touches to the model, such as background decorations or additional labels.
- You might want to add arrows or lines to show how energy can transform from one type to another (e.g., potential energy converting to kinetic energy).
Conclusion:
This working model effectively demonstrates the different types of energy using simple materials like cardboard and color paper.
Each section of the model illustrates a specific type of energy, making it easier to understand the diverse forms energy can take and how they are applied in the real world.
This project not only fosters creativity but also deepens the understanding of fundamental scientific concepts.

