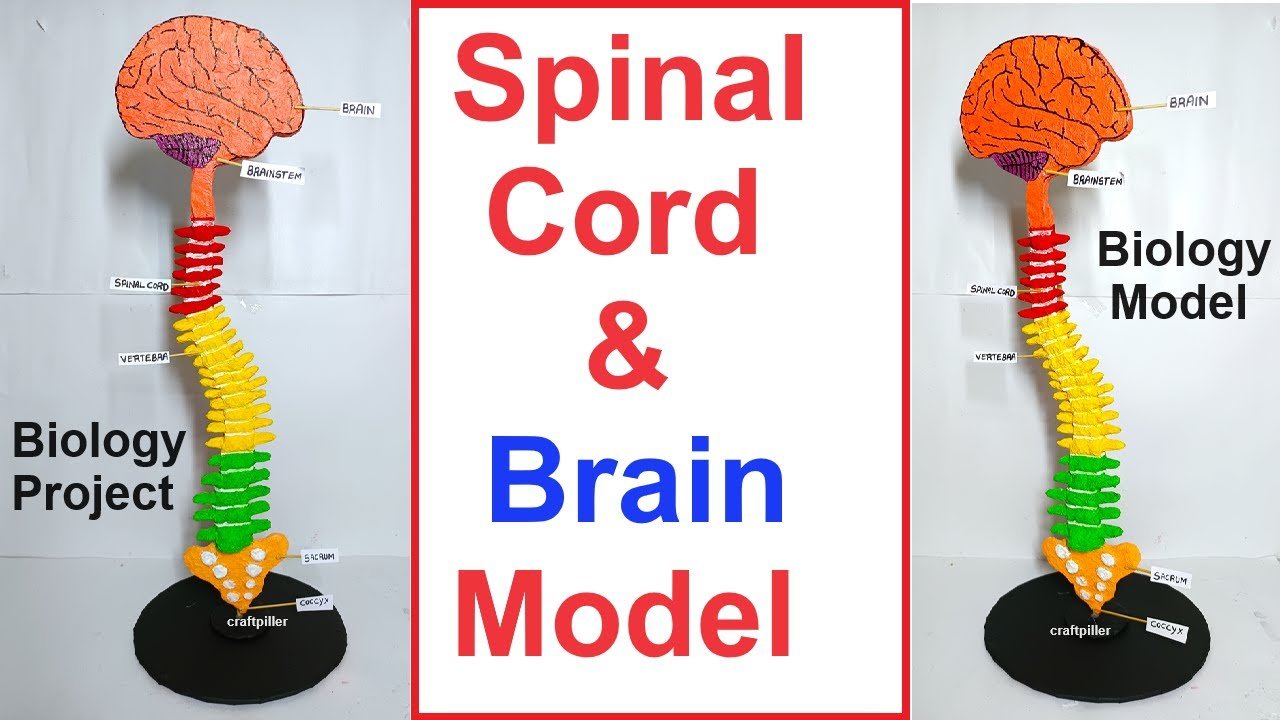
Creating a spinal cord and brain model using cardboard and colored paper is a great educational project.

Here’s a step-by-step guide to help you make a detailed and visually appealing model:
Materials Needed:
- Cardboard
- Colored paper
- Scissors
- Glue or tape
- Markers or colored pencils
- Ruler
- Pencil
Step by Step Video Instructions:
1. Draw and Cut Out the Head and Spine:
- Draw the Head:
- On a piece of cardboard, draw an outline of a human head in profile (side view) large enough to include the brain.
- Draw the Spine:
- Extend the drawing from the head down to form the spine. Make sure to include the cervical, thoracic, lumbar, sacral, and coccygeal regions.
- Cut Out the Head and Spine:
- Carefully cut out the head and spine shape using scissors.
2. Draw and Cut Out the Brain Parts:
- Brain Parts:
- Cerebrum: The largest part of the brain.
- Cerebellum: Located under the cerebrum at the back.
- Brainstem: Located at the bottom of the brain, connecting to the spinal cord.
- Draw the Brain Parts:
- On another piece of cardboard, draw the shapes of the cerebrum, cerebellum, and brainstem.
- Cut Out the Brain Parts:
- Carefully cut out each brain part.
3. Draw and Cut Out the Spinal Cord:
- Spinal Cord:
- Draw a long, thin shape to represent the spinal cord that will fit inside the spine outline.
- Cut Out the Spinal Cord:
- Carefully cut out the spinal cord shape.
4. Color the Brain Parts and Spinal Cord:
- Color the Brain Parts:
- Use colored paper or markers to color the cerebrum, cerebellum, and brainstem in different colors.
- Color the Spinal Cord:
- Color the spinal cord using colored paper or markers.
5. Assemble the Brain and Spinal Cord:
- Attach the Brain Parts:
- Glue or tape the brain parts to the head cutout, positioning them correctly:
- Cerebrum: Place it at the top and center.
- Cerebellum: Place it under the cerebrum, towards the back.
- Brainstem: Place it at the bottom, connecting to where the spinal cord would be.
- Glue or tape the brain parts to the head cutout, positioning them correctly:
- Attach the Spinal Cord:
- Glue or tape the spinal cord cutout along the spine outline on the head and spine cutout.
6. Add Details and Labels:
- Details:
- Add details to the brain and spinal cord using markers or colored pencils. Draw segments of the spine, including vertebrae.
- Labels:
- Write or print labels for each part of the brain and sections of the spinal cord. Attach them using glue or tape.
7. Final Touches:
- Decorate the Model:
- Add any additional decorations or details to make the model more realistic and engaging.
- Display the Model:
- Your brain and spinal cord model is now complete. You can display it on a stand or hang it on a wall for educational purposes.
This detailed model will help visualize the structure of the brain and spinal cord, making it an excellent educational tool for understanding the central nervous system.

